
📘 DRF
서버와 클라우드
📕 서버?
서버는 말 그대로 컴퓨터이다.
그래서 서버를 다루려면 운영체제부터 필요한 프로그램 설치, 그리고 여러 세팅이 필요하다.
과거에는 이런 번거로운 작업들을 하나하나 해야 했지만, 클라우드 컴퓨팅 서비스가 등장하고 이러한 일에서 해방되었다!
📕 클라우드?
클라우드 컴퓨팅을 쉽게 말하면 물리적 서버를 가상화시켜서 인터넷 서비스로 제공하는 것을 말한다.
IaaS(Infrastructure as a Service)
- 물리적인 컴퓨팅 자원을 가상화해서 제공하는 서비스
- 모두 설정을 해줘야하므로 마음대로 커스텀할 수 있음 (장점이자 단점)
- Amazon Web Service, Microsoft Azure, Google Compute Engine
PaaS(Platform as a Service)
- 플랫폼을 가상화 해서 제공하는 서비스
- 인프라에 대한 관리 없이 개발에 집중하여 빠른 속도로 개발할 수 있음
- Heroku, AWS Elastic Beanstalk, PythonAnyWhere
SaaS(Sofrware as a Service)
- 서비스형 소프트웨어로 컴퓨터에 설치하고 사용하던 이전의 소프트웨어와 달리 인터넷 접속을 통해 바로 서비스를 사용할 수 있음
- 모든 서비스를 맡기고 비즈니스에 집중할 수 있음
- Dropbox, Notion, Slack
배포 (Deploy)
AWS를 이용해서 배포하기
AWS 계정 생성 (https://aws.amazon.com/ko/)
- 기본적으로 여러 자원에 대해 프리티어를 제공하여 정해진 사용량까지 무료로 체험 가능하다.
- 이후로는 자동으로 과금이 들어가기 때문에 사용하지 않을 거라면 자원을 해지하는 것이 필요!
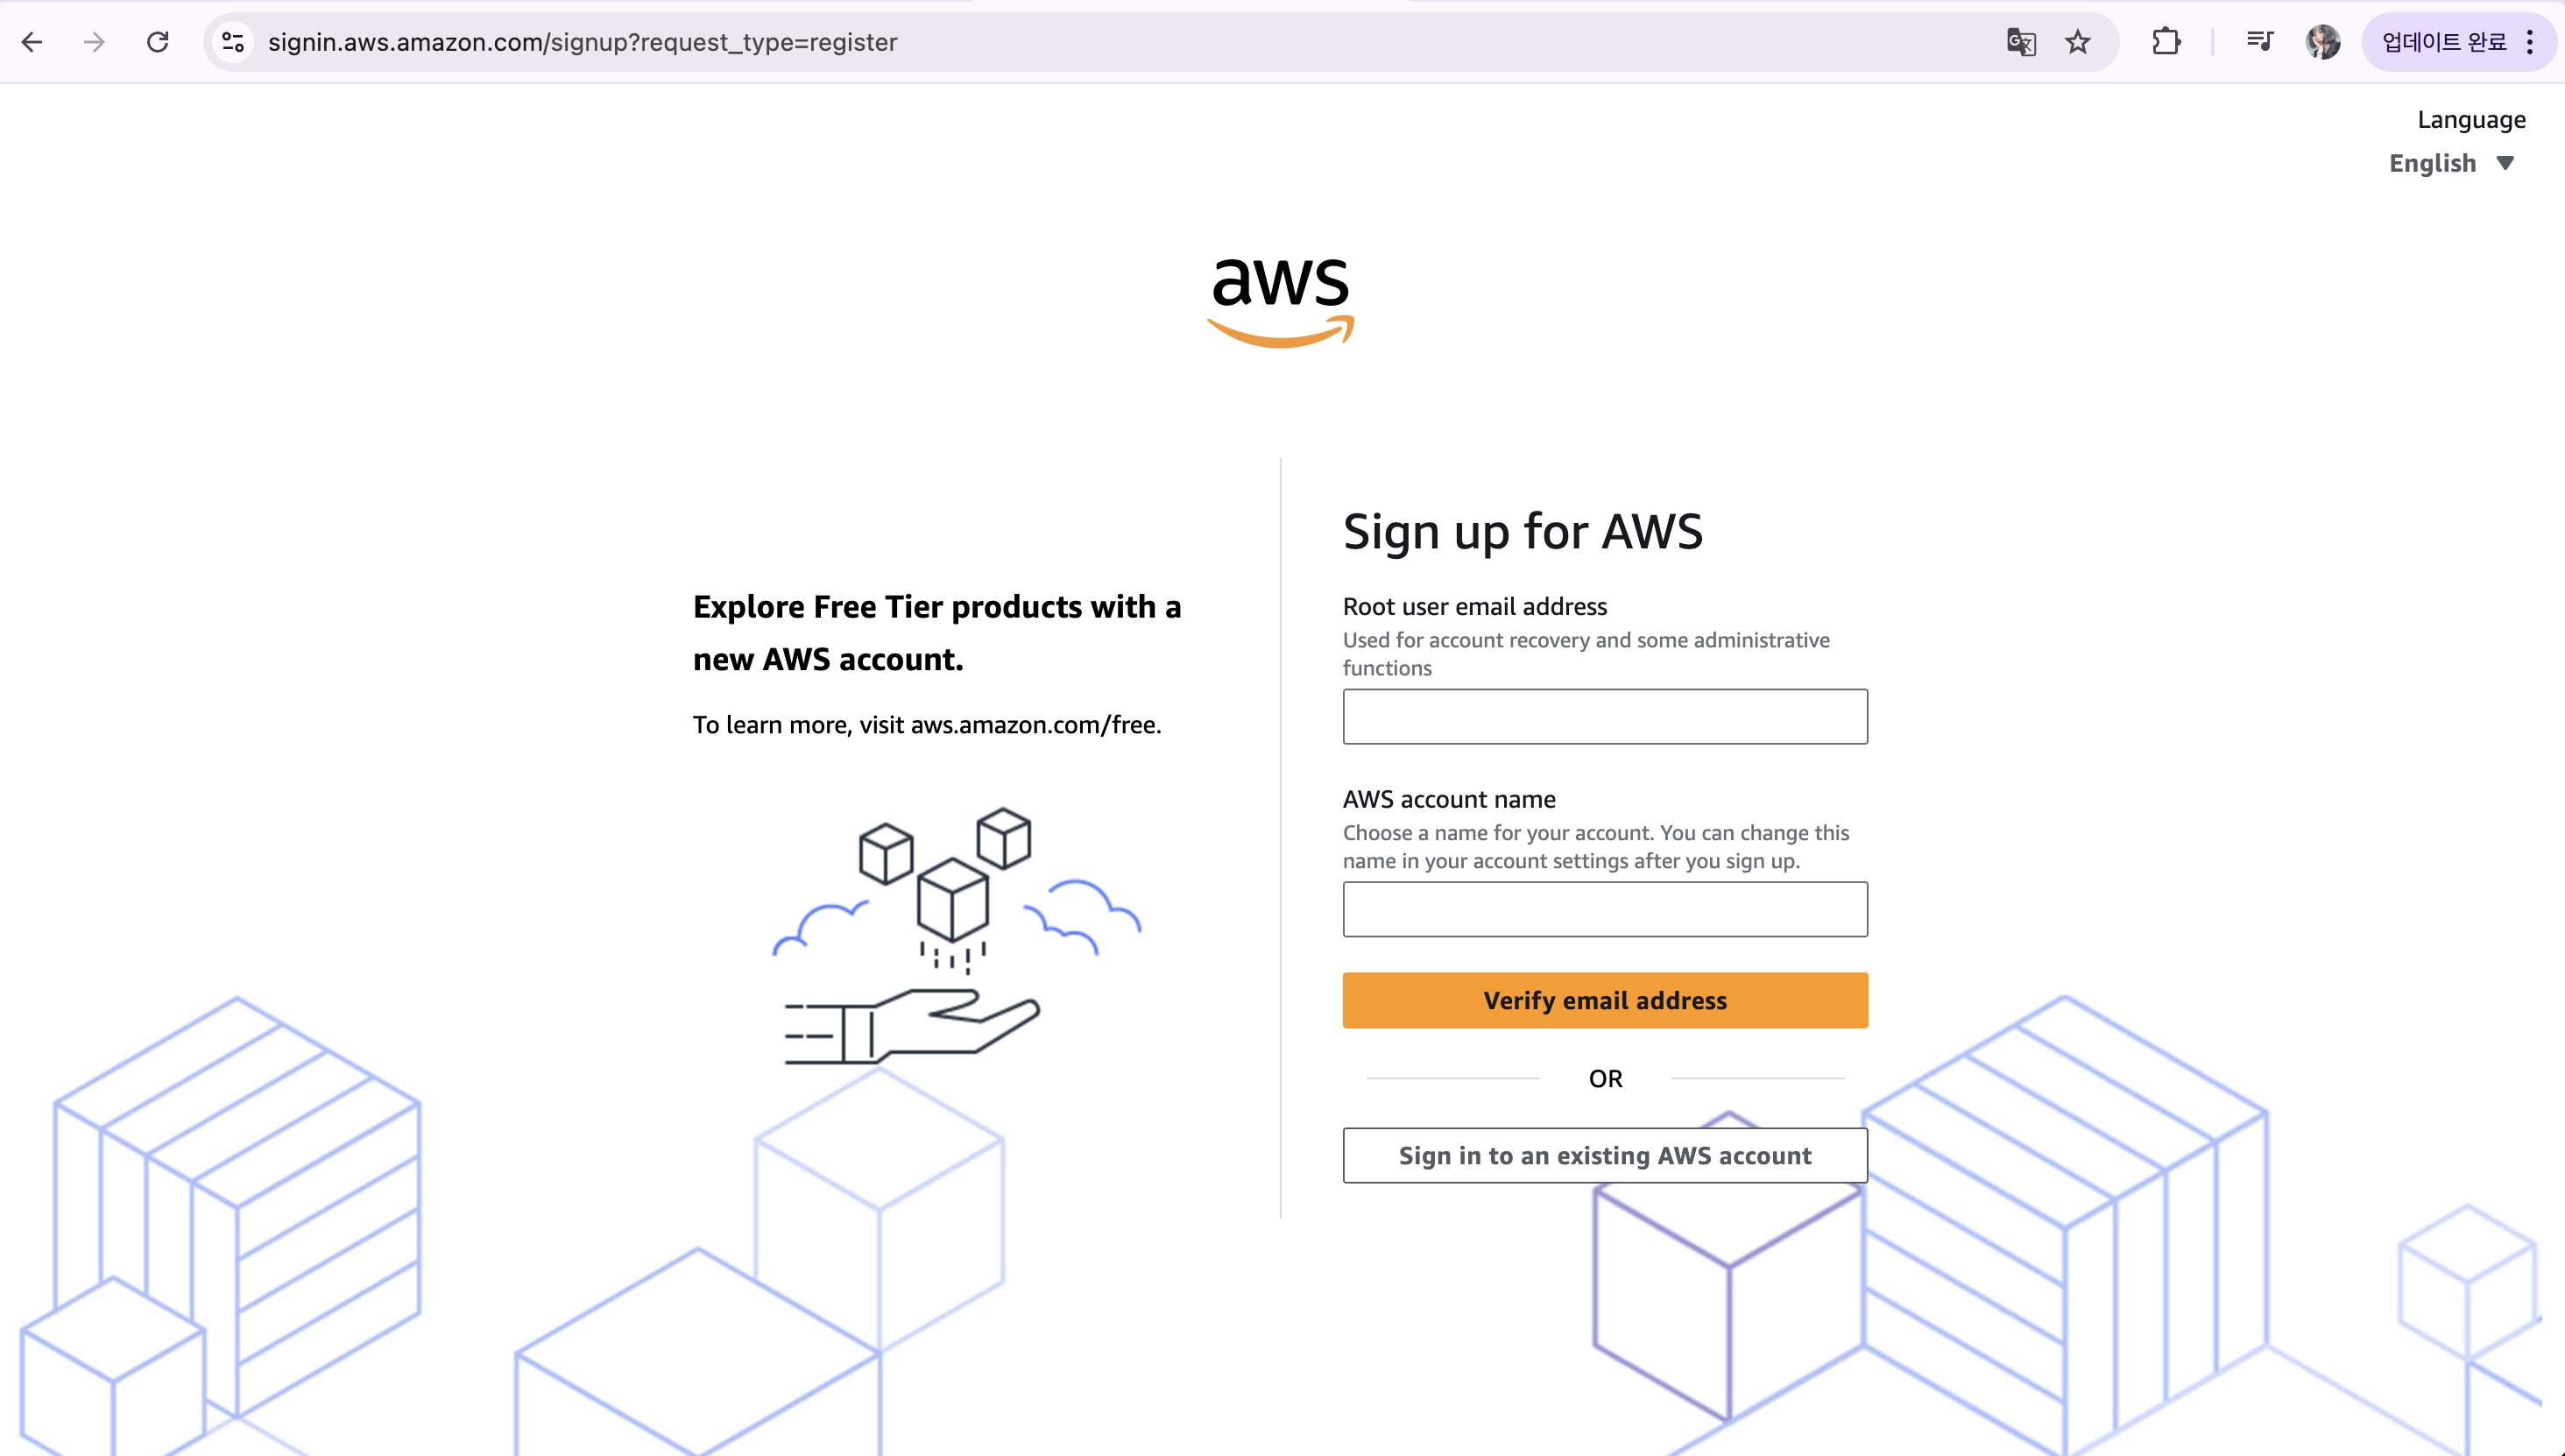
회원가입 해주세요
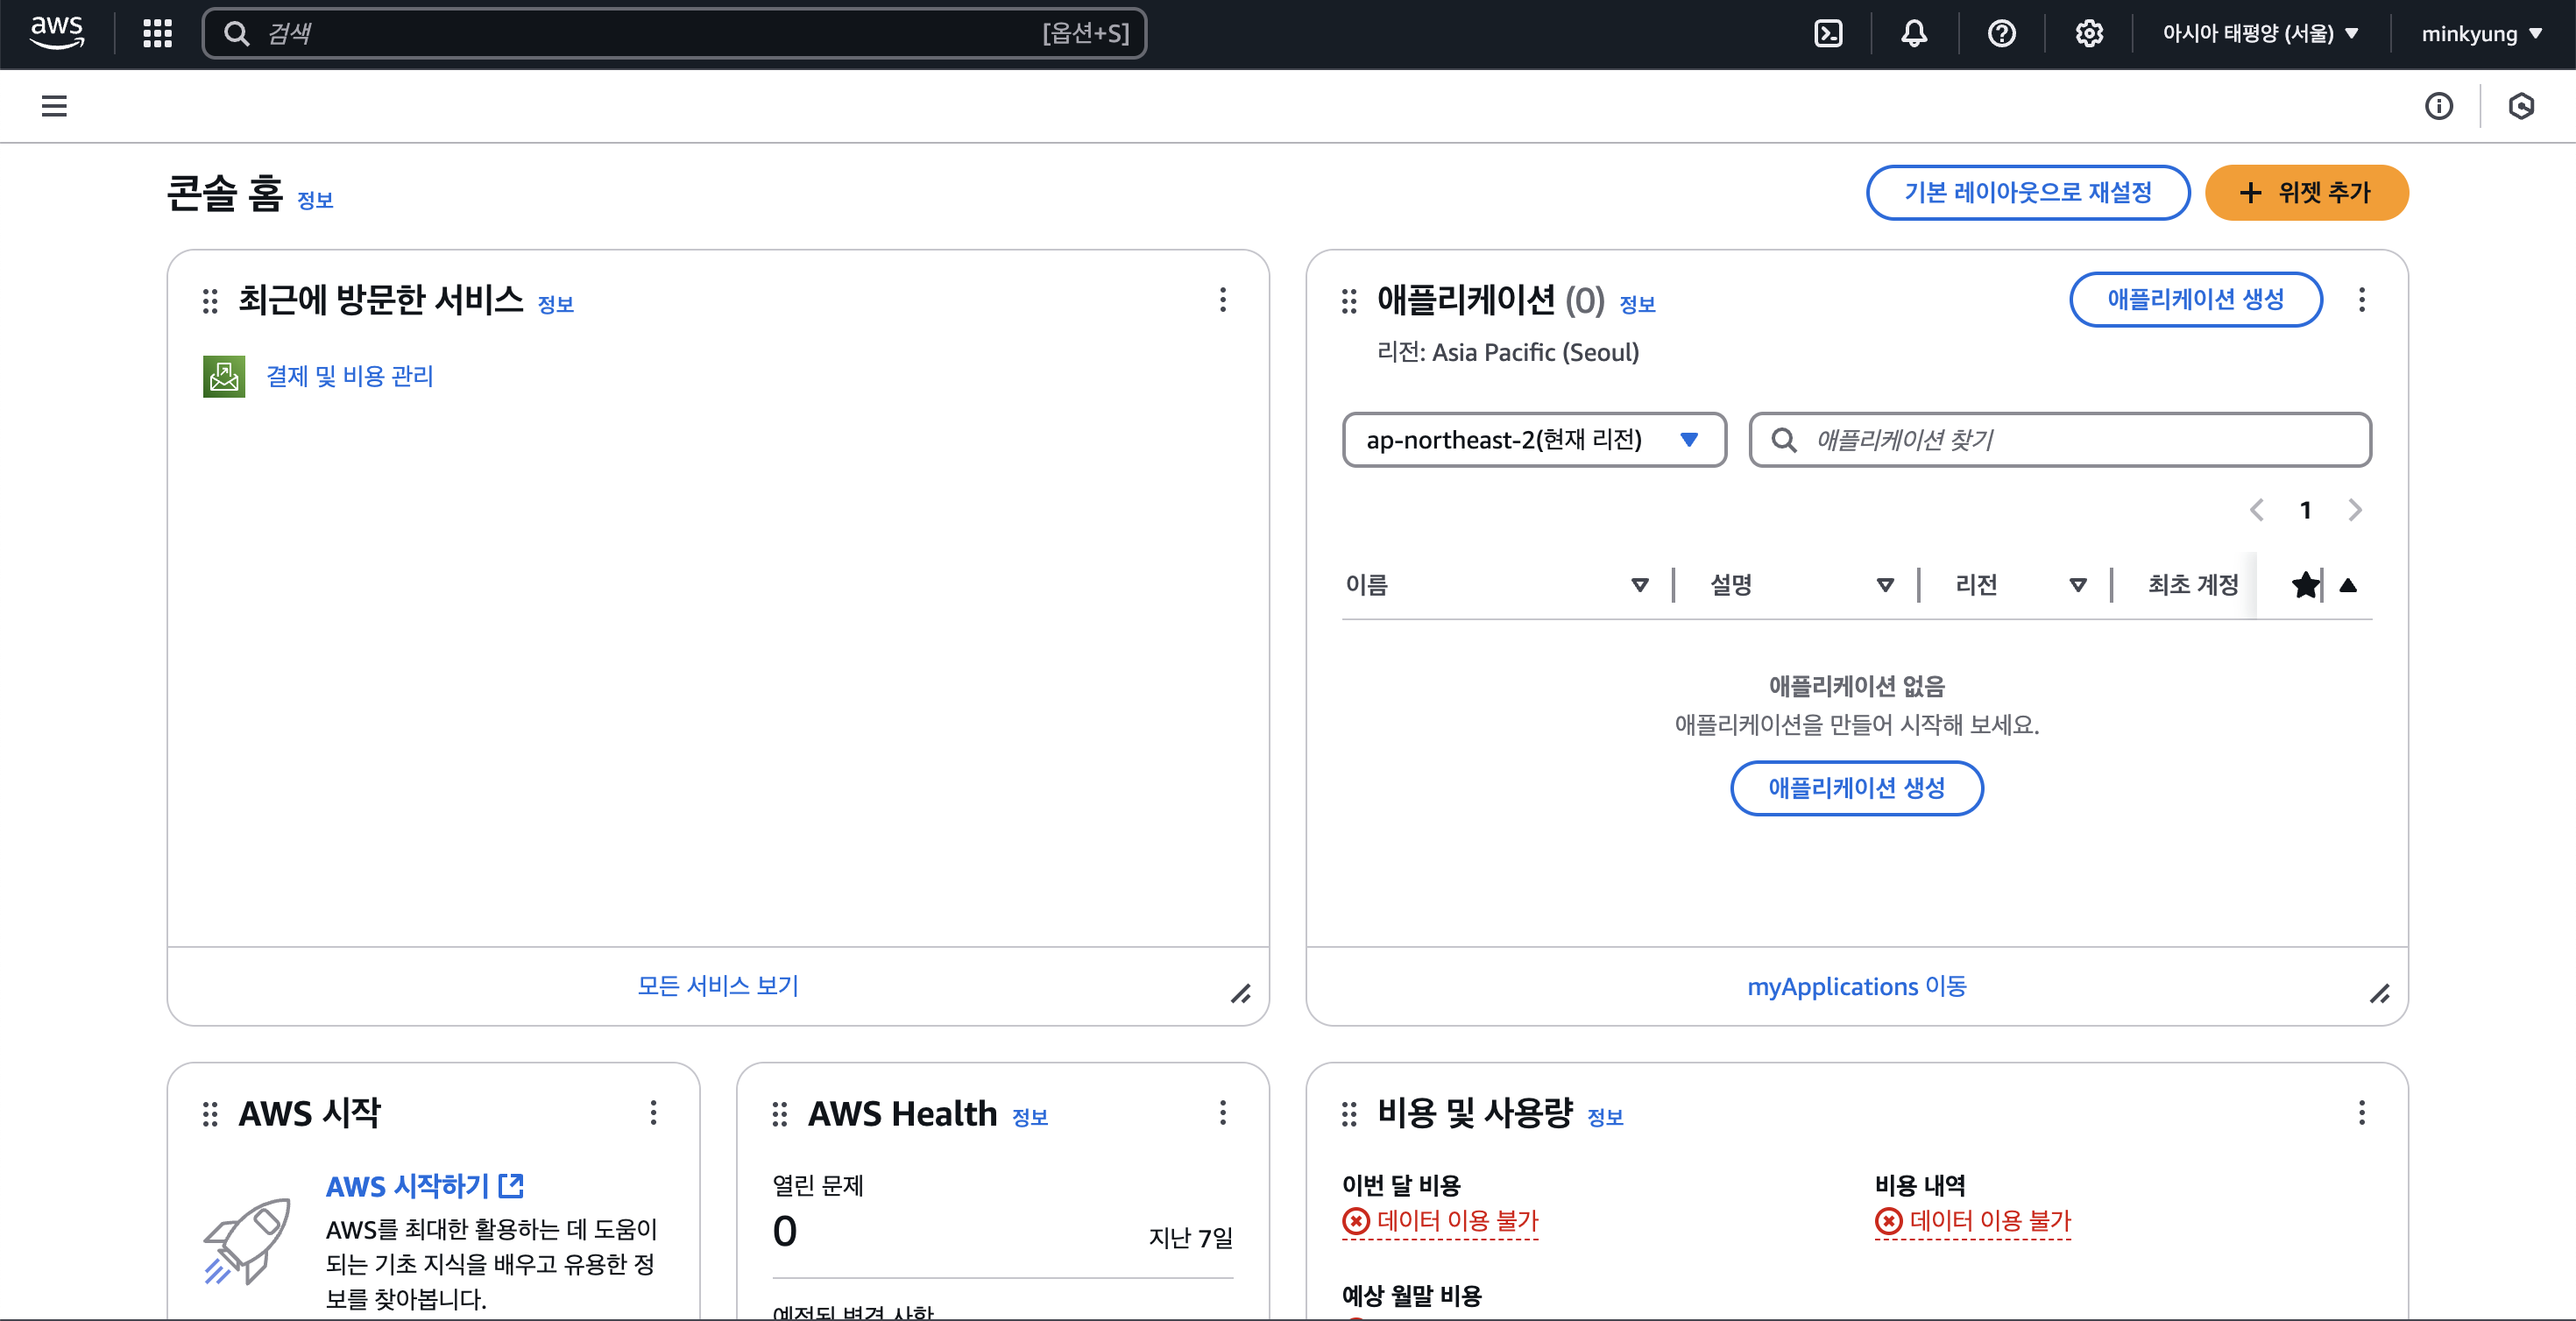
회원가입이 완료되면 이 화면이 보이게 될 거예요
1. AWS EC2 인스턴스 생성
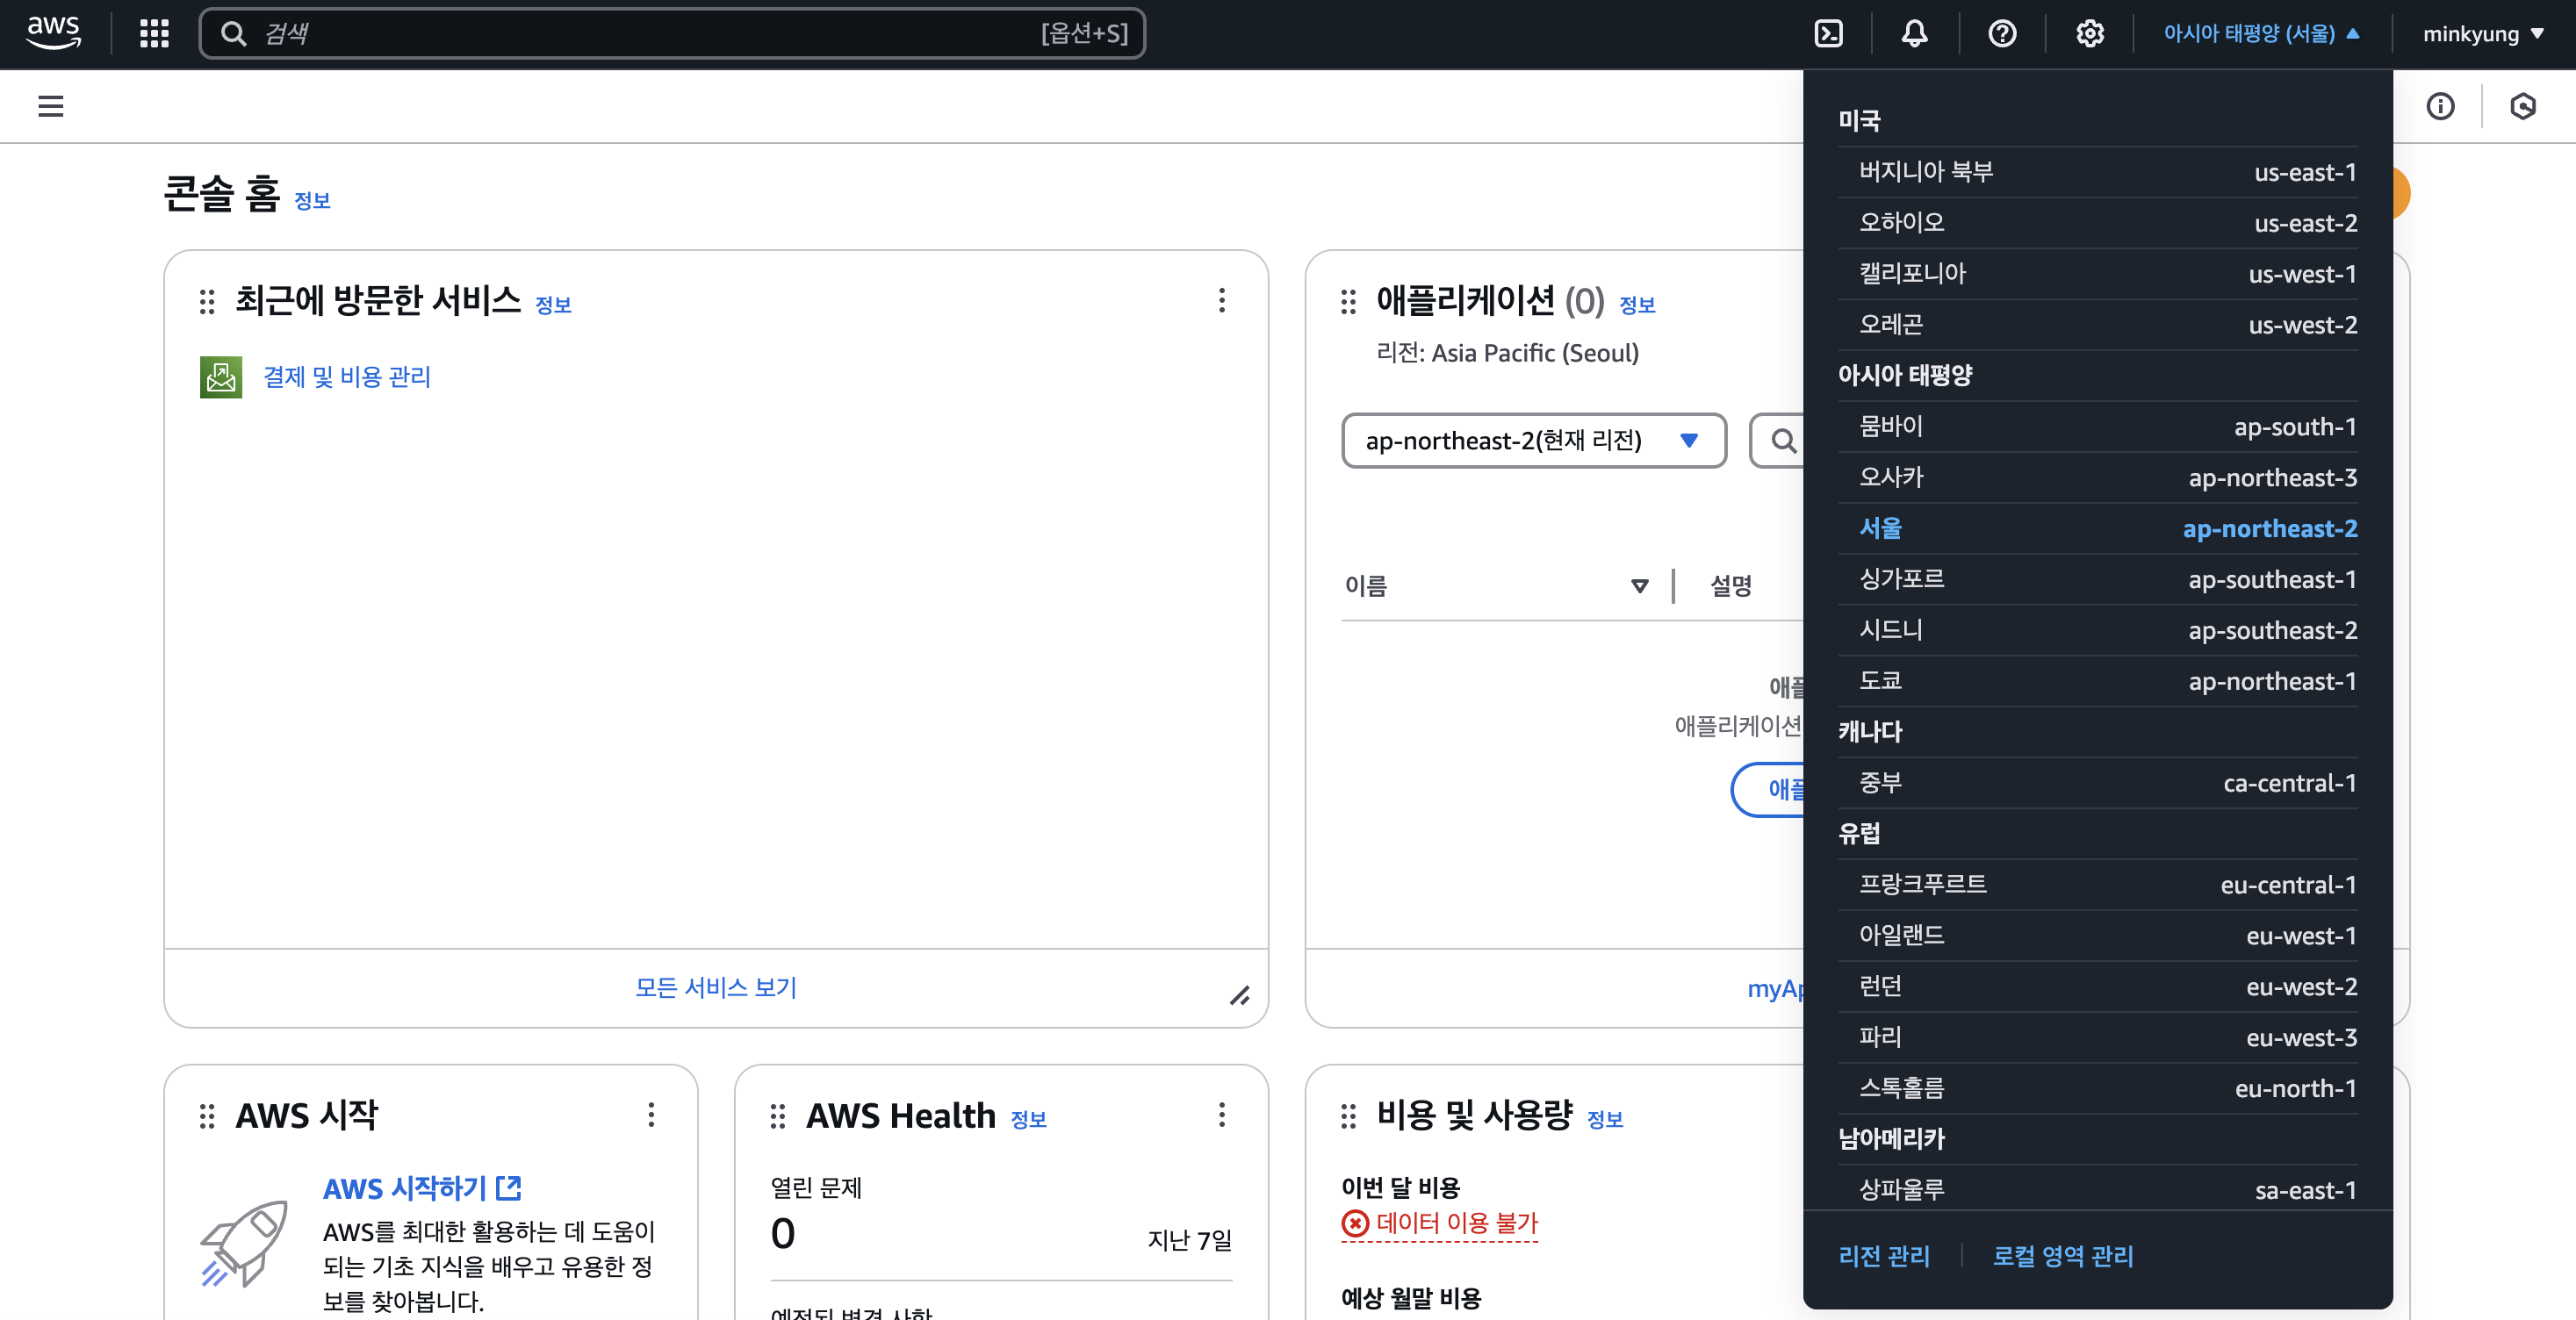
컴퓨터를 빌려오는 작업이에요
서울로 눌러주세요
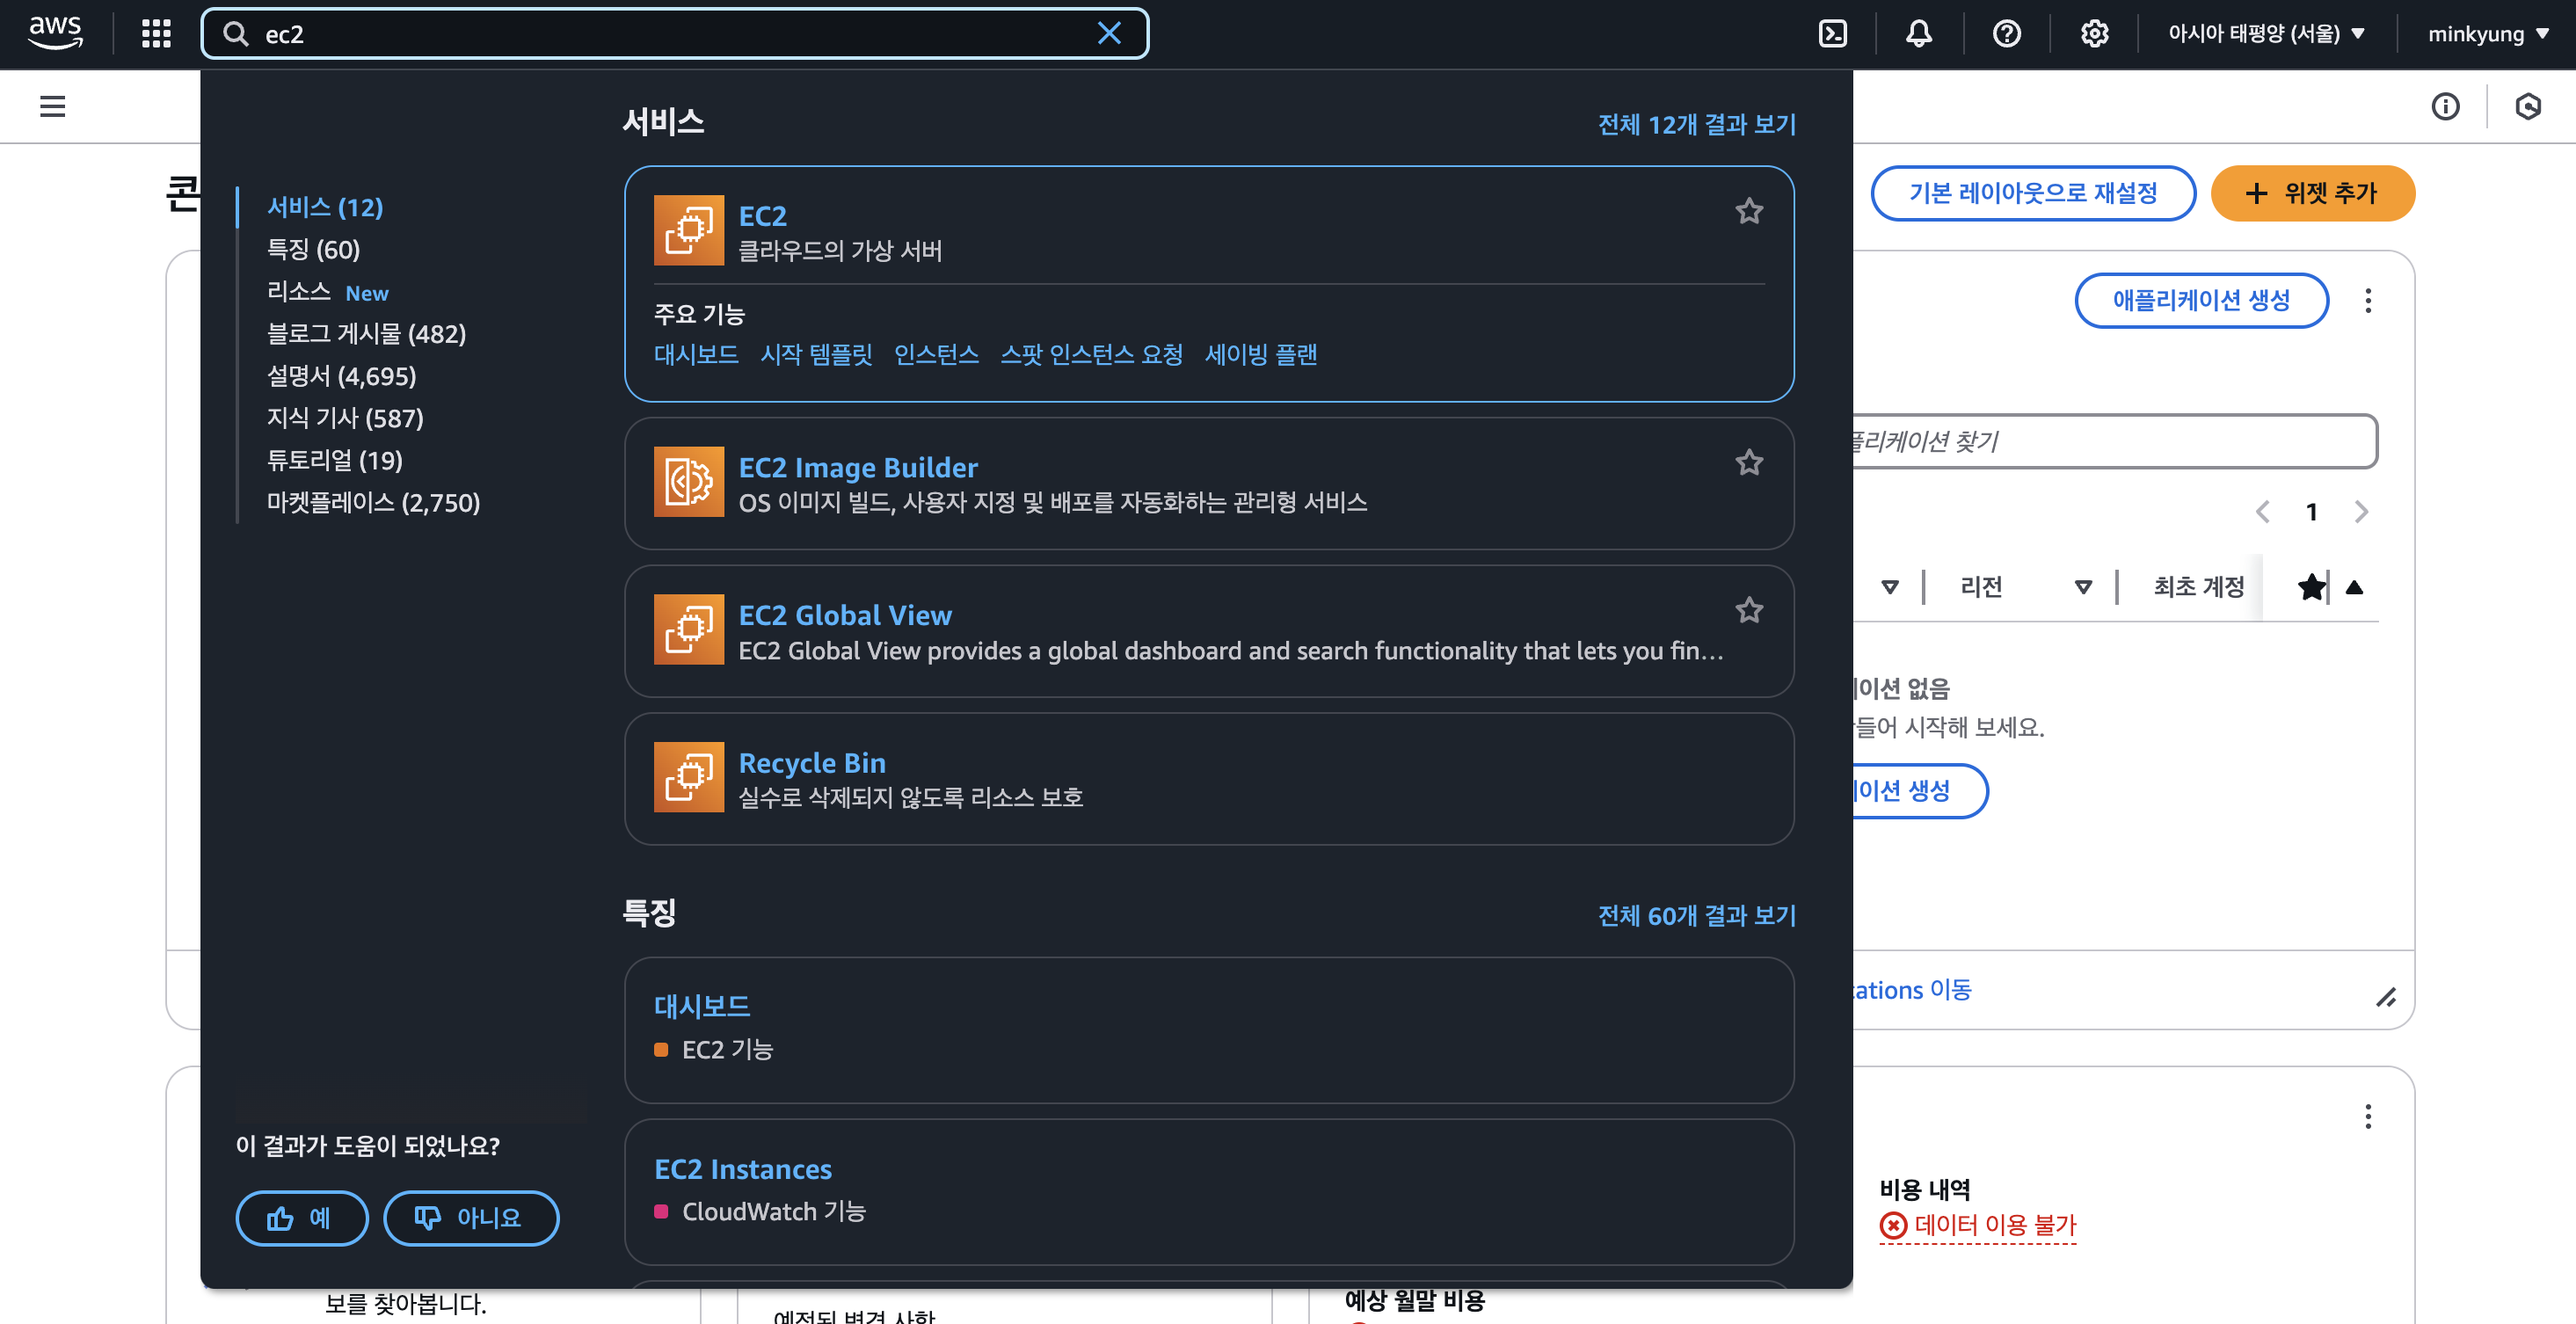
검색창에 ec2를 눌러주시고, 즐겨찾기 해주세요
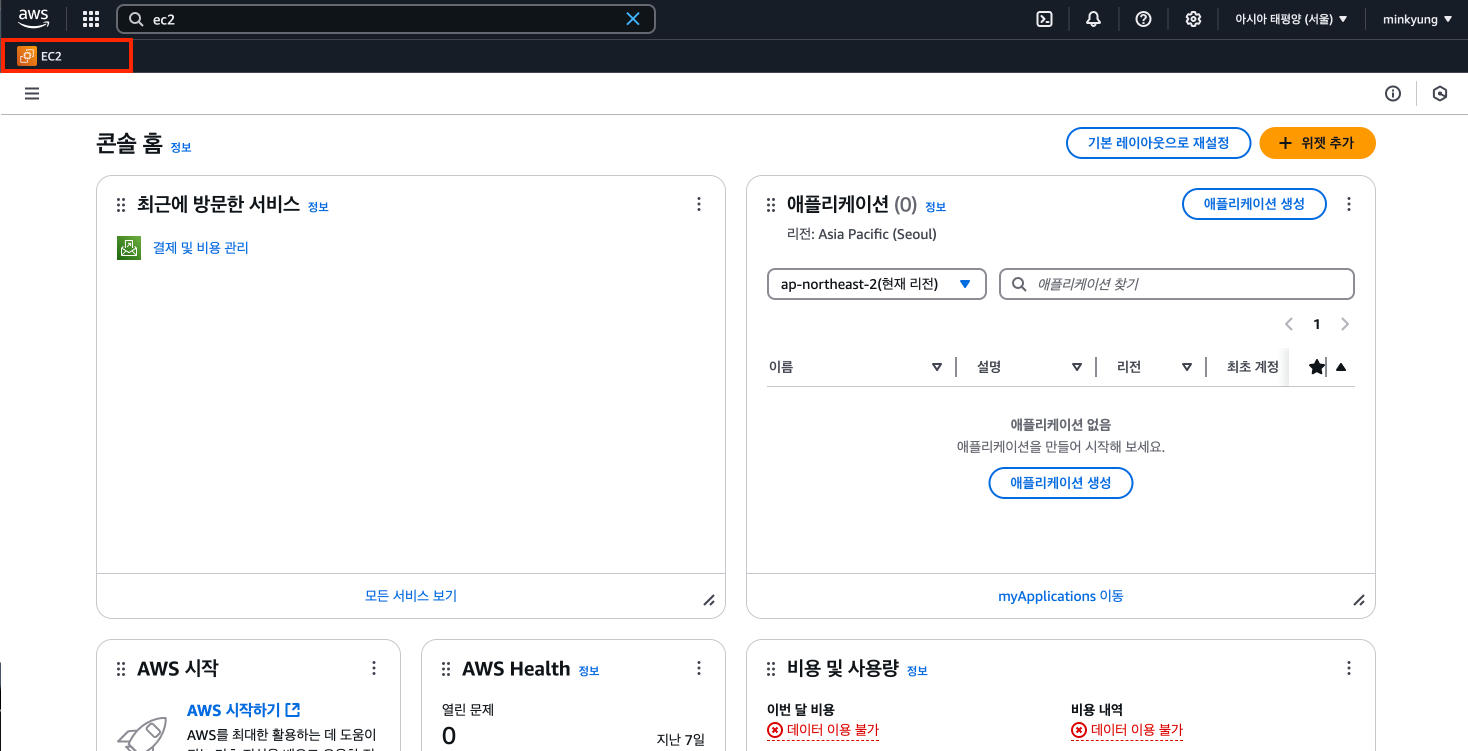
그러면 저렇게 북마크가 생겨요
눌러주세요
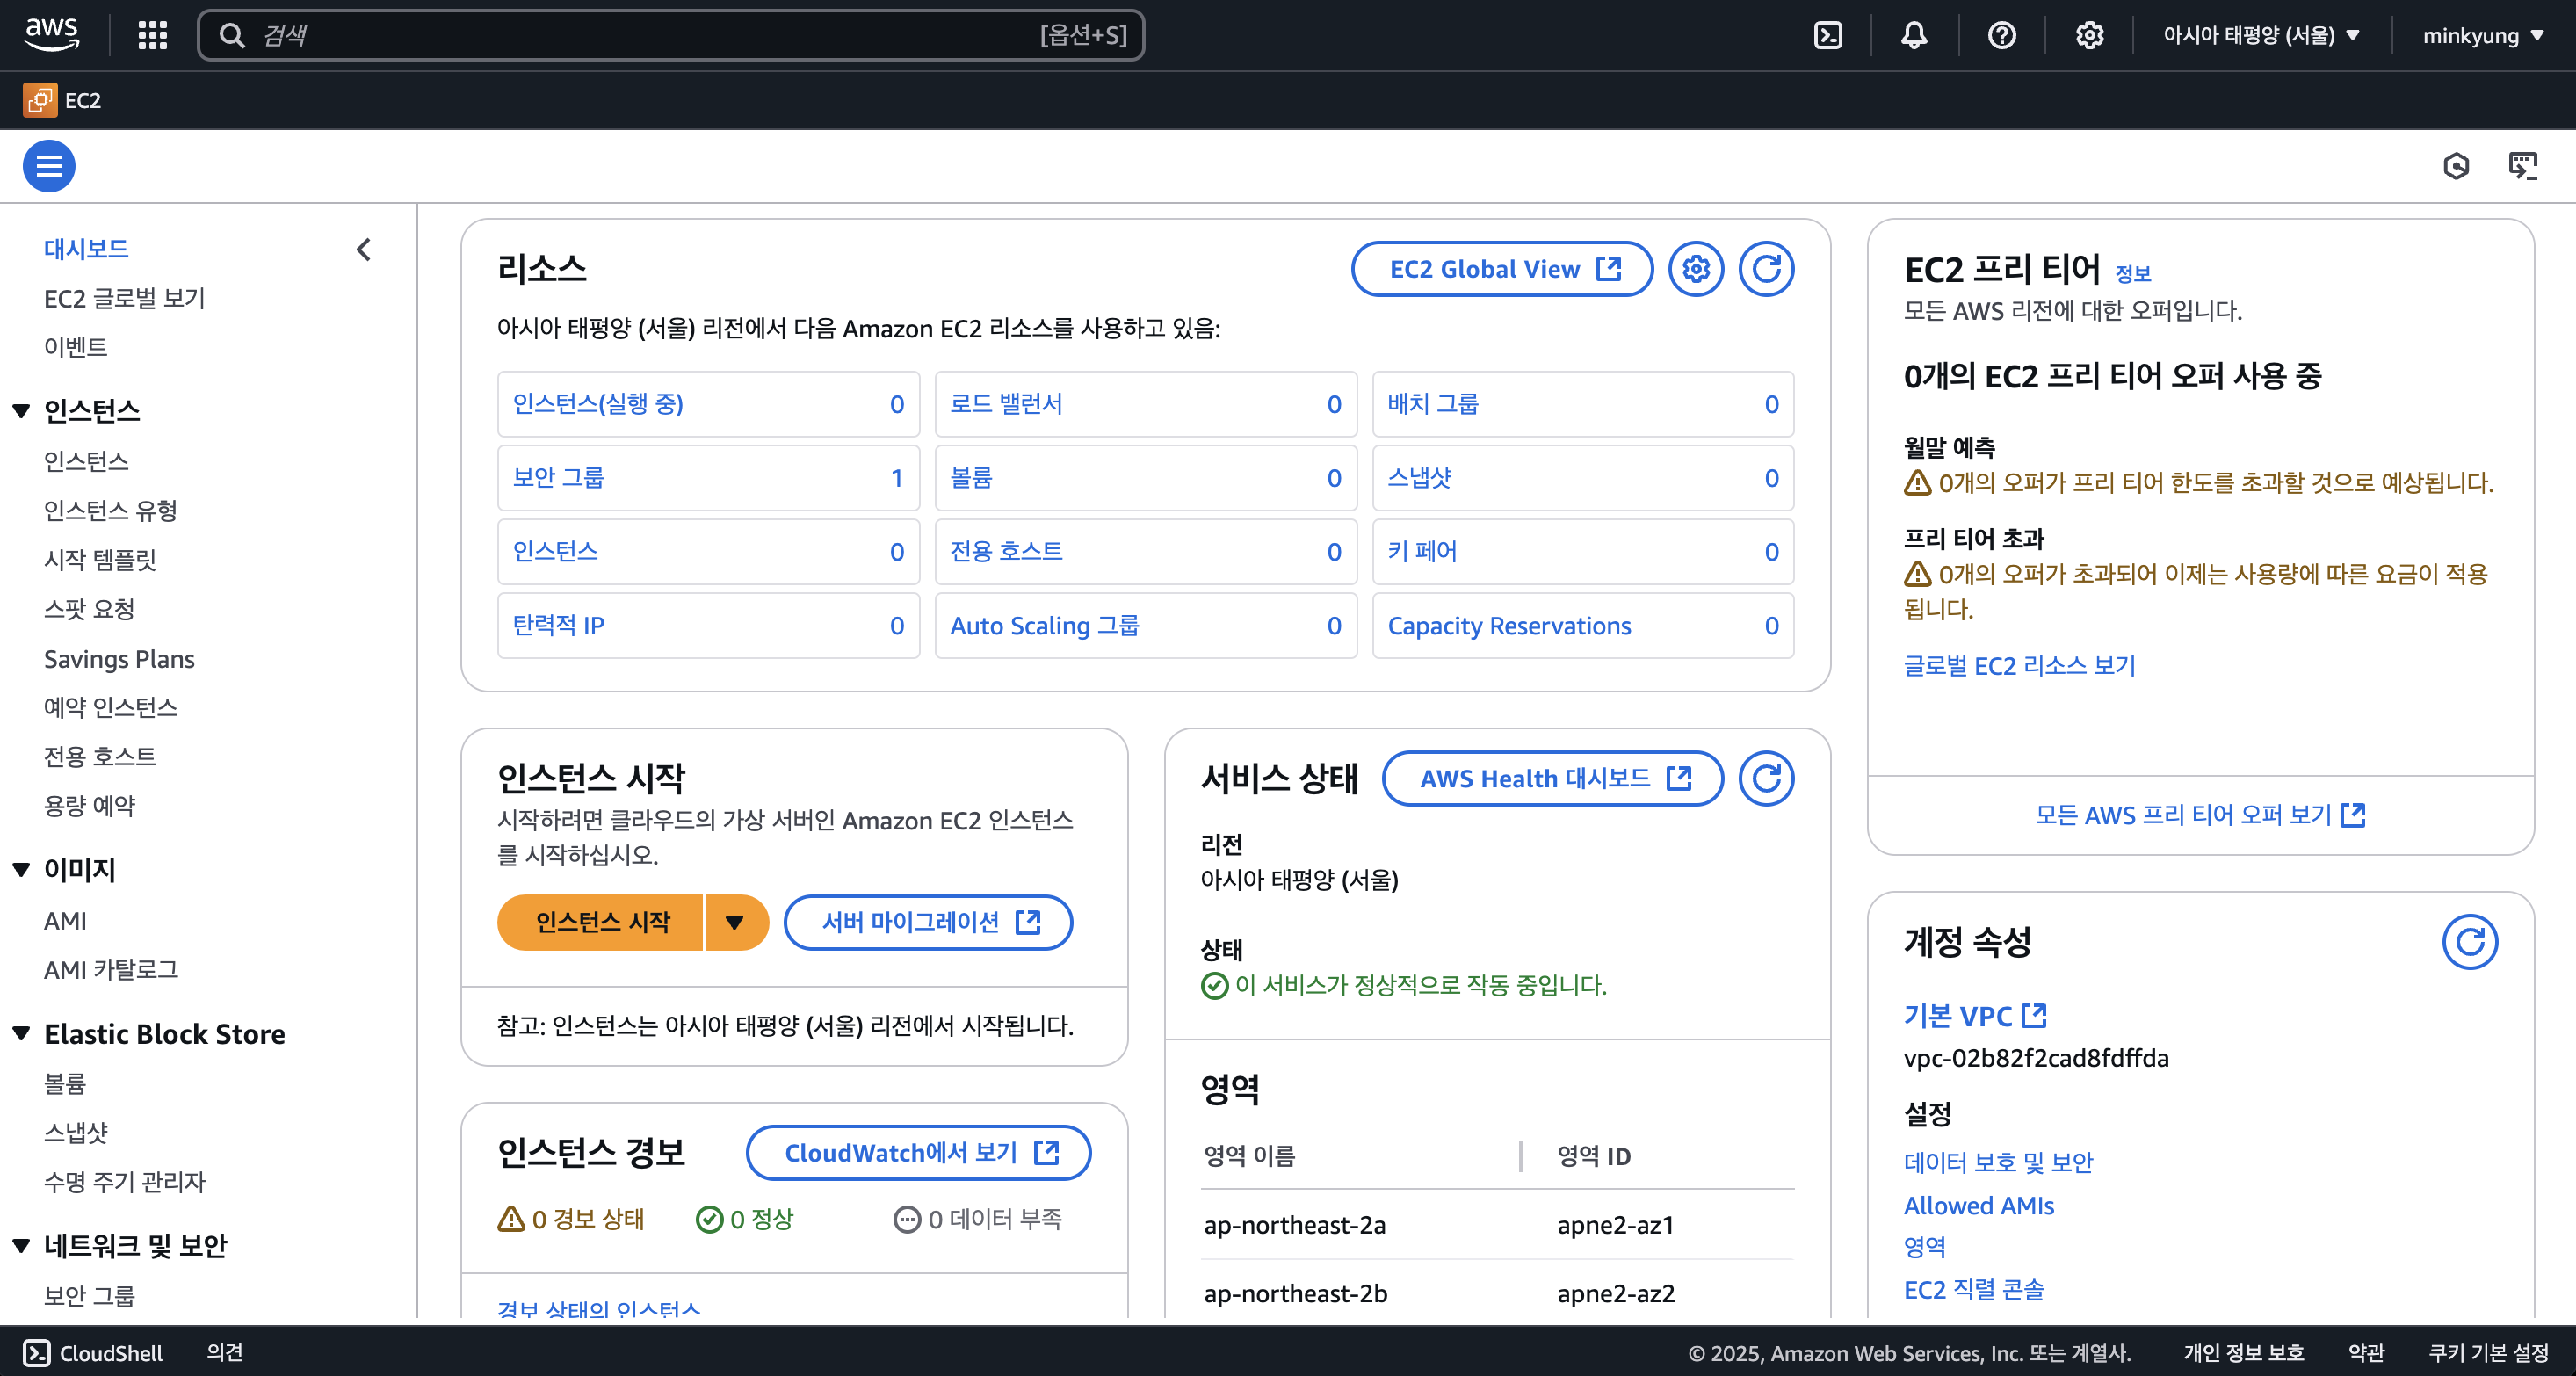
누르면 이 화면이 보여지게 될 거예요
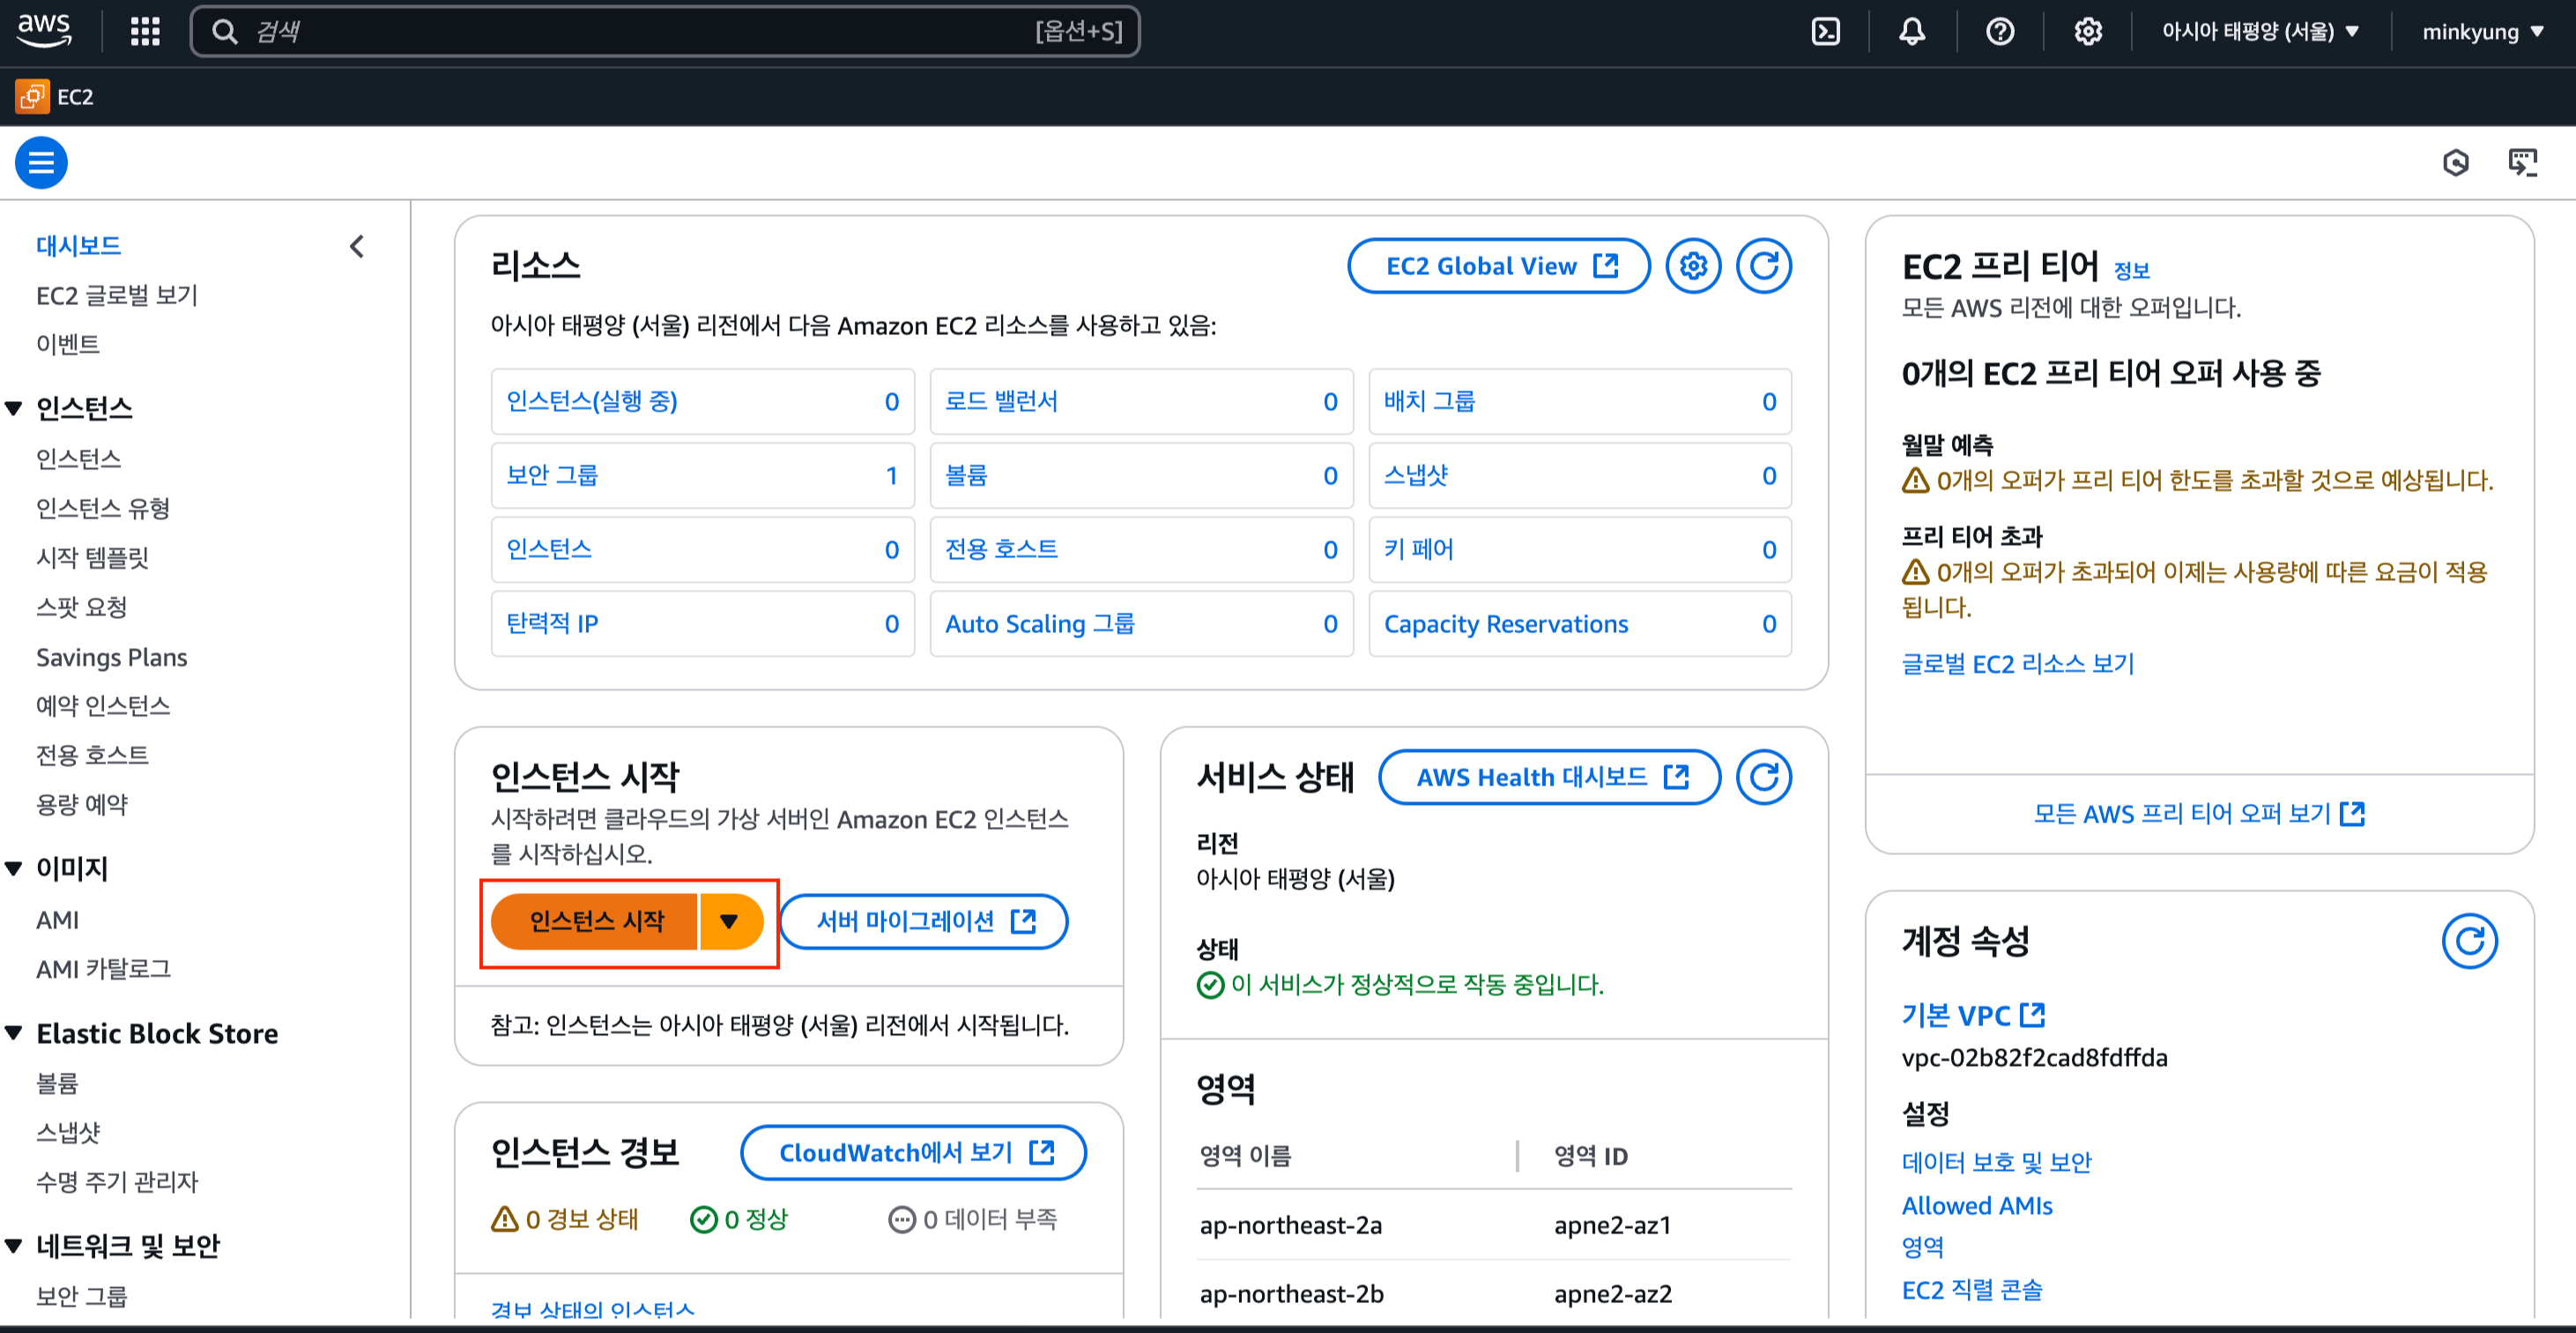
인스턴스 시작 버튼을 눌러주세요
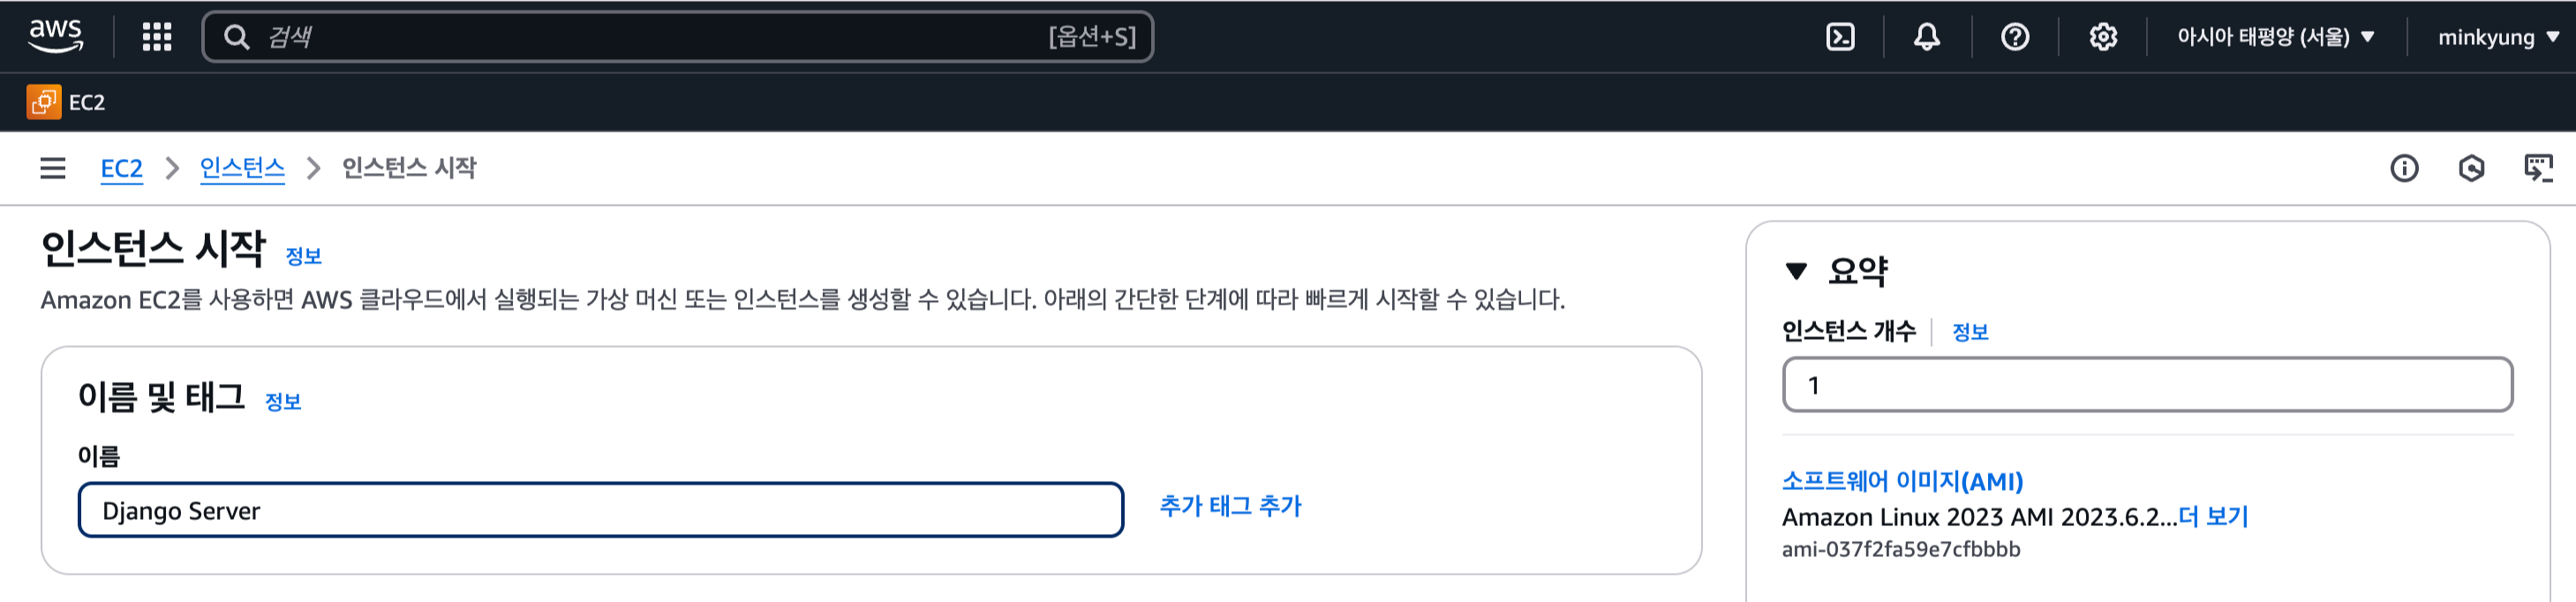
이름을 설정해주세요
저는 Django Server로 했어요
그리고
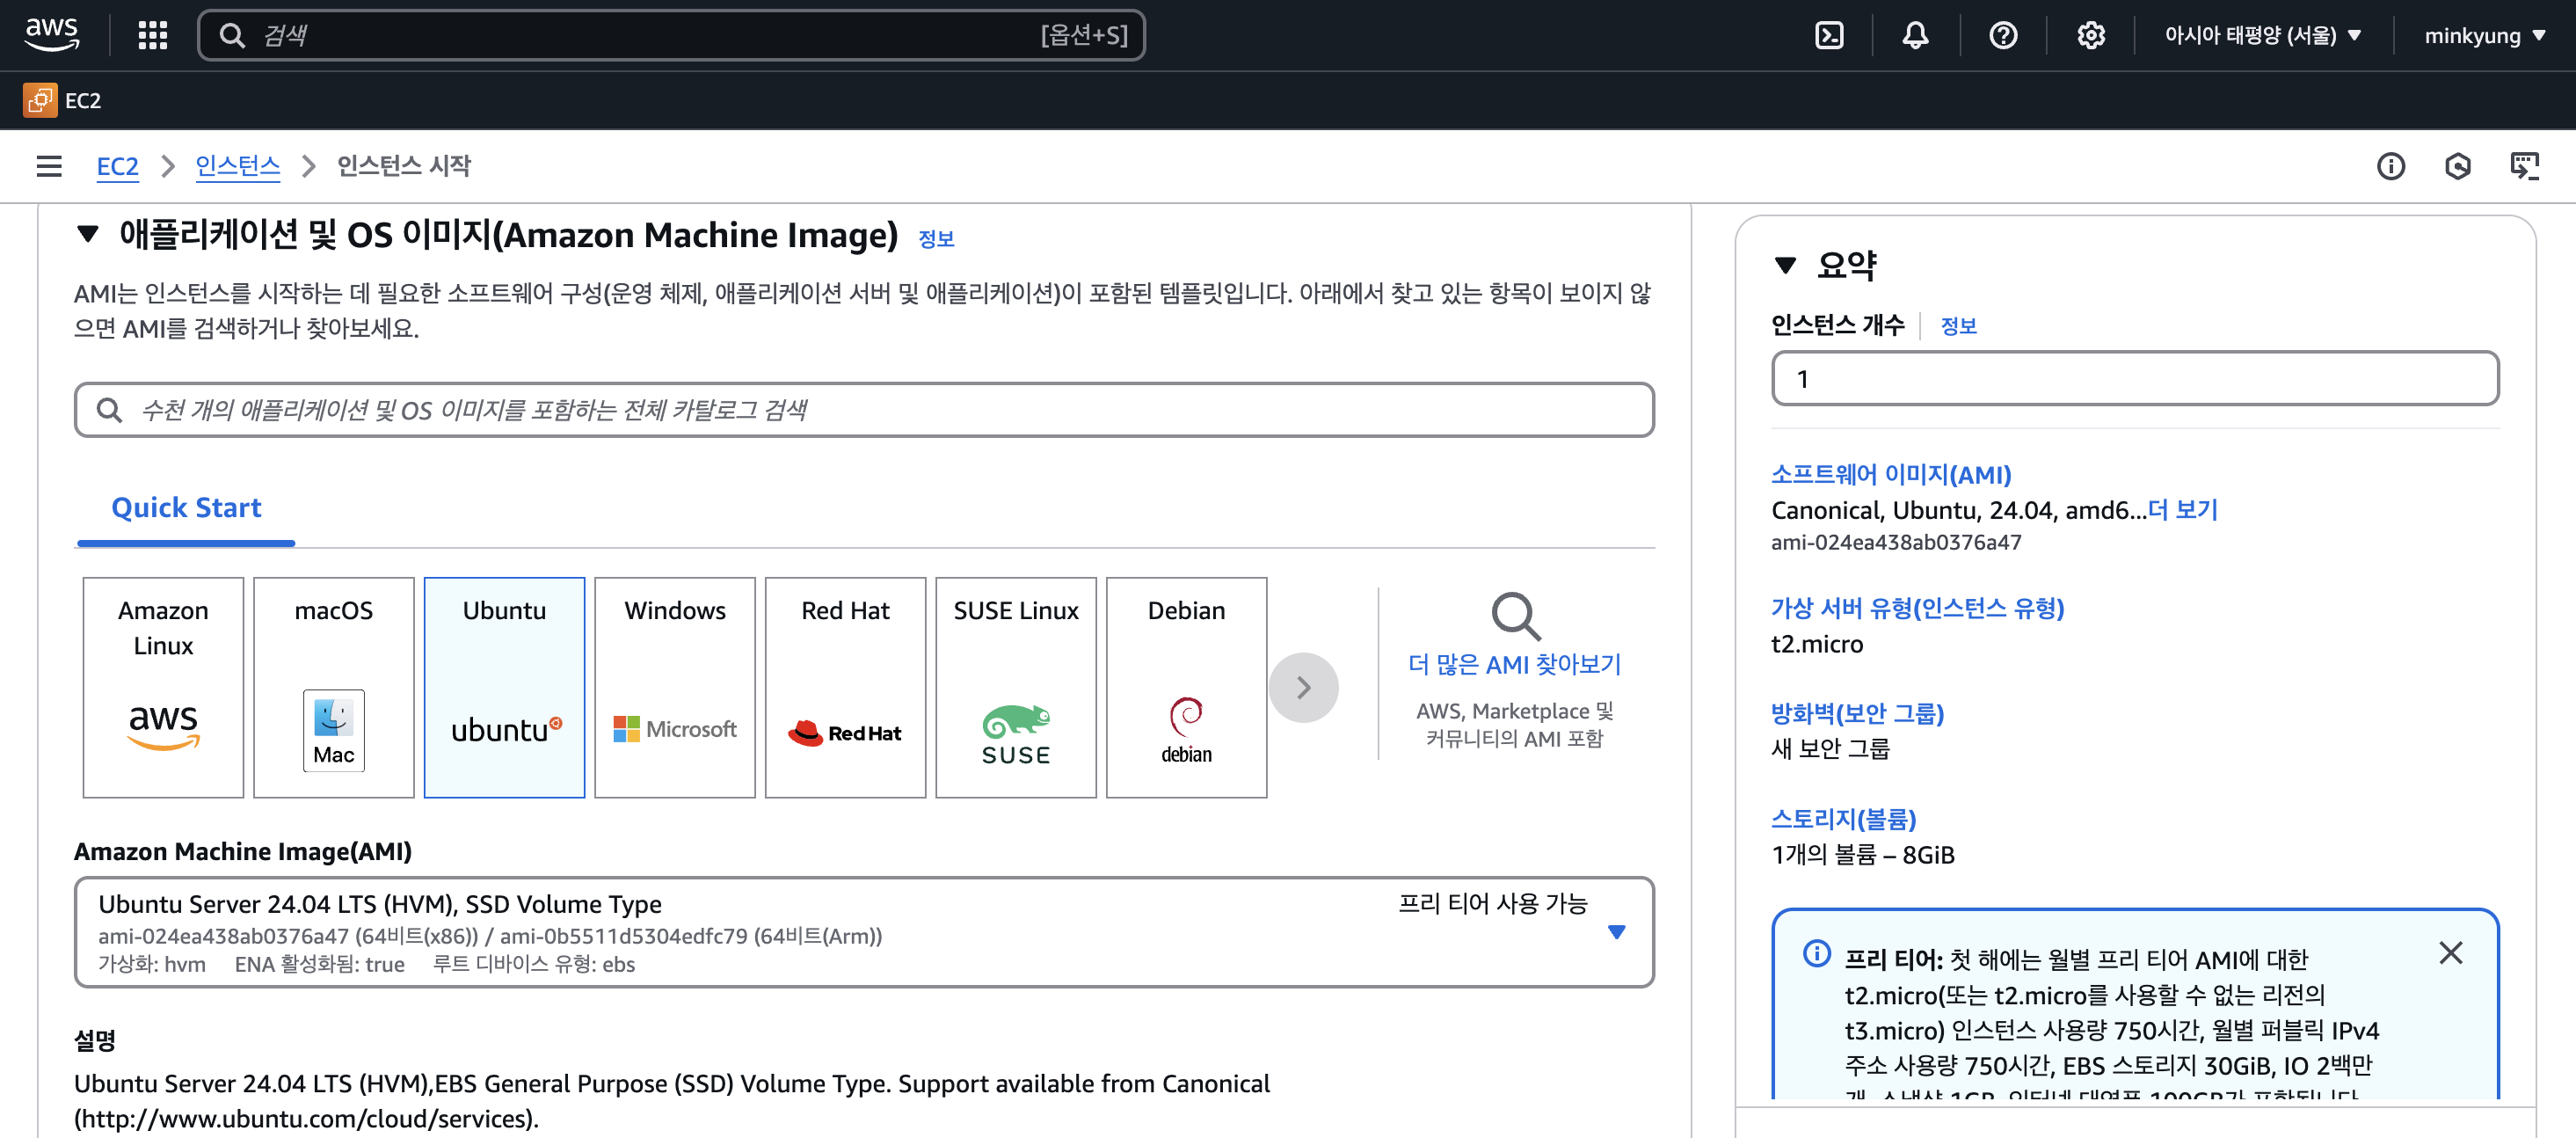
애플레케이션 및 OS 이미지에는
Ubuntu로 해줄게요
그리고 Amazon Machine Image는 눌렀을 때 제일 상단에 있는 걸로 설정해 주세요

손대지 않고 그대로 내려갔어요

키페어를 만들어줄게요
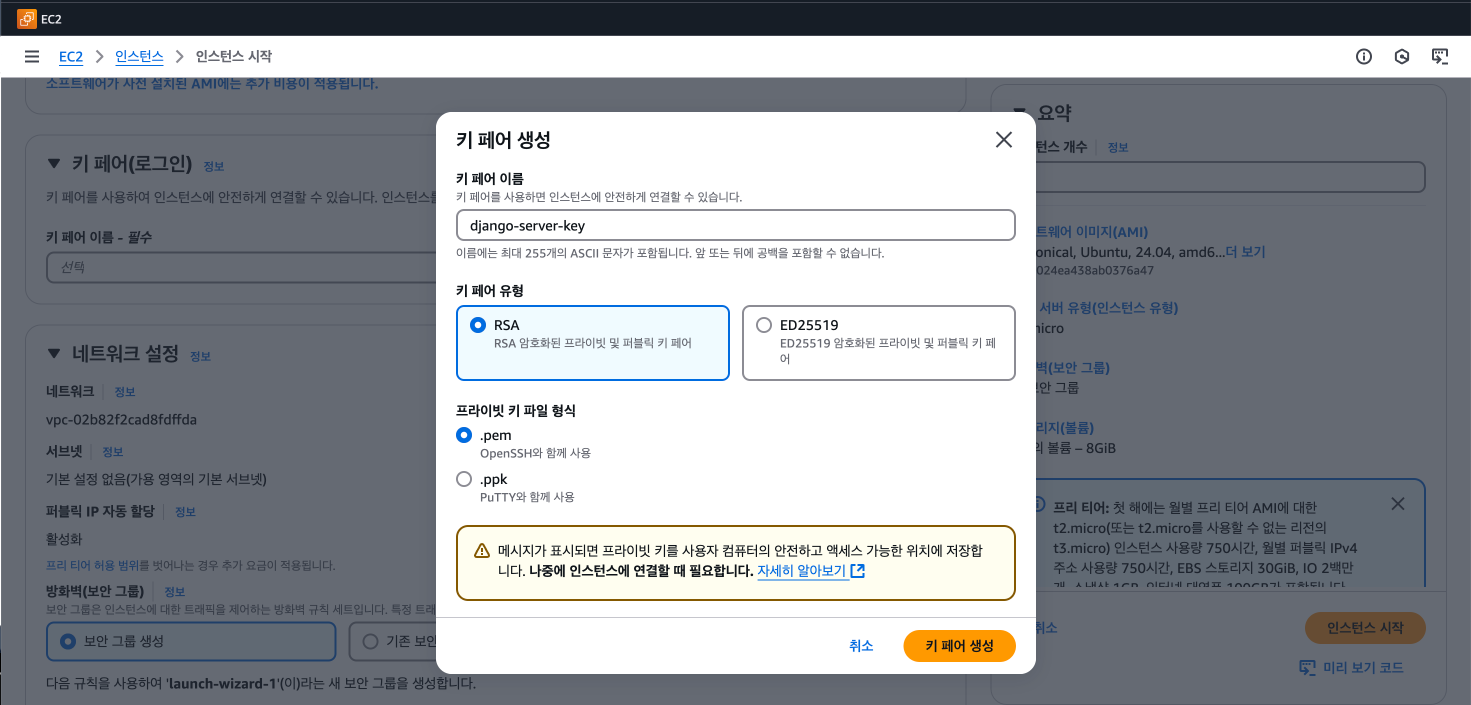
이렇게 입력해 주시고
키 페어 생성을 눌러주세요

그러면 무언가 다운로드가 될 거예요
잘 보관해 주세요
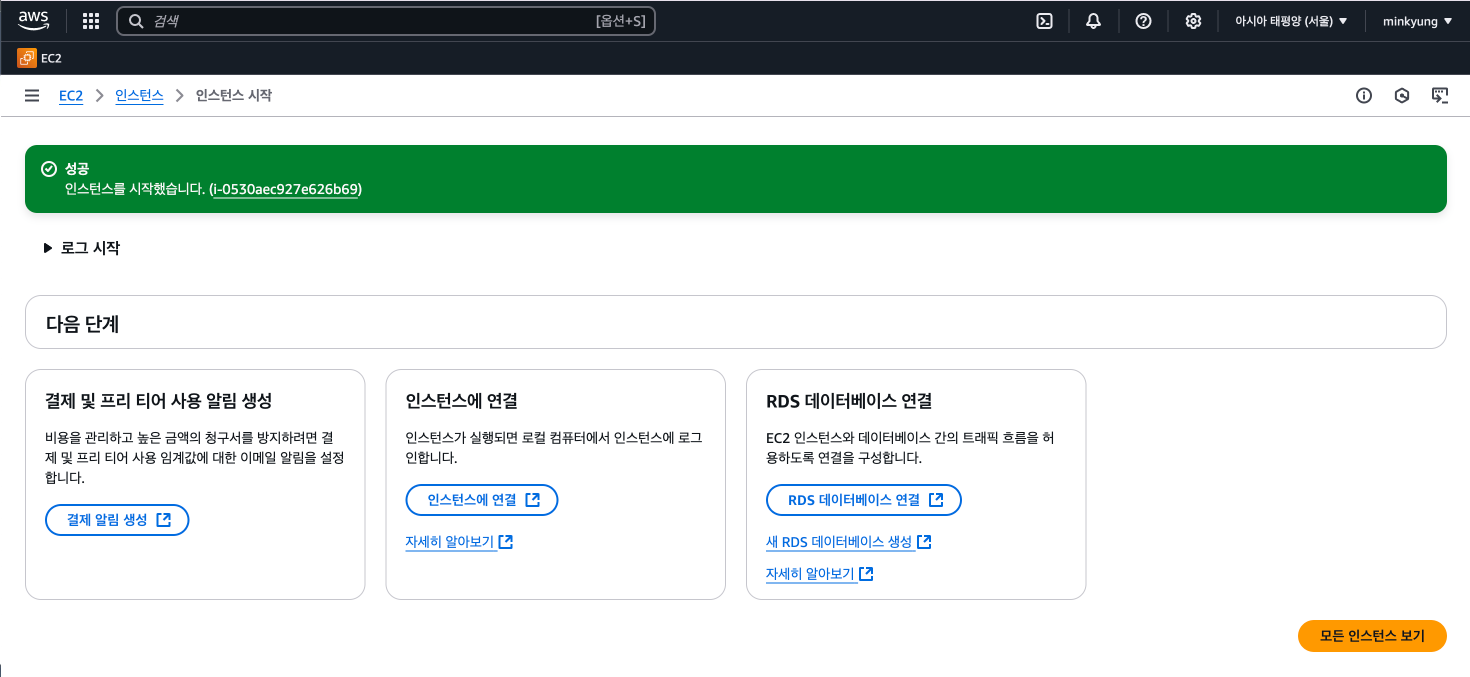
쭉쭉 내려서, 인스턴스 시작을 눌러줄게요
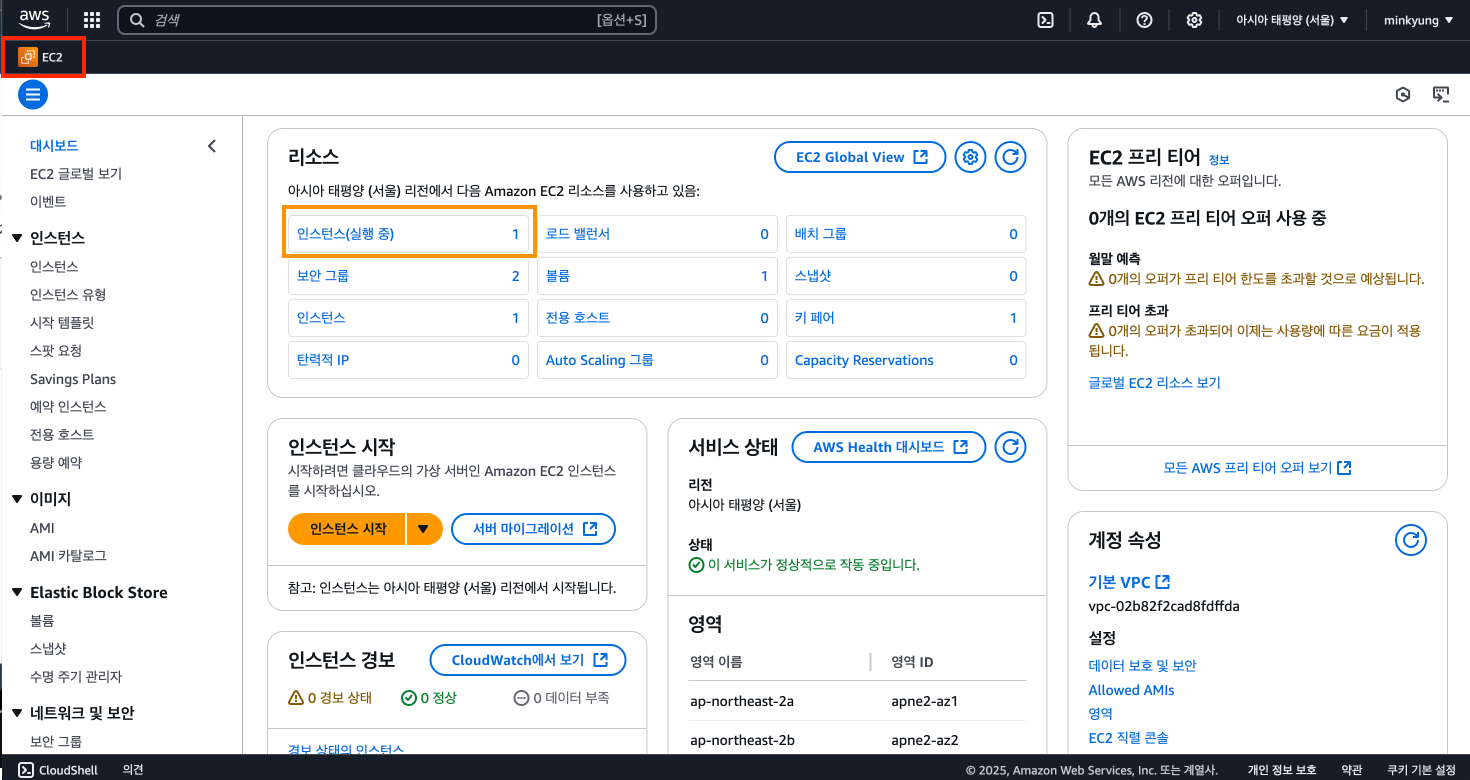
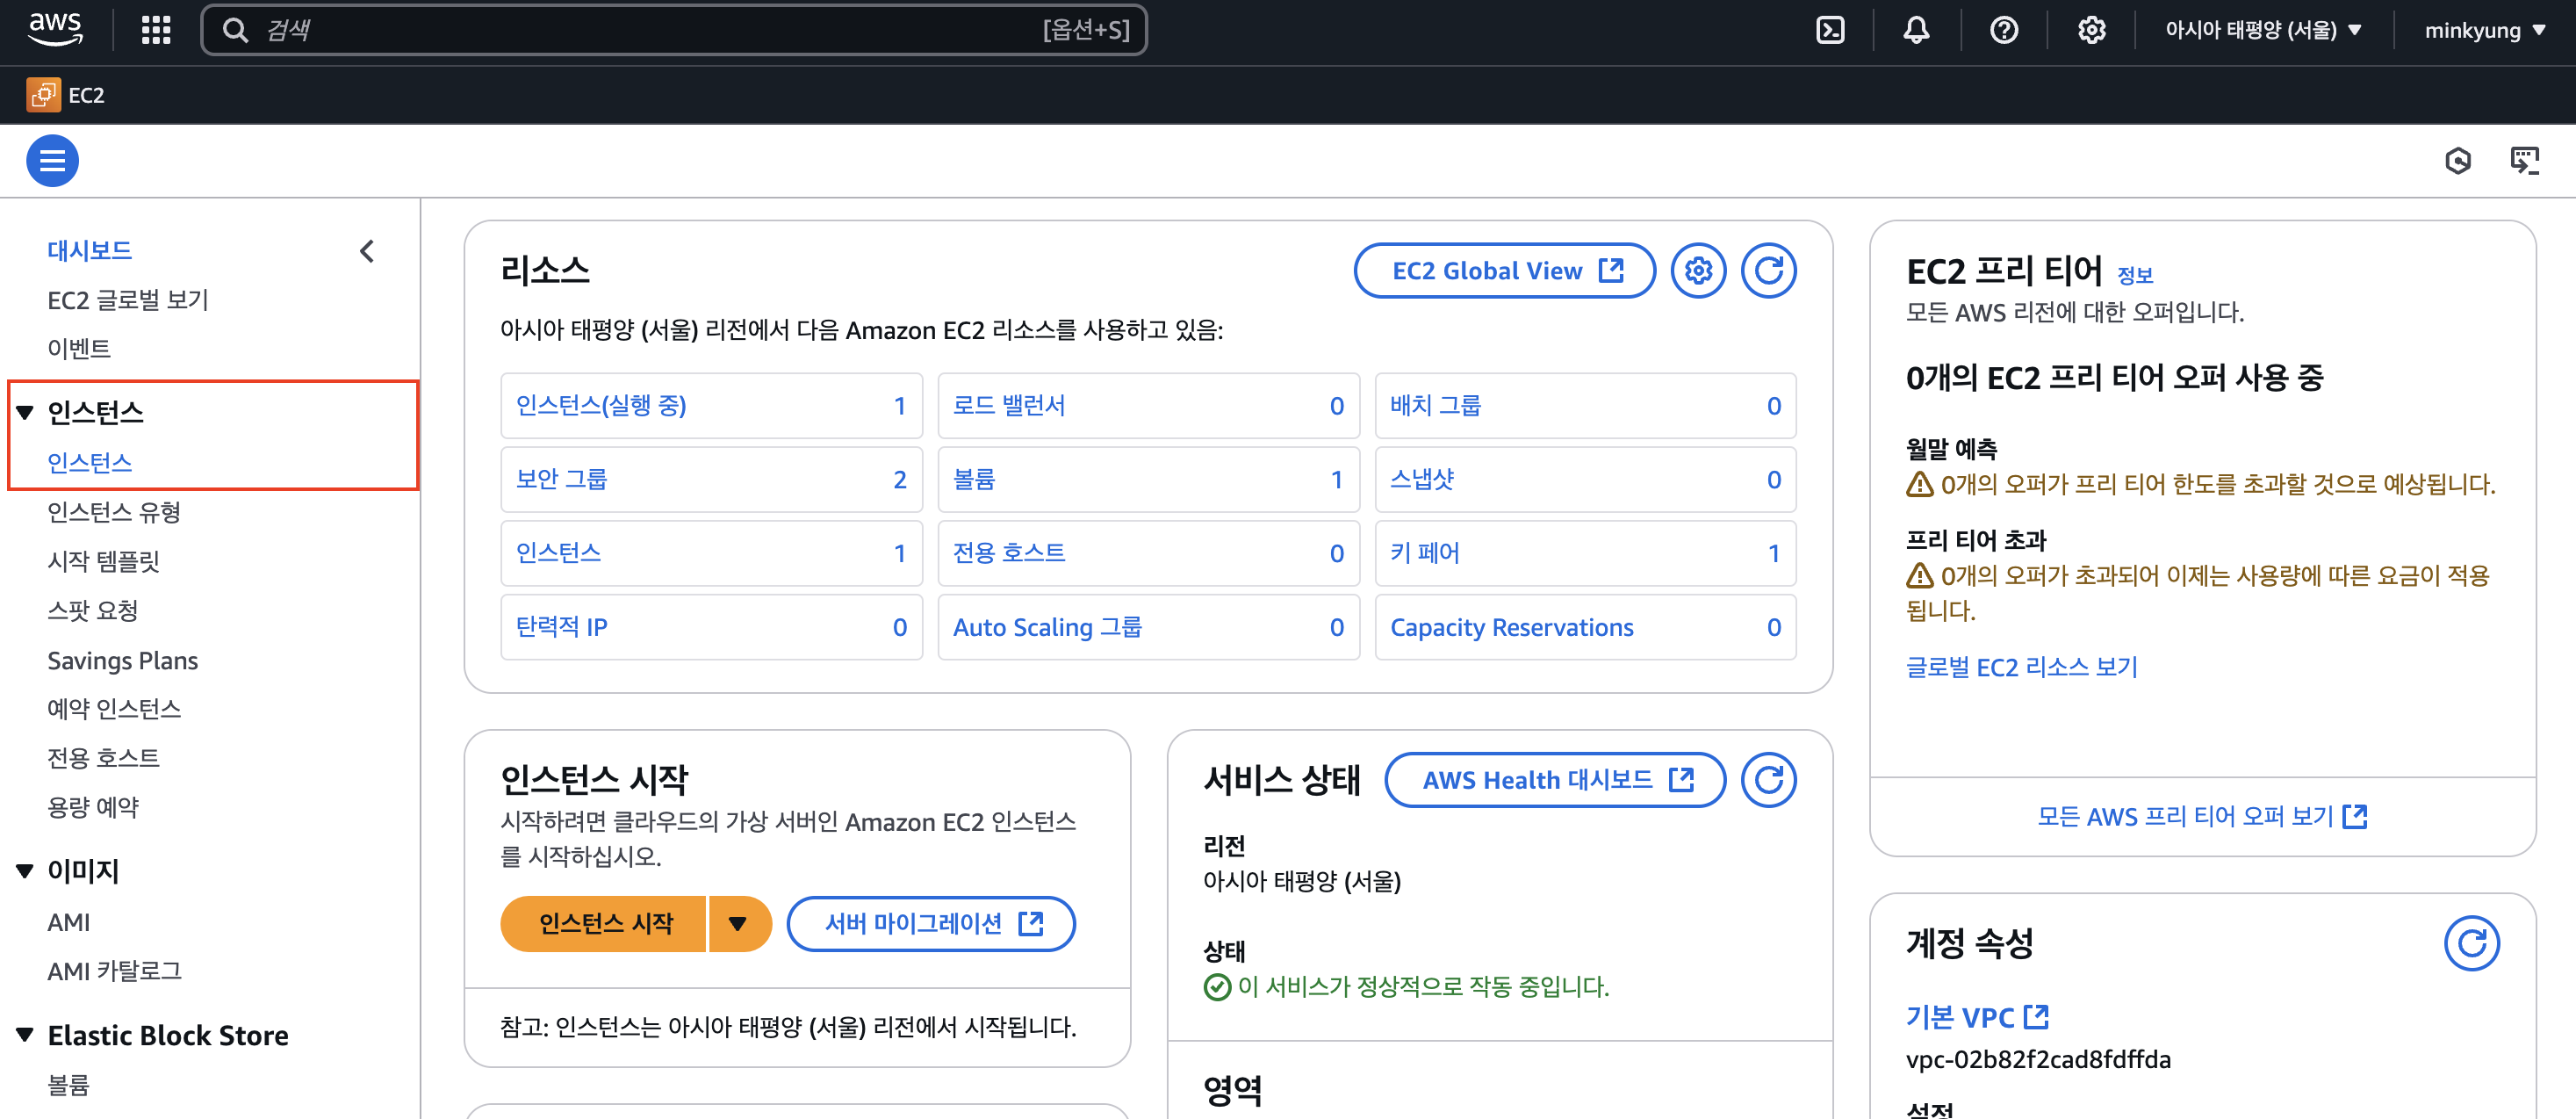
생성이 완료된 후, EC2를 다시 눌러서 홈으로 돌아와 주세요
그러면 인스턴스(실행 중)가 1개가 생겼을 거예요
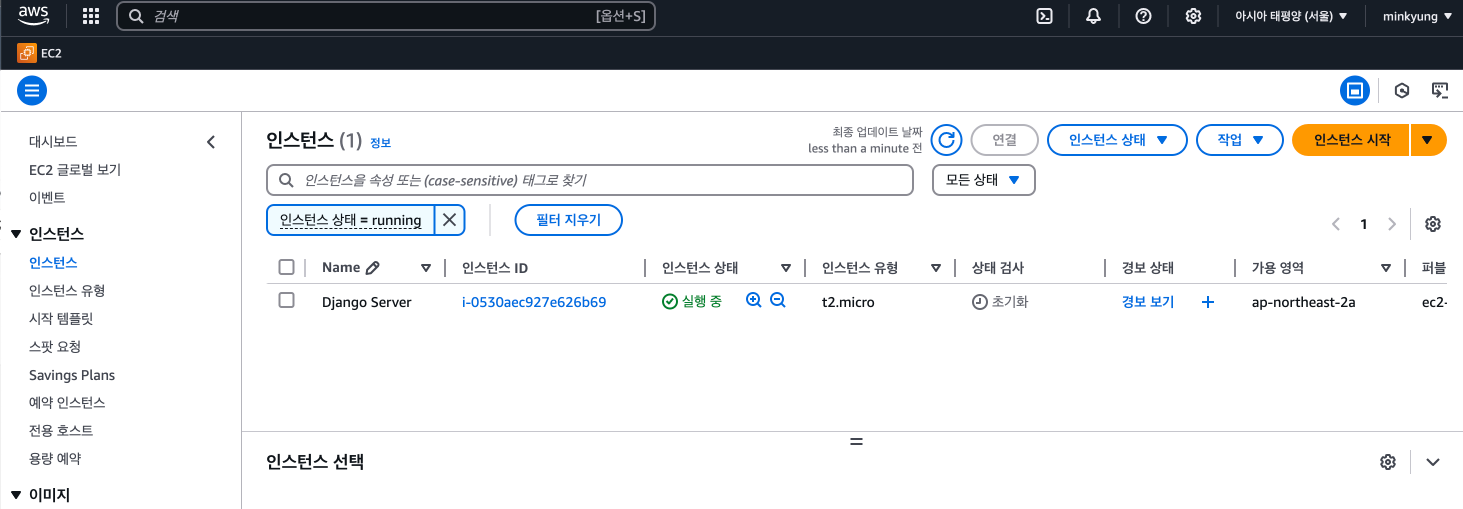
이렇게 보이시면! 인스턴스 생성 완료입니다!
2. AWS EC2 인스턴스 접속
2.1. macOS
- 터미널을 이용해서 접속 가능
- 다운로드 받아둔 .pem 파일을 사용해서 접속
- ssh -i [키 페어 파일] [유저 이름]@[퍼블릭 DNS 주소]
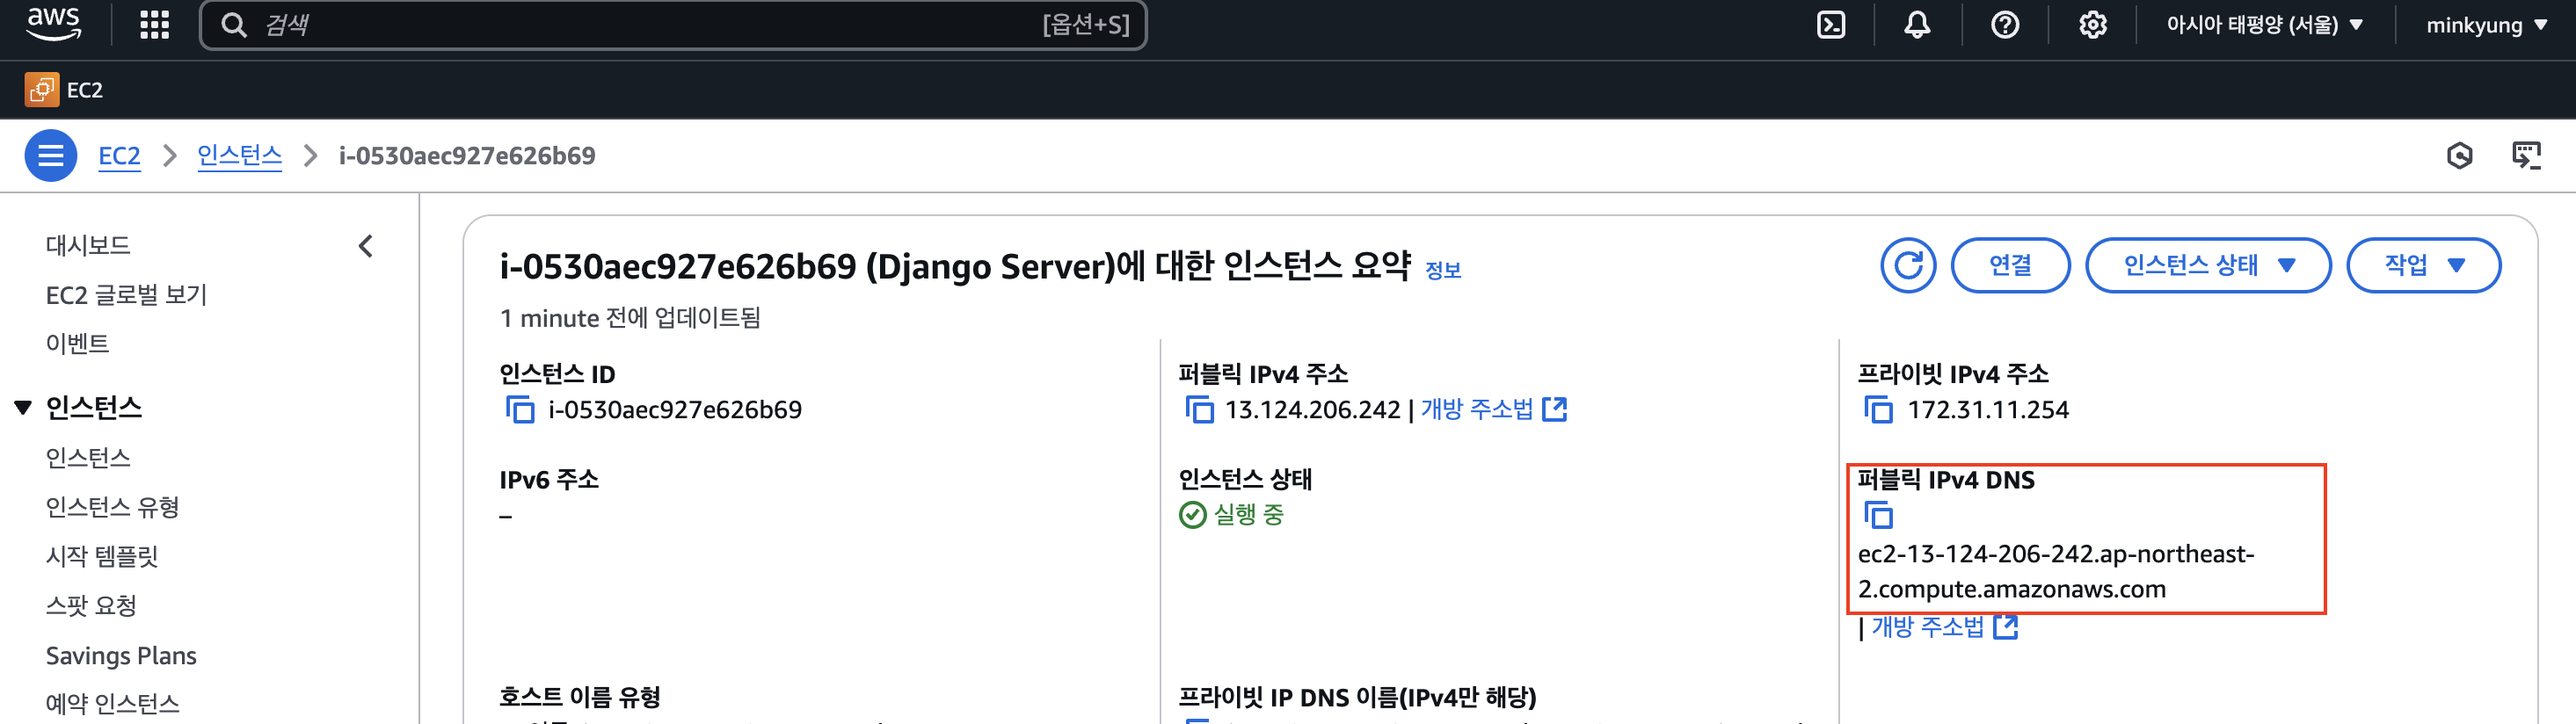
퍼블릭 DNS 주소는 aws에 있어요!
터미널을 켜주세요
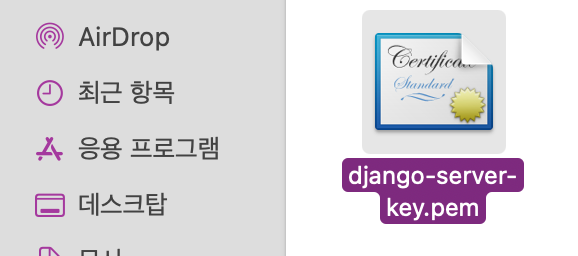
아까 다운로드한 키 페어 파일의 링크를 알아내기 위해서 command + option + C를 눌러주세요
그러면 파일 경로가 복사돼요
ssh -i [키 페어 파일] [유저 이름]@[퍼블릭 DNS 주소]
유저 이름에는 아까 설정했던, ubuntu로 해주시면 돼요
퍼블릭 DNS 주소는 aws에 있어요!

그러면 물어볼 거예요
yes를 입력해 주시면 됩니다
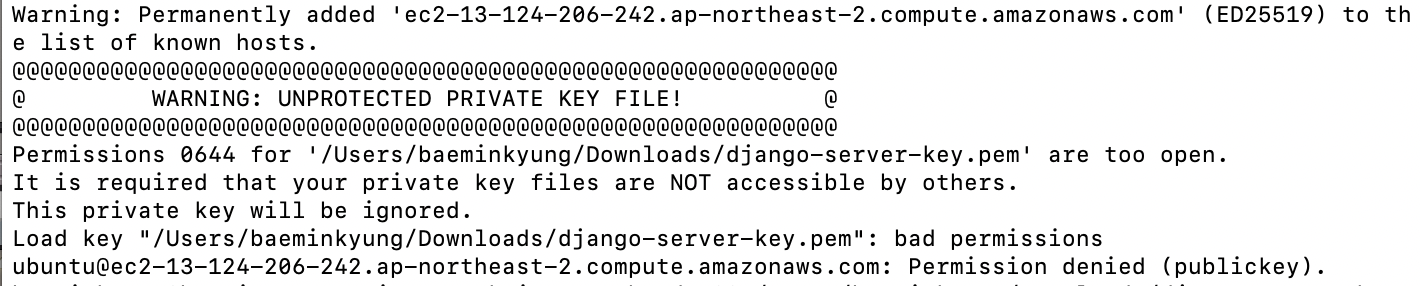
그러면 Warning이라는 문구가 뜰 거예요
파일에 대한 권한을 변경해야 하는 걸 의미해요
그러니
chmod 400 [키 페어 파일 경로]
을 입력한 후 Enter을 눌러주시고
다시 한번 더
ssh -i [키 페어 파일] [유저 이름]@[퍼블릭 DNS 주소]을 입력 후 엔터를 눌러주시면


이렇게 뜨게 되면서 저의 mac이 아니라 ubuntu의 컴퓨터에 접속하게 됩니다.
3. Github에 코드 올리기
- 왜 해야 하죠?
- 우리 컴퓨터가 아니라 임대한 컴퓨터(EC2)에 코드를 옮겨야 하니까!
- repository 생성 후 push 해주세요 🙂
- requirements.txt 최신 버전으로 다시 한번 freeze 하기!
- .gitignore 꼭 잘 설정하기!
- 추천 gitignore
- 아래 내용을 .gitignore 에 붙여 넣고 필요할 경우 더 추가해서 사용해 보자 ↓
# Created by <https://www.toptal.com/developers/gitignore/api/windows,macos,python,venv,visualstudiocode,django,pycharm>
# Edit at <https://www.toptal.com/developers/gitignore?templates=windows,macos,python,venv,visualstudiocode,django,pycharm>

### Custom ###
config.py

### Django ###
*.log
*.pot
*.pyc
__pycache__/
local_settings.py
db.sqlite3
db.sqlite3-journal
media

# If your build process includes running collectstatic, then you probably don't need or want to include staticfiles/
# in your Git repository. Update and uncomment the following line accordingly.
# /staticfiles/

### Django.Python Stack ###
# Byte-compiled / optimized / DLL files
*.py[cod]
*$py.class

# C extensions
*.so

# Distribution / packaging
.Python
build/
develop-eggs/
dist/
downloads/
eggs/
.eggs/
lib/
lib64/
parts/
sdist/
var/
wheels/
share/python-wheels/
*.egg-info/
.installed.cfg
*.egg
MANIFEST

# PyInstaller
#  Usually these files are written by a python script from a template
#  before PyInstaller builds the exe, so as to inject date/other infos into it.
*.manifest
*.spec

# Installer logs
pip-log.txt
pip-delete-this-directory.txt

# Unit test / coverage reports
htmlcov/
.tox/
.nox/
.coverage
.coverage.*
.cache
nosetests.xml
coverage.xml
*.cover
*.py,cover
.hypothesis/
.pytest_cache/
cover/

# Translations
*.mo

# Django stuff:

# Flask stuff:
instance/
.webassets-cache

# Scrapy stuff:
.scrapy

# Sphinx documentation
docs/_build/

# PyBuilder
.pybuilder/
target/

# Jupyter Notebook
.ipynb_checkpoints

# IPython
profile_default/
ipython_config.py

# pyenv
#   For a library or package, you might want to ignore these files since the code is
#   intended to run in multiple environments; otherwise, check them in:
# .python-version

# pipenv
#   According to pypa/pipenv#598, it is recommended to include Pipfile.lock in version control.
#   However, in case of collaboration, if having platform-specific dependencies or dependencies
#   having no cross-platform support, pipenv may install dependencies that don't work, or not
#   install all needed dependencies.
#Pipfile.lock

# poetry
#   Similar to Pipfile.lock, it is generally recommended to include poetry.lock in version control.
#   This is especially recommended for binary packages to ensure reproducibility, and is more
#   commonly ignored for libraries.
#   <https://python-poetry.org/docs/basic-usage/#commit-your-poetrylock-file-to-version-control>
#poetry.lock

# pdm
#   Similar to Pipfile.lock, it is generally recommended to include pdm.lock in version control.
#pdm.lock
#   pdm stores project-wide configurations in .pdm.toml, but it is recommended to not include it
#   in version control.
#   <https://pdm.fming.dev/#use-with-ide>
.pdm.toml

# PEP 582; used by e.g. github.com/David-OConnor/pyflow and github.com/pdm-project/pdm
__pypackages__/

# Celery stuff
celerybeat-schedule
celerybeat.pid

# SageMath parsed files
*.sage.py

# Environments
.env
.venv
env/
venv/
ENV/
env.bak/
venv.bak/

# Spyder project settings
.spyderproject
.spyproject

# Rope project settings
.ropeproject

# mkdocs documentation
/site

# mypy
.mypy_cache/
.dmypy.json
dmypy.json

# Pyre type checker
.pyre/

# pytype static type analyzer
.pytype/

# Cython debug symbols
cython_debug/

# PyCharm
#  JetBrains specific template is maintained in a separate JetBrains.gitignore that can
#  be found at <https://github.com/github/gitignore/blob/main/Global/JetBrains.gitignore>
#  and can be added to the global gitignore or merged into this file.  For a more nuclear
#  option (not recommended) you can uncomment the following to ignore the entire idea folder.
#.idea/

### macOS ###
# General
.DS_Store
.AppleDouble
.LSOverride

# Icon must end with two \\r
Icon

# Thumbnails
._*

# Files that might appear in the root of a volume
.DocumentRevisions-V100
.fseventsd
.Spotlight-V100
.TemporaryItems
.Trashes
.VolumeIcon.icns
.com.apple.timemachine.donotpresent

# Directories potentially created on remote AFP share
.AppleDB
.AppleDesktop
Network Trash Folder
Temporary Items
.apdisk

### macOS Patch ###
# iCloud generated files
*.icloud

### PyCharm ###
# Covers JetBrains IDEs: IntelliJ, RubyMine, PhpStorm, AppCode, PyCharm, CLion, Android Studio, WebStorm and Rider
# Reference: <https://intellij-support.jetbrains.com/hc/en-us/articles/206544839>

# User-specific stuff
.idea/**/workspace.xml
.idea/**/tasks.xml
.idea/**/usage.statistics.xml
.idea/**/dictionaries
.idea/**/shelf

# AWS User-specific
.idea/**/aws.xml

# Generated files
.idea/**/contentModel.xml

# Sensitive or high-churn files
.idea/**/dataSources/
.idea/**/dataSources.ids
.idea/**/dataSources.local.xml
.idea/**/sqlDataSources.xml
.idea/**/dynamic.xml
.idea/**/uiDesigner.xml
.idea/**/dbnavigator.xml

# Gradle
.idea/**/gradle.xml
.idea/**/libraries

# Gradle and Maven with auto-import
# When using Gradle or Maven with auto-import, you should exclude module files,
# since they will be recreated, and may cause churn.  Uncomment if using
# auto-import.
# .idea/artifacts
# .idea/compiler.xml
# .idea/jarRepositories.xml
# .idea/modules.xml
# .idea/*.iml
# .idea/modules
# *.iml
# *.ipr

# CMake
cmake-build-*/

# Mongo Explorer plugin
.idea/**/mongoSettings.xml

# File-based project format
*.iws

# IntelliJ
out/

# mpeltonen/sbt-idea plugin
.idea_modules/

# JIRA plugin
atlassian-ide-plugin.xml

# Cursive Clojure plugin
.idea/replstate.xml

# SonarLint plugin
.idea/sonarlint/

# Crashlytics plugin (for Android Studio and IntelliJ)
com_crashlytics_export_strings.xml
crashlytics.properties
crashlytics-build.properties
fabric.properties

# Editor-based Rest Client
.idea/httpRequests

# Android studio 3.1+ serialized cache file
.idea/caches/build_file_checksums.ser

### PyCharm Patch ###
# Comment Reason: <https://github.com/joeblau/gitignore.io/issues/186#issuecomment-215987721>

# *.iml
# modules.xml
# .idea/misc.xml
# *.ipr

# Sonarlint plugin
# <https://plugins.jetbrains.com/plugin/7973-sonarlint>
.idea/**/sonarlint/

# SonarQube Plugin
# <https://plugins.jetbrains.com/plugin/7238-sonarqube-community-plugin>
.idea/**/sonarIssues.xml

# Markdown Navigator plugin
# <https://plugins.jetbrains.com/plugin/7896-markdown-navigator-enhanced>
.idea/**/markdown-navigator.xml
.idea/**/markdown-navigator-enh.xml
.idea/**/markdown-navigator/

# Cache file creation bug
# See <https://youtrack.jetbrains.com/issue/JBR-2257>
.idea/$CACHE_FILE$

# CodeStream plugin
# <https://plugins.jetbrains.com/plugin/12206-codestream>
.idea/codestream.xml

# Azure Toolkit for IntelliJ plugin
# <https://plugins.jetbrains.com/plugin/8053-azure-toolkit-for-intellij>
.idea/**/azureSettings.xml

### Python ###
# Byte-compiled / optimized / DLL files

# C extensions

# Distribution / packaging

# PyInstaller
#  Usually these files are written by a python script from a template
#  before PyInstaller builds the exe, so as to inject date/other infos into it.

# Installer logs

# Unit test / coverage reports

# Translations

# Django stuff:

# Flask stuff:

# Scrapy stuff:

# Sphinx documentation

# PyBuilder

# Jupyter Notebook

# IPython

# pyenv
#   For a library or package, you might want to ignore these files since the code is
#   intended to run in multiple environments; otherwise, check them in:
# .python-version

# pipenv
#   According to pypa/pipenv#598, it is recommended to include Pipfile.lock in version control.
#   However, in case of collaboration, if having platform-specific dependencies or dependencies
#   having no cross-platform support, pipenv may install dependencies that don't work, or not
#   install all needed dependencies.

# poetry
#   Similar to Pipfile.lock, it is generally recommended to include poetry.lock in version control.
#   This is especially recommended for binary packages to ensure reproducibility, and is more
#   commonly ignored for libraries.
#   <https://python-poetry.org/docs/basic-usage/#commit-your-poetrylock-file-to-version-control>

# pdm
#   Similar to Pipfile.lock, it is generally recommended to include pdm.lock in version control.
#   pdm stores project-wide configurations in .pdm.toml, but it is recommended to not include it
#   in version control.
#   <https://pdm.fming.dev/#use-with-ide>

# PEP 582; used by e.g. github.com/David-OConnor/pyflow and github.com/pdm-project/pdm

# Celery stuff

# SageMath parsed files

# Environments

# Spyder project settings

# Rope project settings

# mkdocs documentation

# mypy

# Pyre type checker

# pytype static type analyzer

# Cython debug symbols

# PyCharm
#  JetBrains specific template is maintained in a separate JetBrains.gitignore that can
#  be found at <https://github.com/github/gitignore/blob/main/Global/JetBrains.gitignore>
#  and can be added to the global gitignore or merged into this file.  For a more nuclear
#  option (not recommended) you can uncomment the following to ignore the entire idea folder.

### Python Patch ###
# Poetry local configuration file - <https://python-poetry.org/docs/configuration/#local-configuration>
poetry.toml

# ruff
.ruff_cache/

# LSP config files
pyrightconfig.json

### venv ###
# Virtualenv
# <http://iamzed.com/2009/05/07/a-primer-on-virtualenv/>
[Bb]in
[Ii]nclude
[Ll]ib
[Ll]ib64
[Ll]ocal
[Ss]cripts
pyvenv.cfg
pip-selfcheck.json

### VisualStudioCode ###
.vscode/*
!.vscode/settings.json
!.vscode/tasks.json
!.vscode/launch.json
!.vscode/extensions.json
!.vscode/*.code-snippets

# Local History for Visual Studio Code
.history/

# Built Visual Studio Code Extensions
*.vsix

### VisualStudioCode Patch ###
# Ignore all local history of files
.history
.ionide

### Windows ###
# Windows thumbnail cache files
Thumbs.db
Thumbs.db:encryptable
ehthumbs.db
ehthumbs_vista.db

# Dump file
*.stackdump

# Folder config file
[Dd]esktop.ini

# Recycle Bin used on file shares
$RECYCLE.BIN/

# Windows Installer files
*.cab
*.msi
*.msix
*.msm
*.msp

# Windows shortcuts
*.lnk

# End of <https://www.toptal.com/developers/gitignore/api/windows,macos,python,venv,visualstudiocode,django,pycharm>
- config.py 올리면 안 된다!
- 가상 환경 폴더도 꼭 제외하자! (venv , .venv 등)
4. AWS EC2 기본 설정
- IaaS 이므로 우리는 인프라를 서비스받고 있음
- 모든 설정을 직접 해주는 것이 필요
4.1. 기본 프로그램 설치 및 설정

sudo apt-get update # 패키지 정보 업데이트설치 돼 있는 패키지들을 업데이트해 주는 명령어예요!
혹시 모르니 업데이트해 줍니다
sudo apt-get install python3-pip
파이썬 깔아줄게요
잘 가다가 물어봅니다
Y 입력해 주세요
설치 끝

확실하게 잘 깔렸네요
5. Code Clone 및 패키지 설치하기
5.1. EC2에서 Clone 받기

git clone {repository 주소}

git 레퍼지토리가 생겼어요!

레퍼지토리에 들어가 줄게요
5.2. 패키지 설치하기
- 우리 Django 프로젝트를 실행하기 위해서는 다양한 패키지가 필요해요!
- 우리에게 필요한 패키지는 requirements.txt 안에 버전과 함께 모두 명시되어 있답니다!
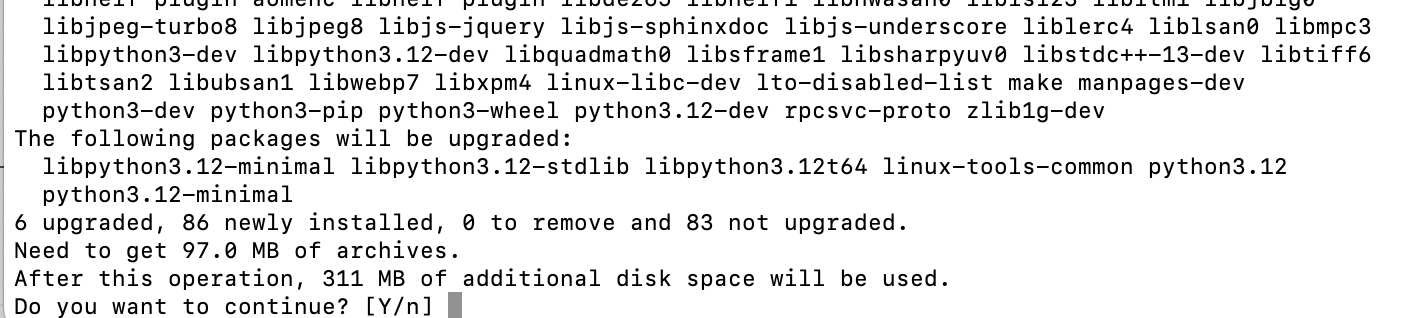
sudo apt-get install build-essential libpq-dev -yrequirements 설치 시 필요할 수 있는 시스템 패키지 사전 설치
(중간에 나오는 창에서는 모두 OK로 진행해 주세요)

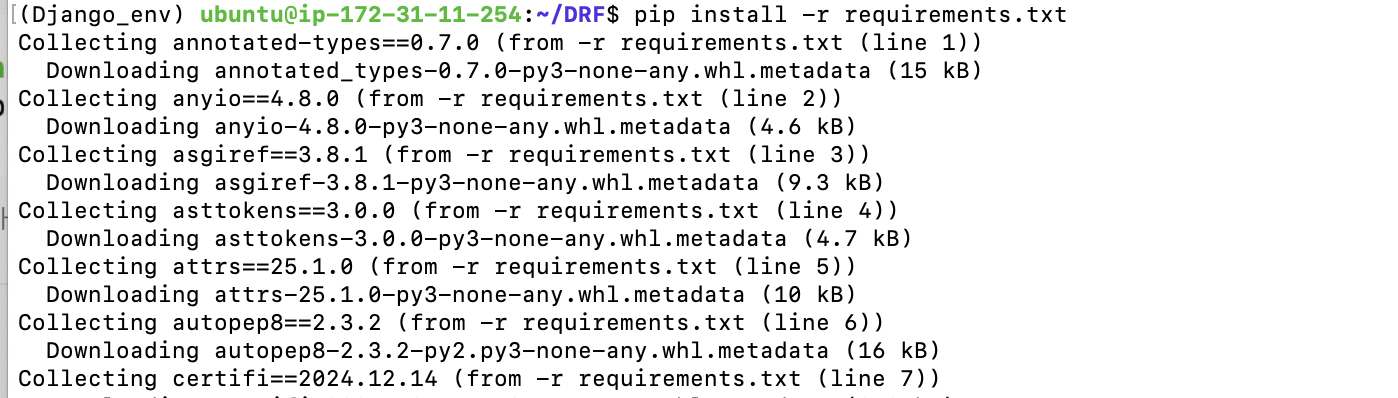
pip install -r requirements.txt
requirements를 참고하며 모든 패키지를 버전에 맞게 설치해요
만약 설치가 안 되신다면 가상환경을 만들어주셔야 해요
sudo apt update
sudo apt install python3.12-venv
# 가상환경 생성
python3.12 -m venv Django_env# 가상환경 활성화
source Django_env/bin/activate6. Django 실행해 보고 설정하기
6.1. 일단 실행해 보기
- 우선 Django 프로젝트를 실행해 봅시다!
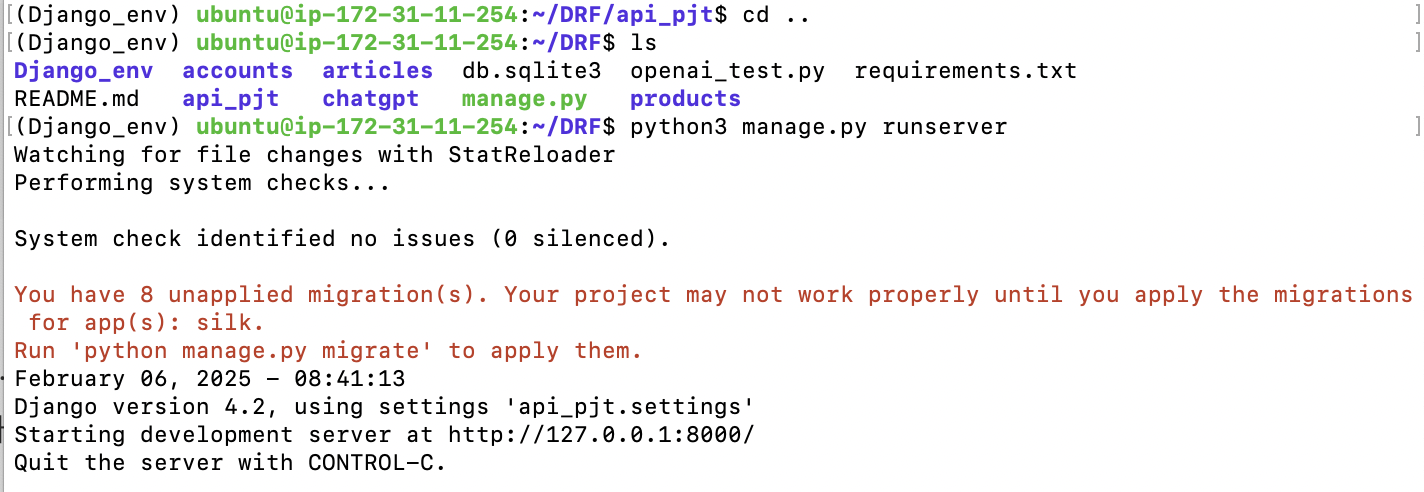
python3 manage.py runserver
실행이 안 돼요
config를 가져올 수 없대요
6.2. config(env) 파일
6.2.1. 홈 디렉터리에 config.py 파일 생성

settings.py가 있는 폴더에서 수행해 주세요

touch config.py
config.py 파일을 생성해 주세요
6.2.2. vi를 사용해서 편집
- vi 편집기는 Shell 환경 해서 문서를 편집할 수 있는 도구로 모드 전환을 통해 간단하게 입력 및 수정을 할 수 있음
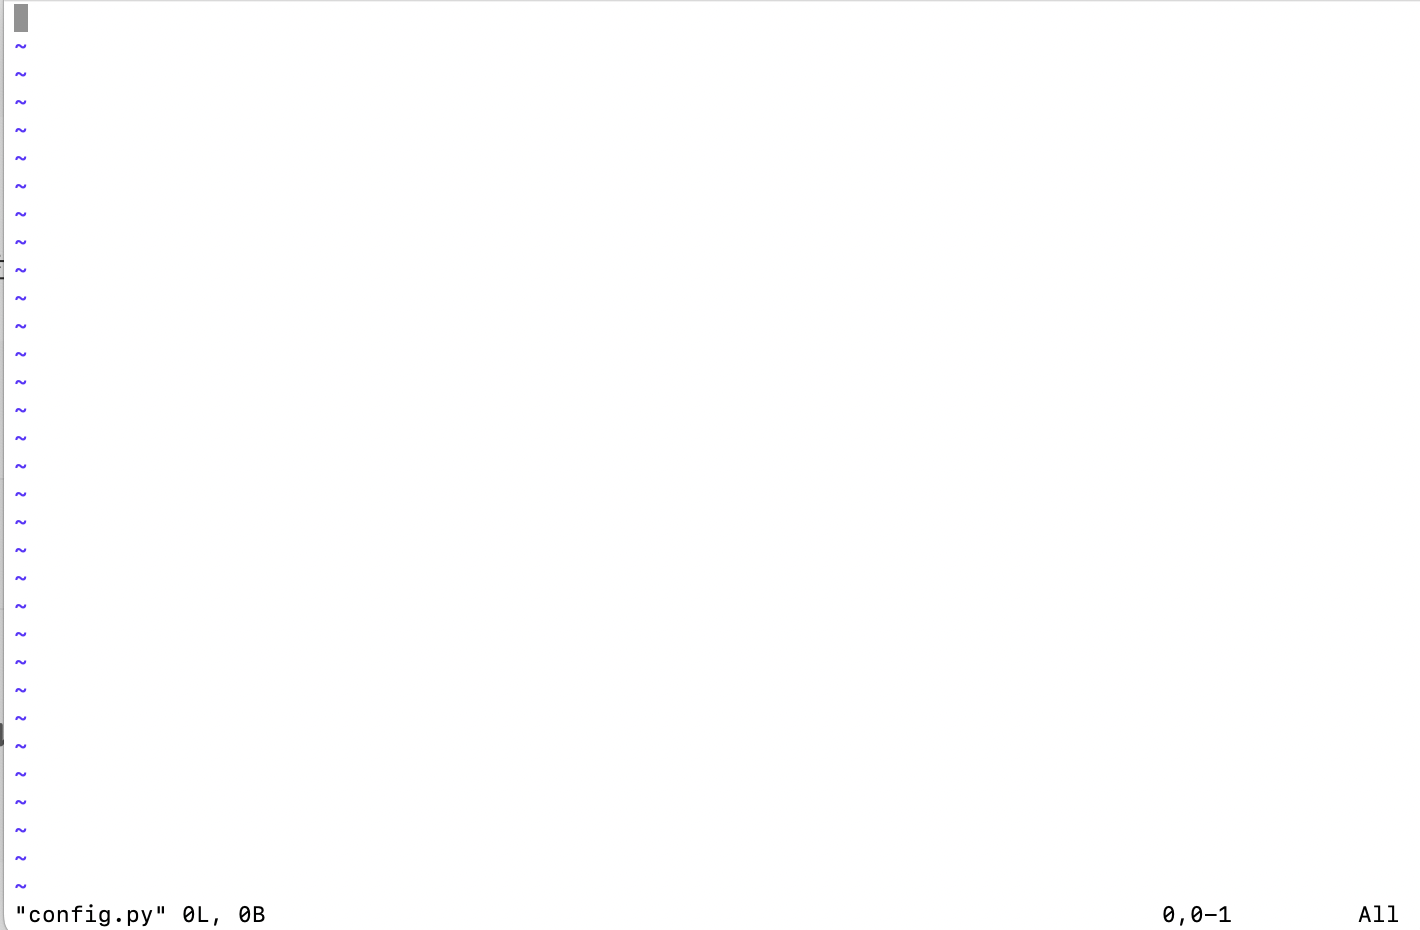
vi config.pyi를 입력하면 INSERT 모드가 되고 이제 파일을 편집할 수 있음 ↓

원래의 config 파일에서 복사 후 붙여 넣기

esc를 눌러서 편집모드 종료

esc를 누르면 INSERT 문구가 사라져요
:wq를 입력해서 저장 후 종료

:wq라는 거 자체가, 쓰고 난 후에(w) 나가기(q)라는 뜻이에요
그래서 다시 터미널 창으로 나와지게 될 거예요
6.2.3. 작성한 config.py 파일 옮기기
- 지금 위치에 config.py 파일이 있으면 Django는 실행할 수 없다.
- 우리가 원래 원하는 위치인 api_pjt/config.py로 옮겨주어야 한다.
- DRF/api_pjt/config.py 이렇게 되어야 한다.
어차피 api_pjt 폴더 안에서 config.py를 만들어주어서
상위 위치로 이동하여 python3 manage.py runserver 해주면, 서버가 잘 실행됨을 알 수 있어요
그래도 혹시 모르니,
cd ~ # 홈 위치에서cp config.py edu-django-test/api_pjt # config.py 파일을 원하는 위치로 복사6.3. 현재 상태 이해하기
6.3.1 migrate 하기
8개를 migrations 해줘야 한대요
mac 기준으로, Control + C를 눌러주시고 진행해 주세요
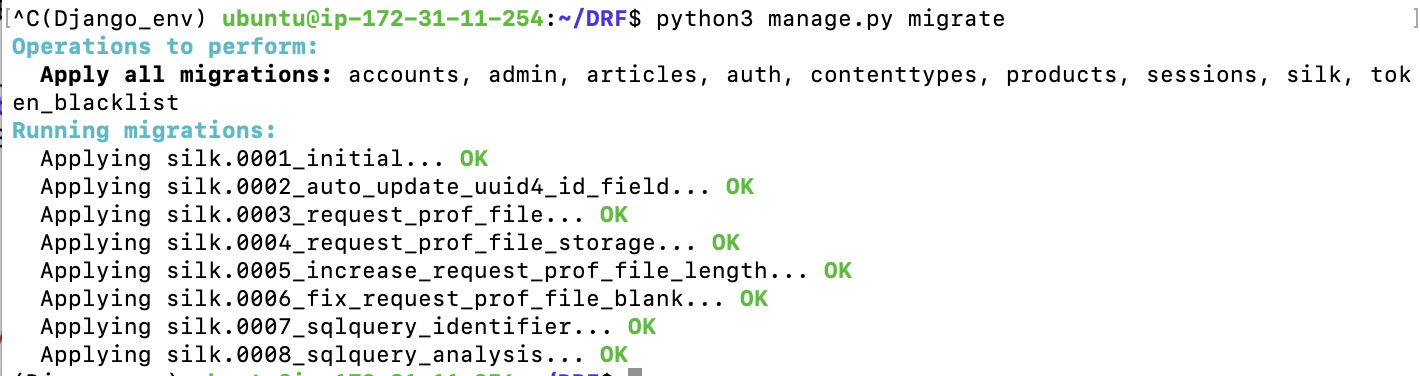
python3 manage.py migrate
makemigrations를 하라는 명령은 없어야 해요
6.3.2. superuser 생성
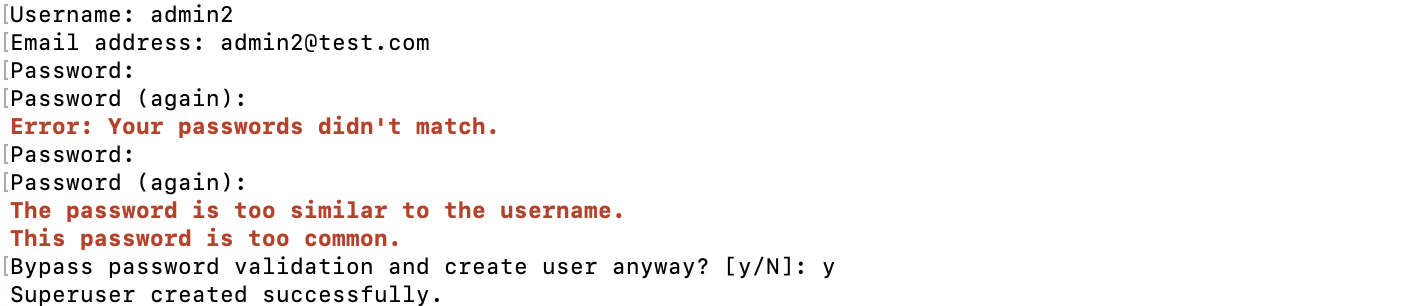
python3 manage.py createsuperuser7. 포트 개방하고 접속해 보기
이번엔 아래 명령어를 이용해서 서버를 실행해 봅시다
python3 manage.py runserver 0:8000
- 0 : 이 서버에 접속 할 수 있도록 함
- 8000 : 8000번 포트로 접속을 허용

7.1. 포트 열어주기
아직 EC2에서 8000 포트로의 접속을 허용해주지 않았기 때문에 서버가 열리지 않아요
aws에게 알려줘야 해요
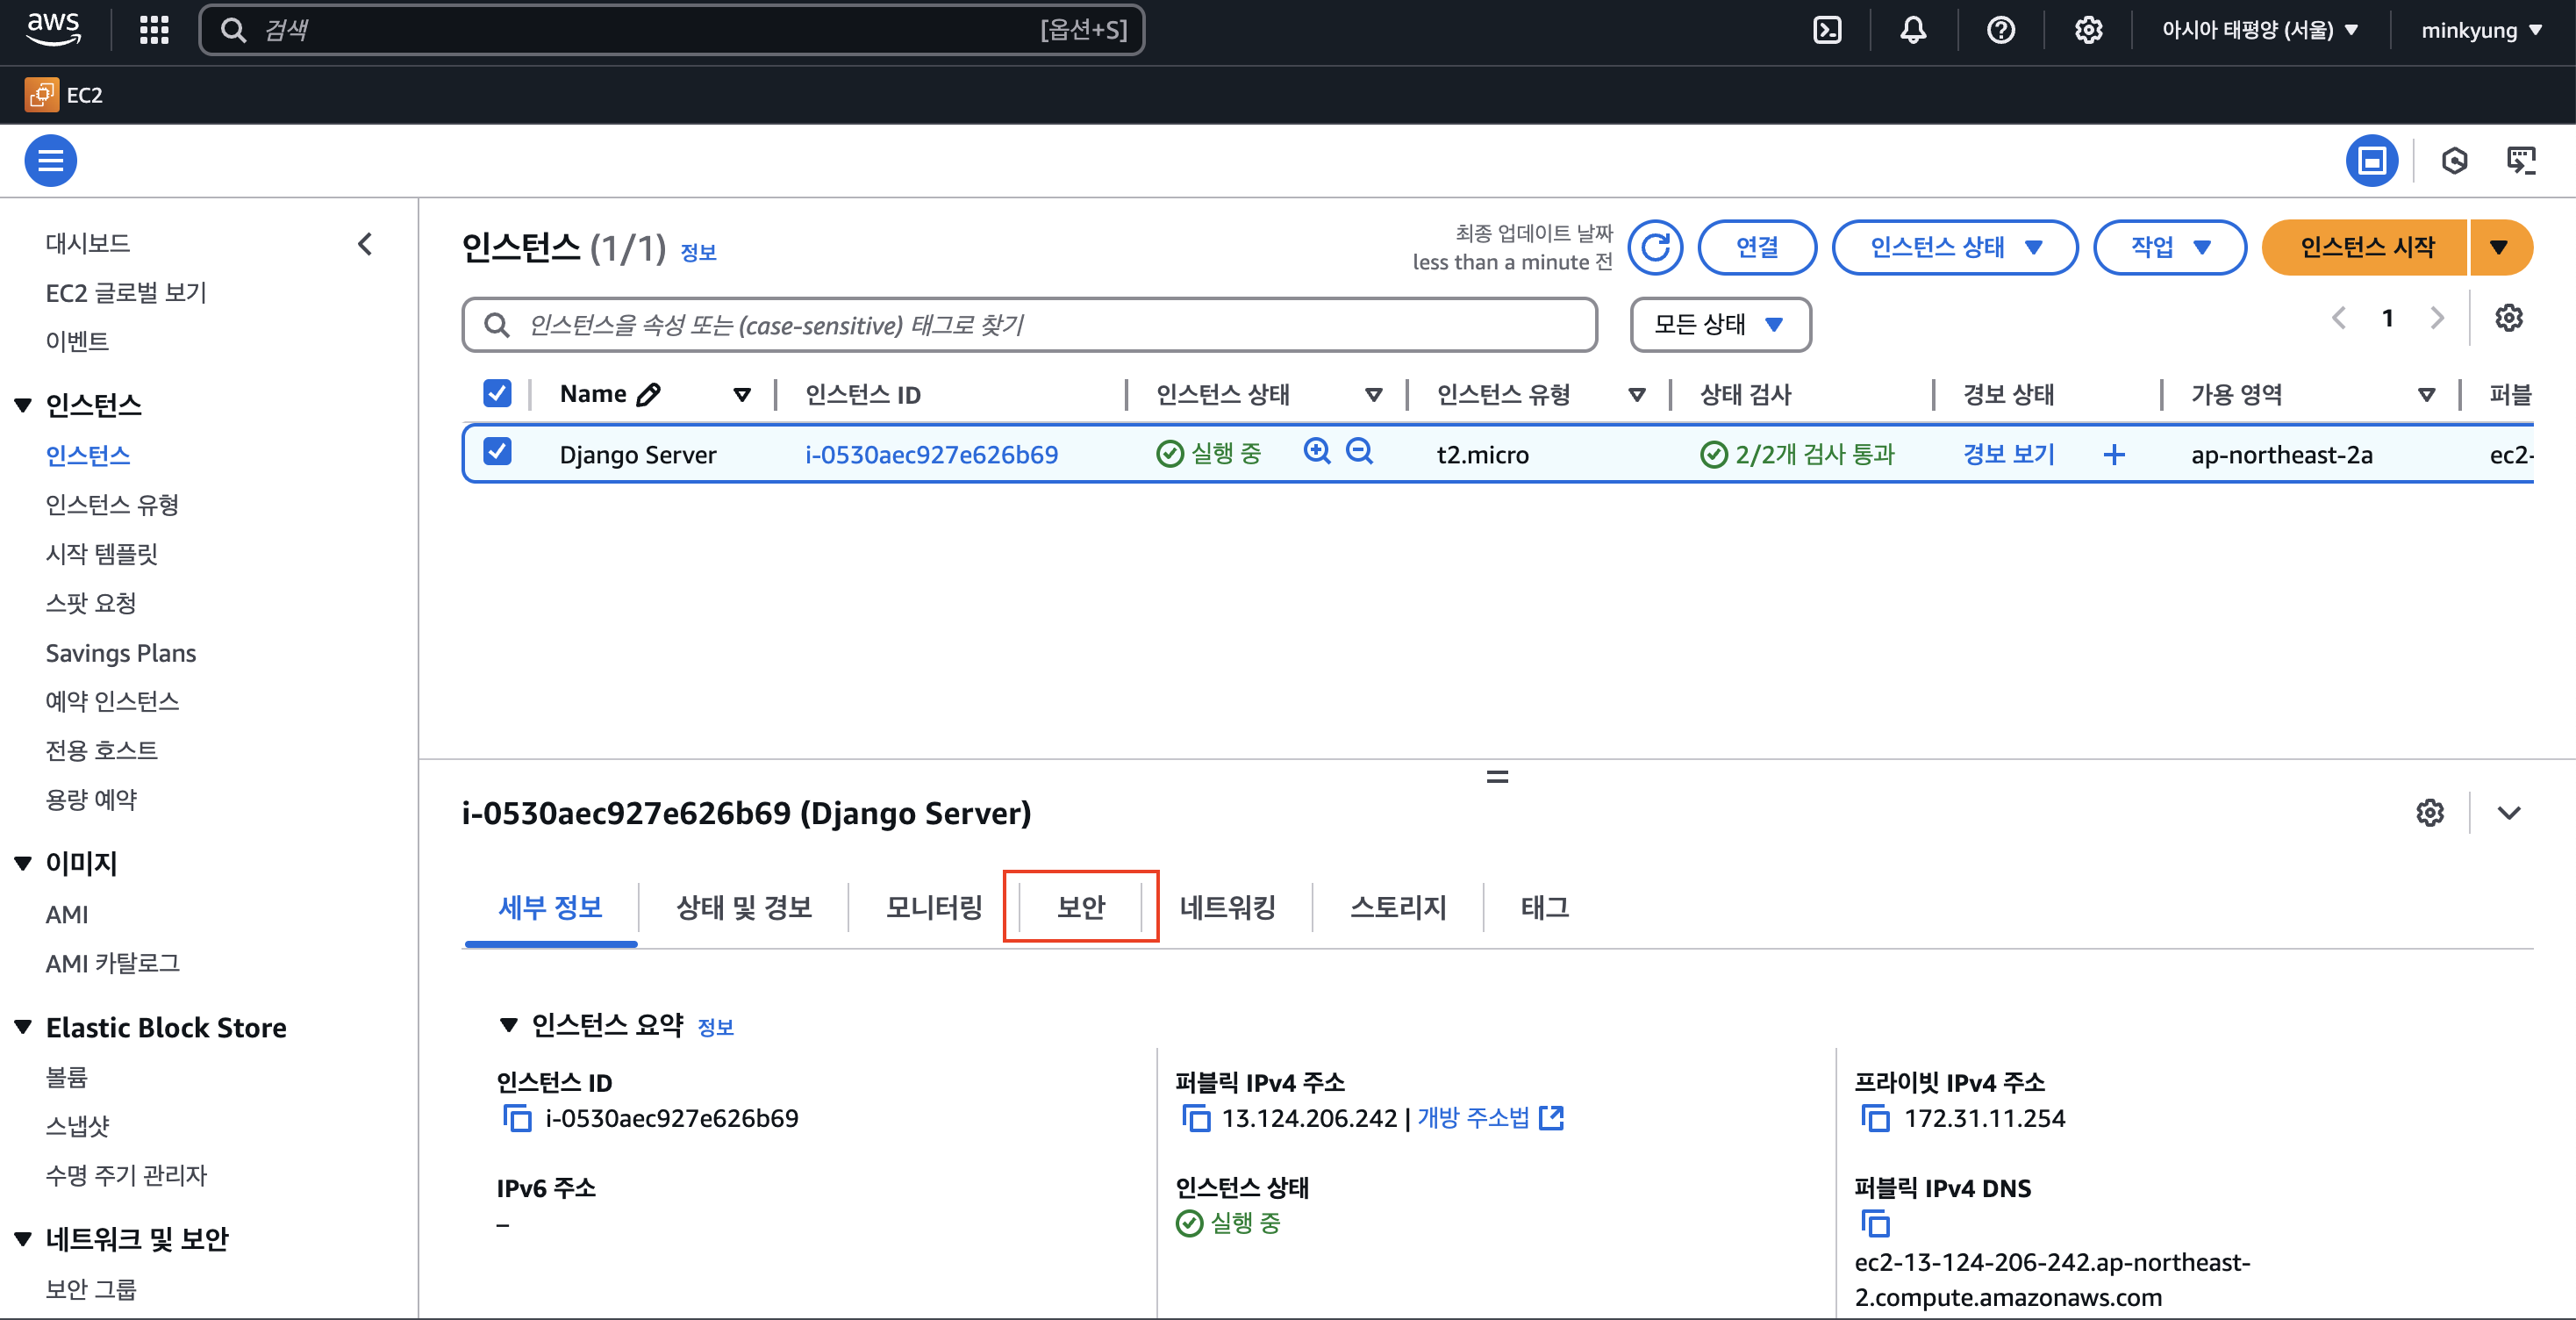
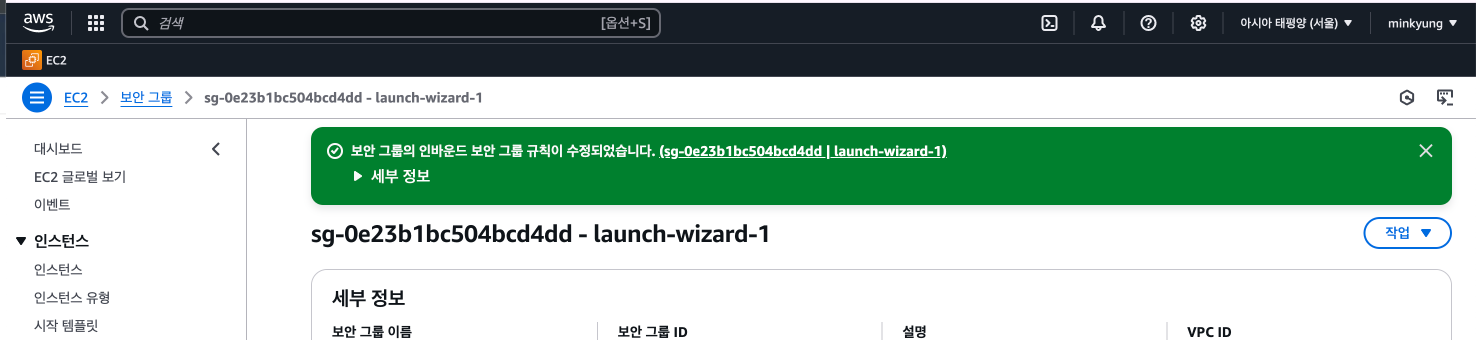
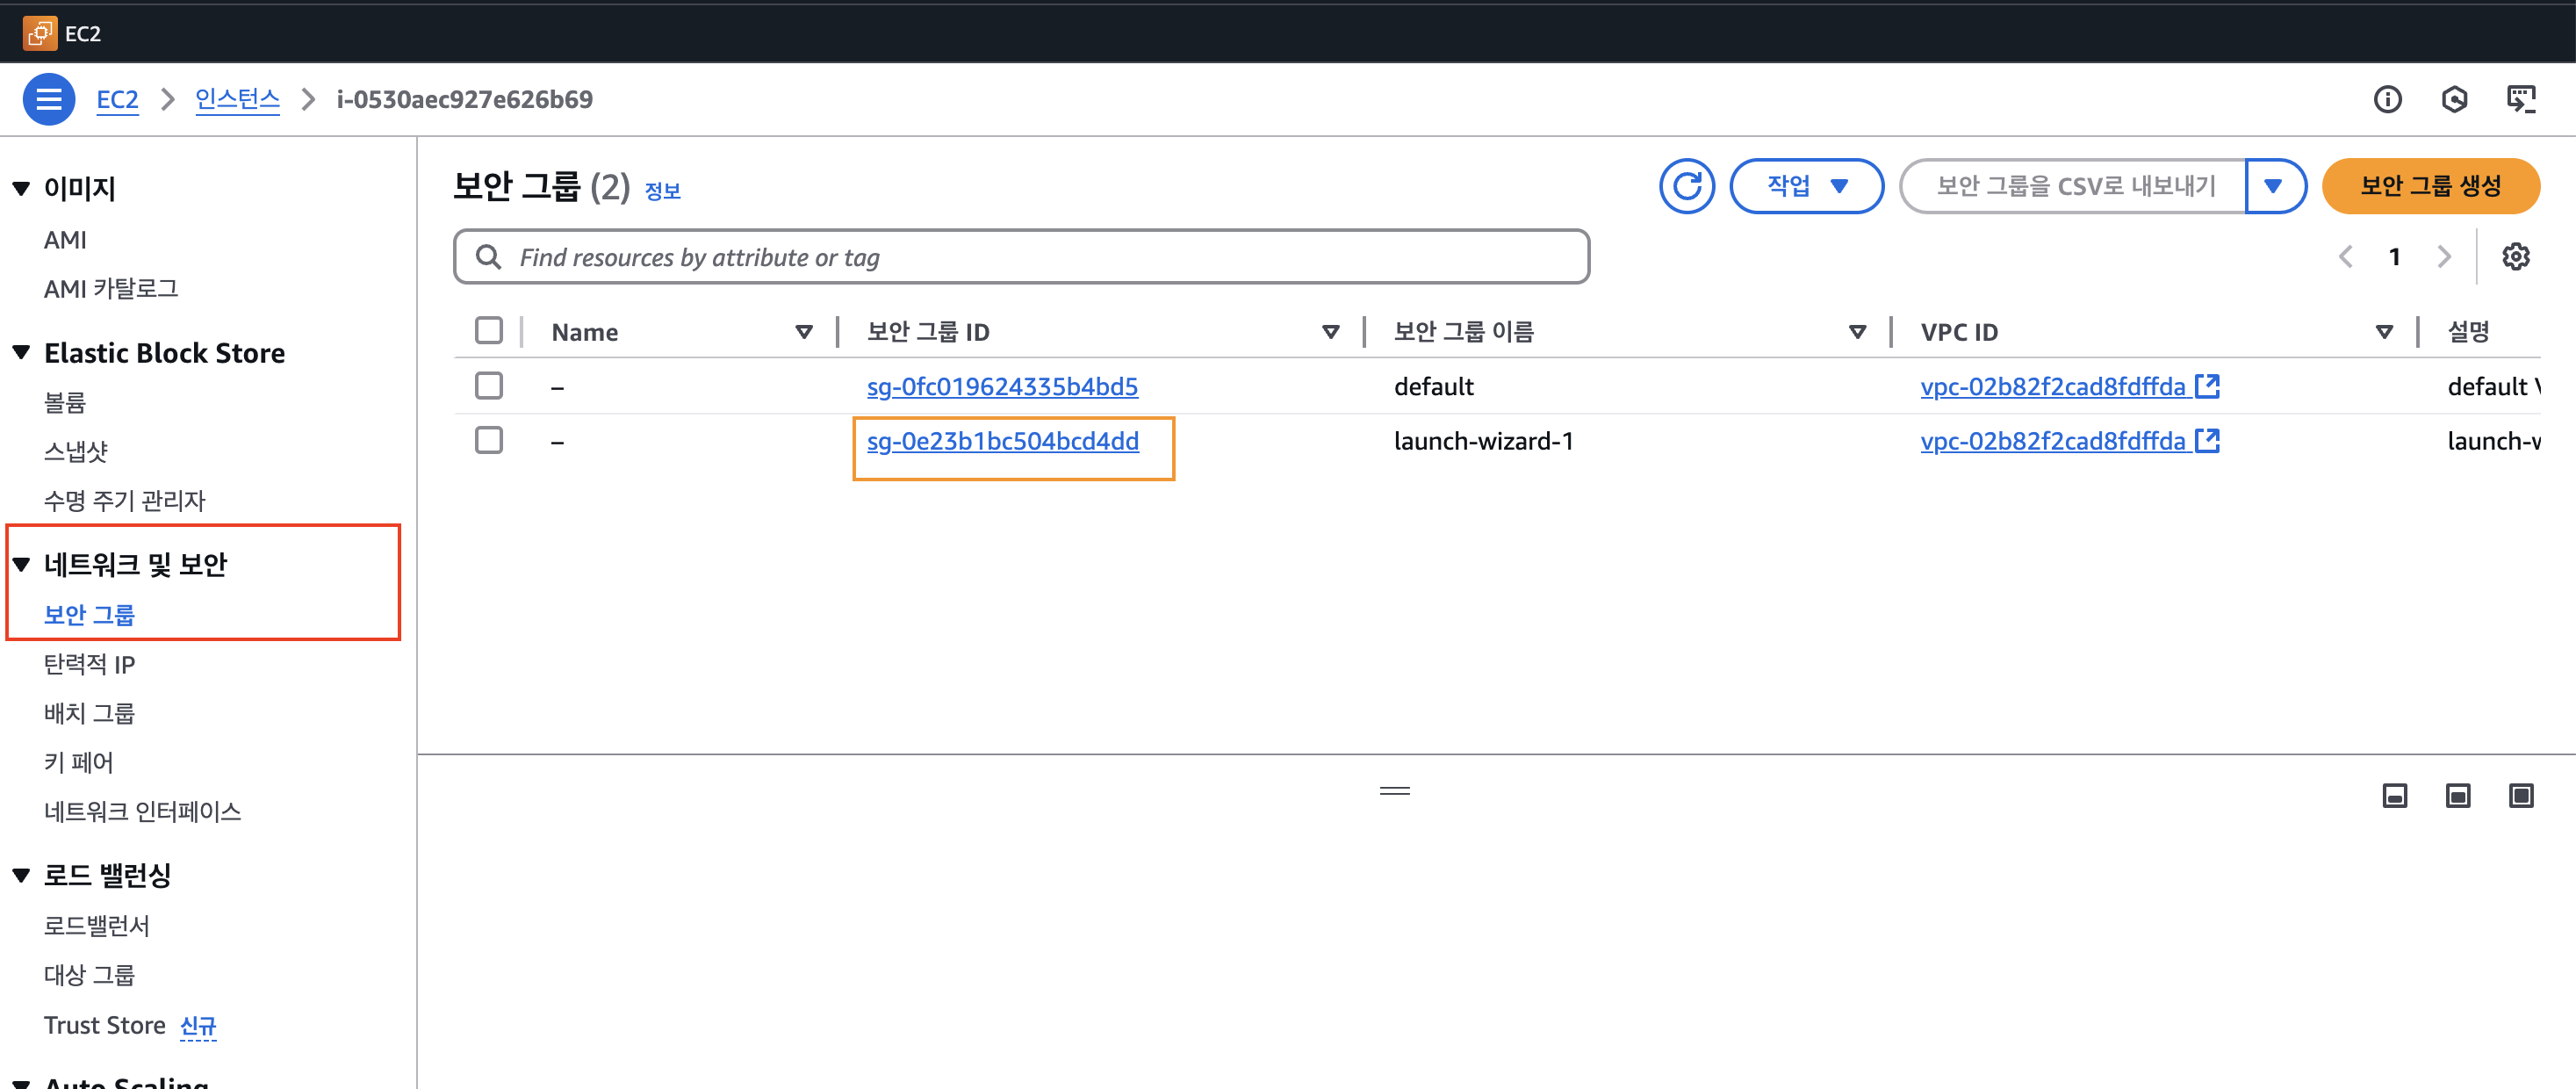
보안 칸에 들어가 주세요

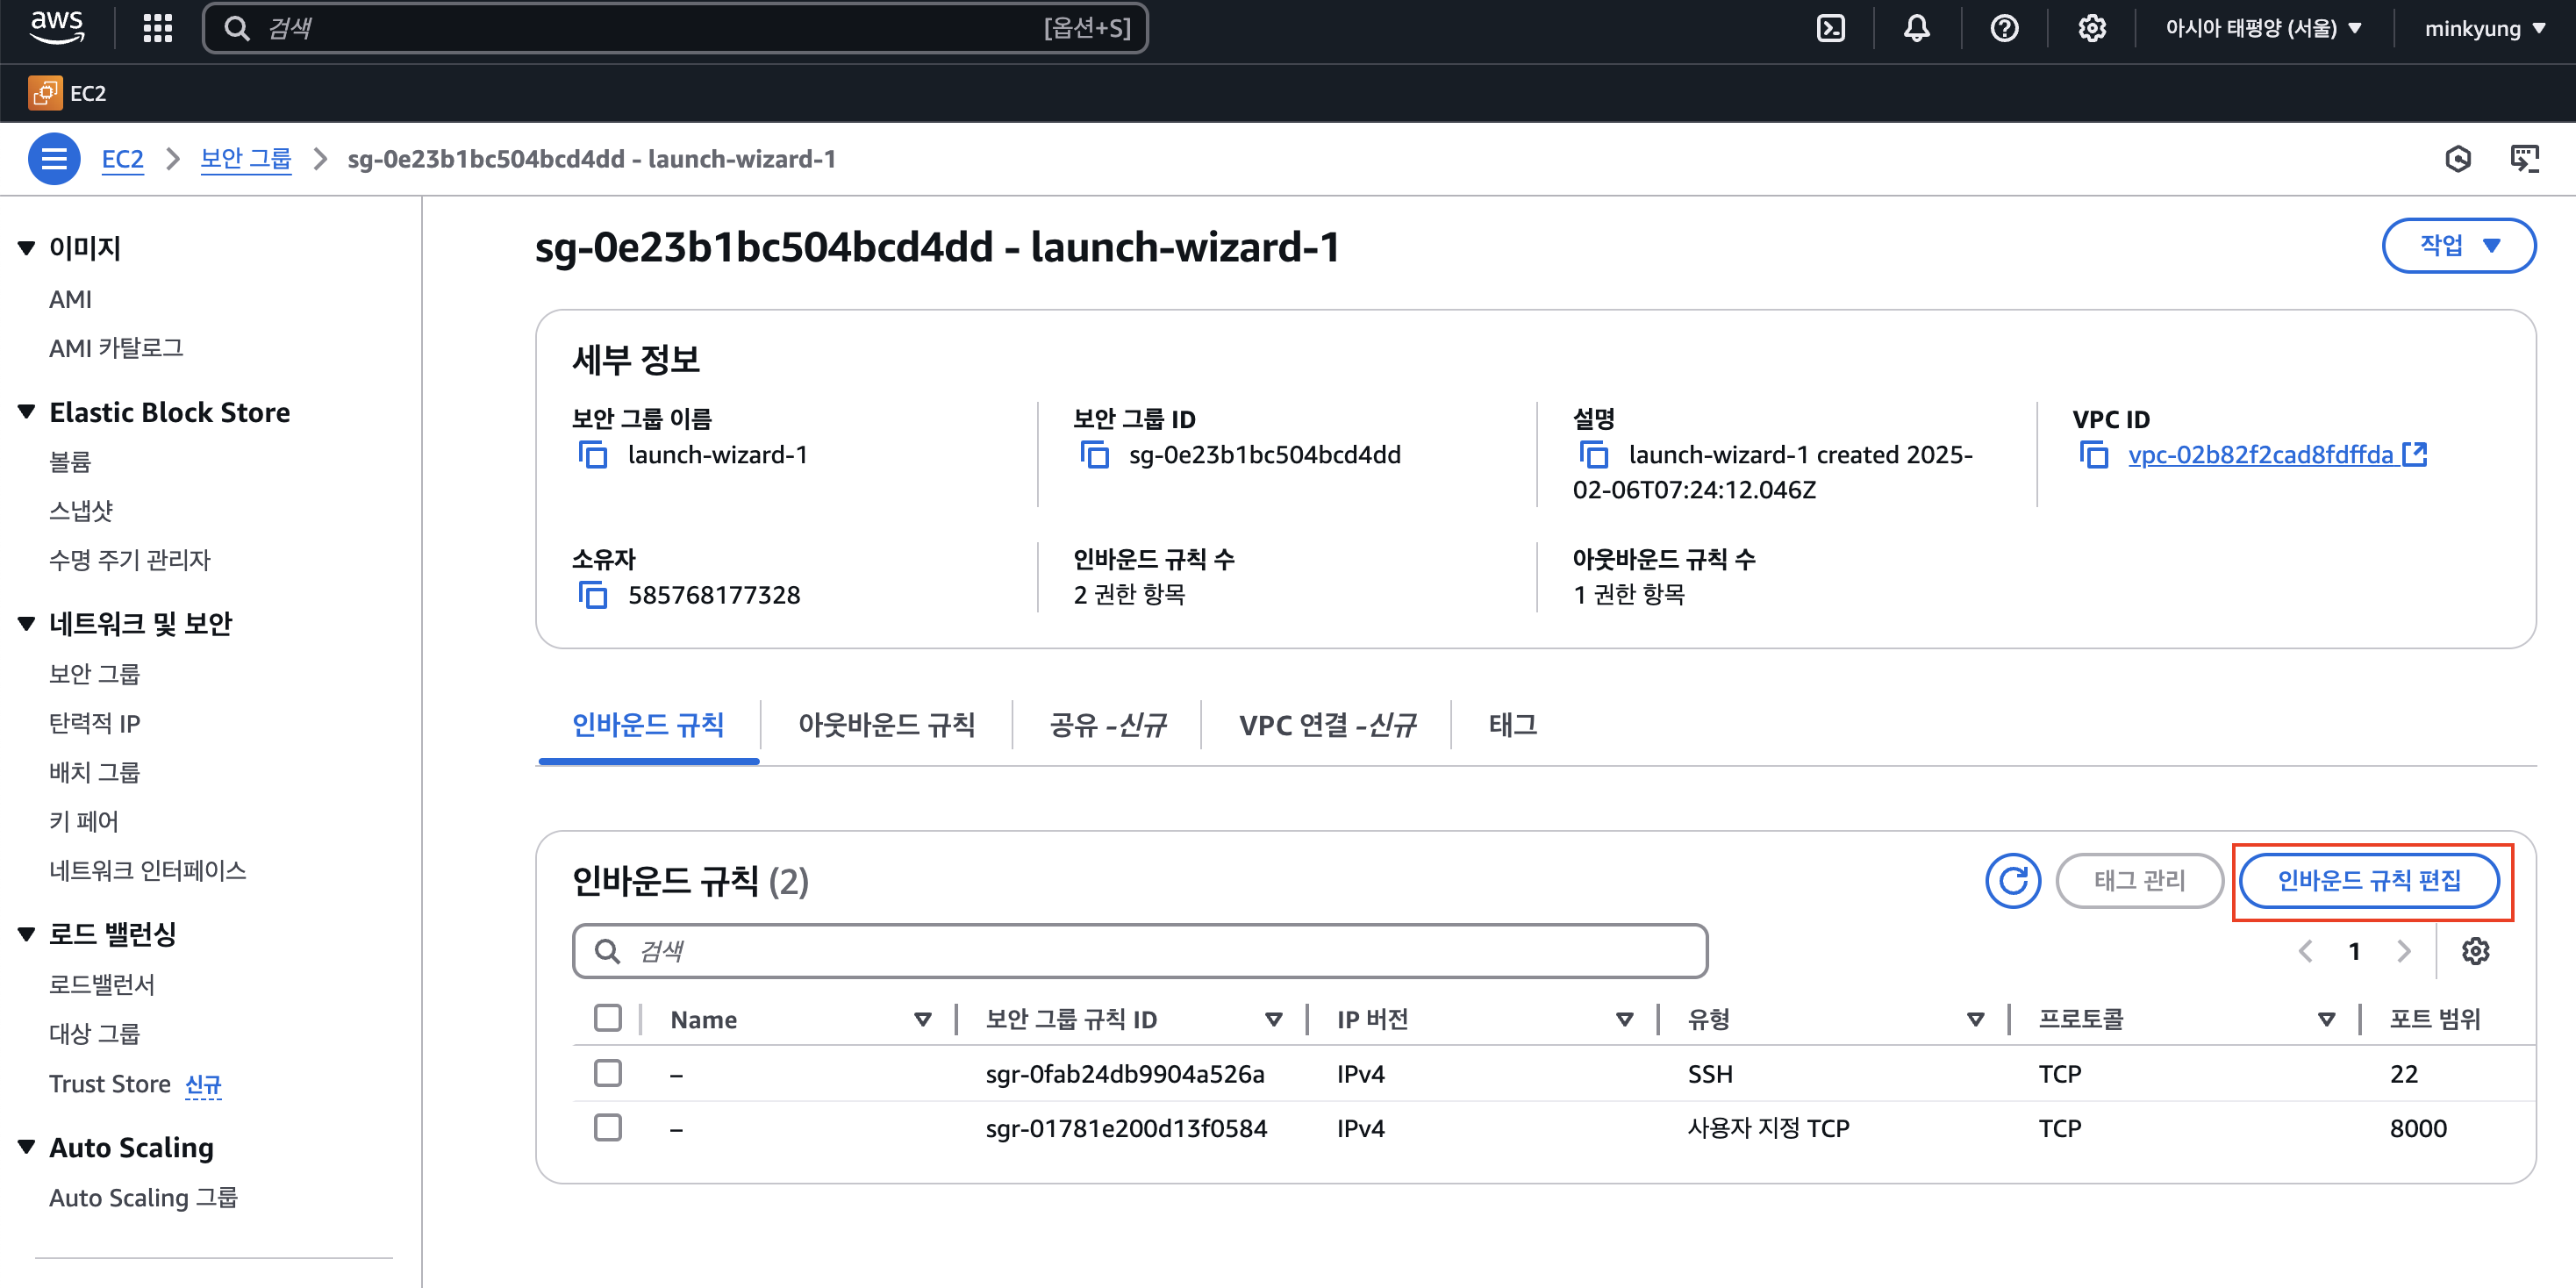
인바운드 규칙에서 설정해 줄게요

보안 그룹을 눌러주세요
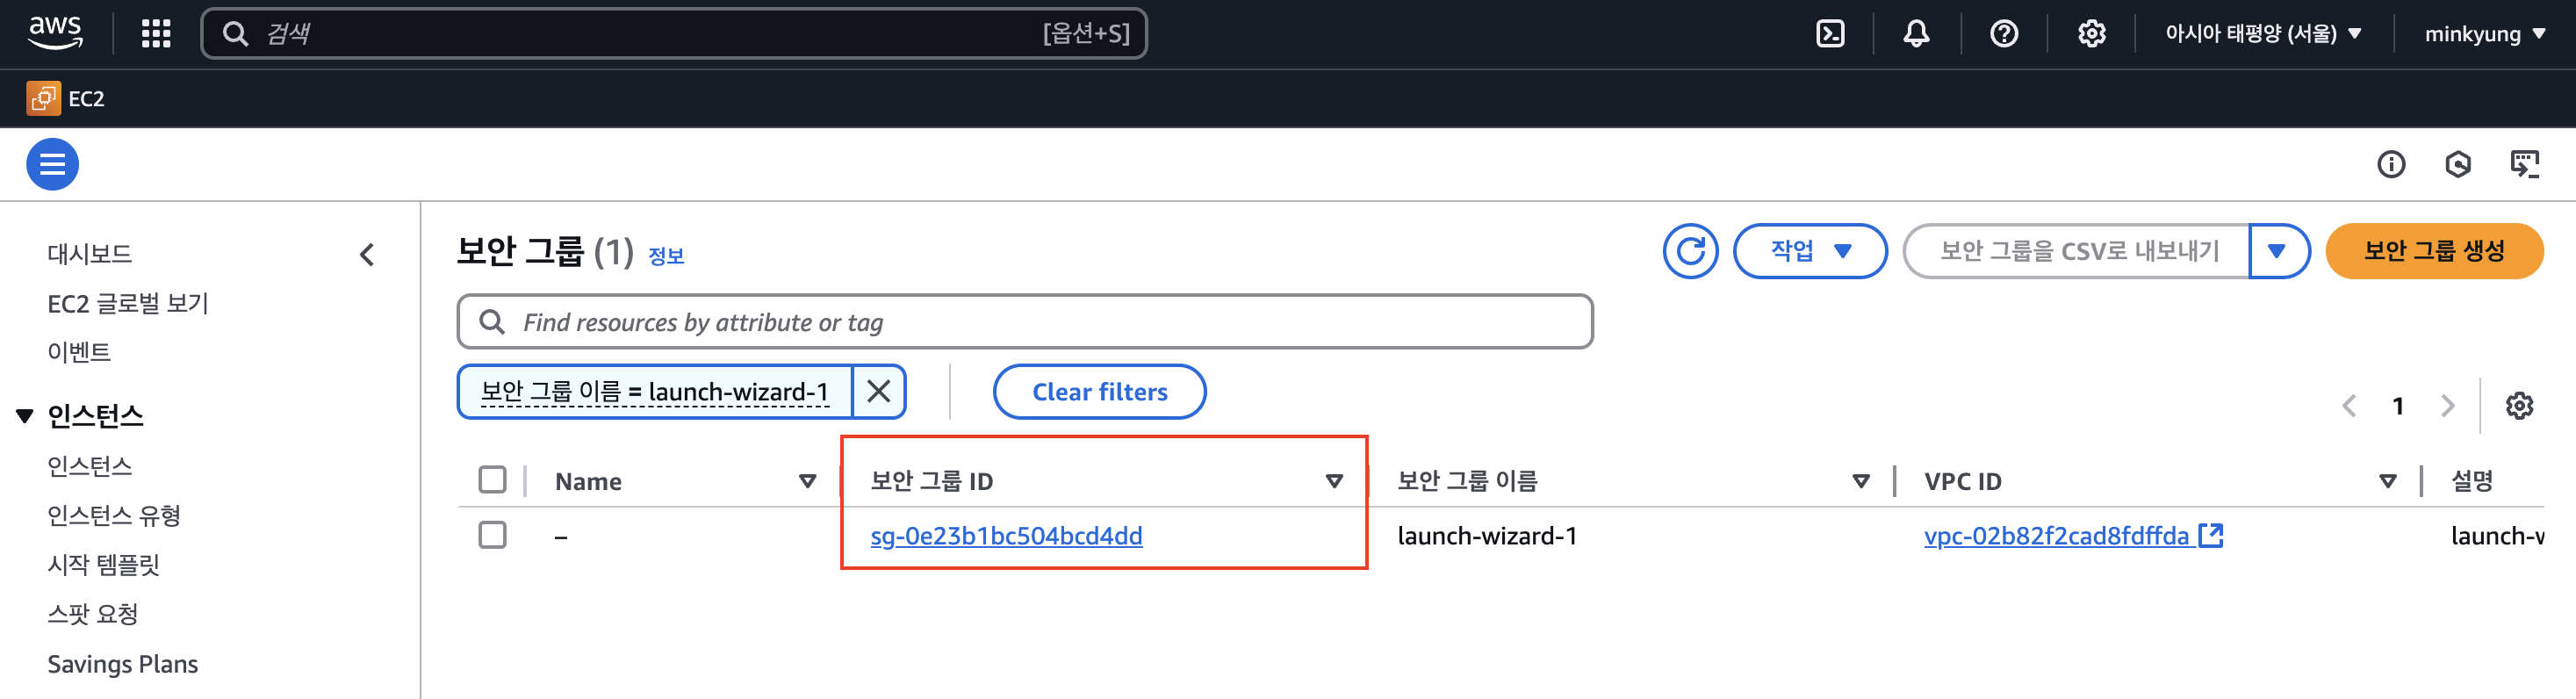
클릭
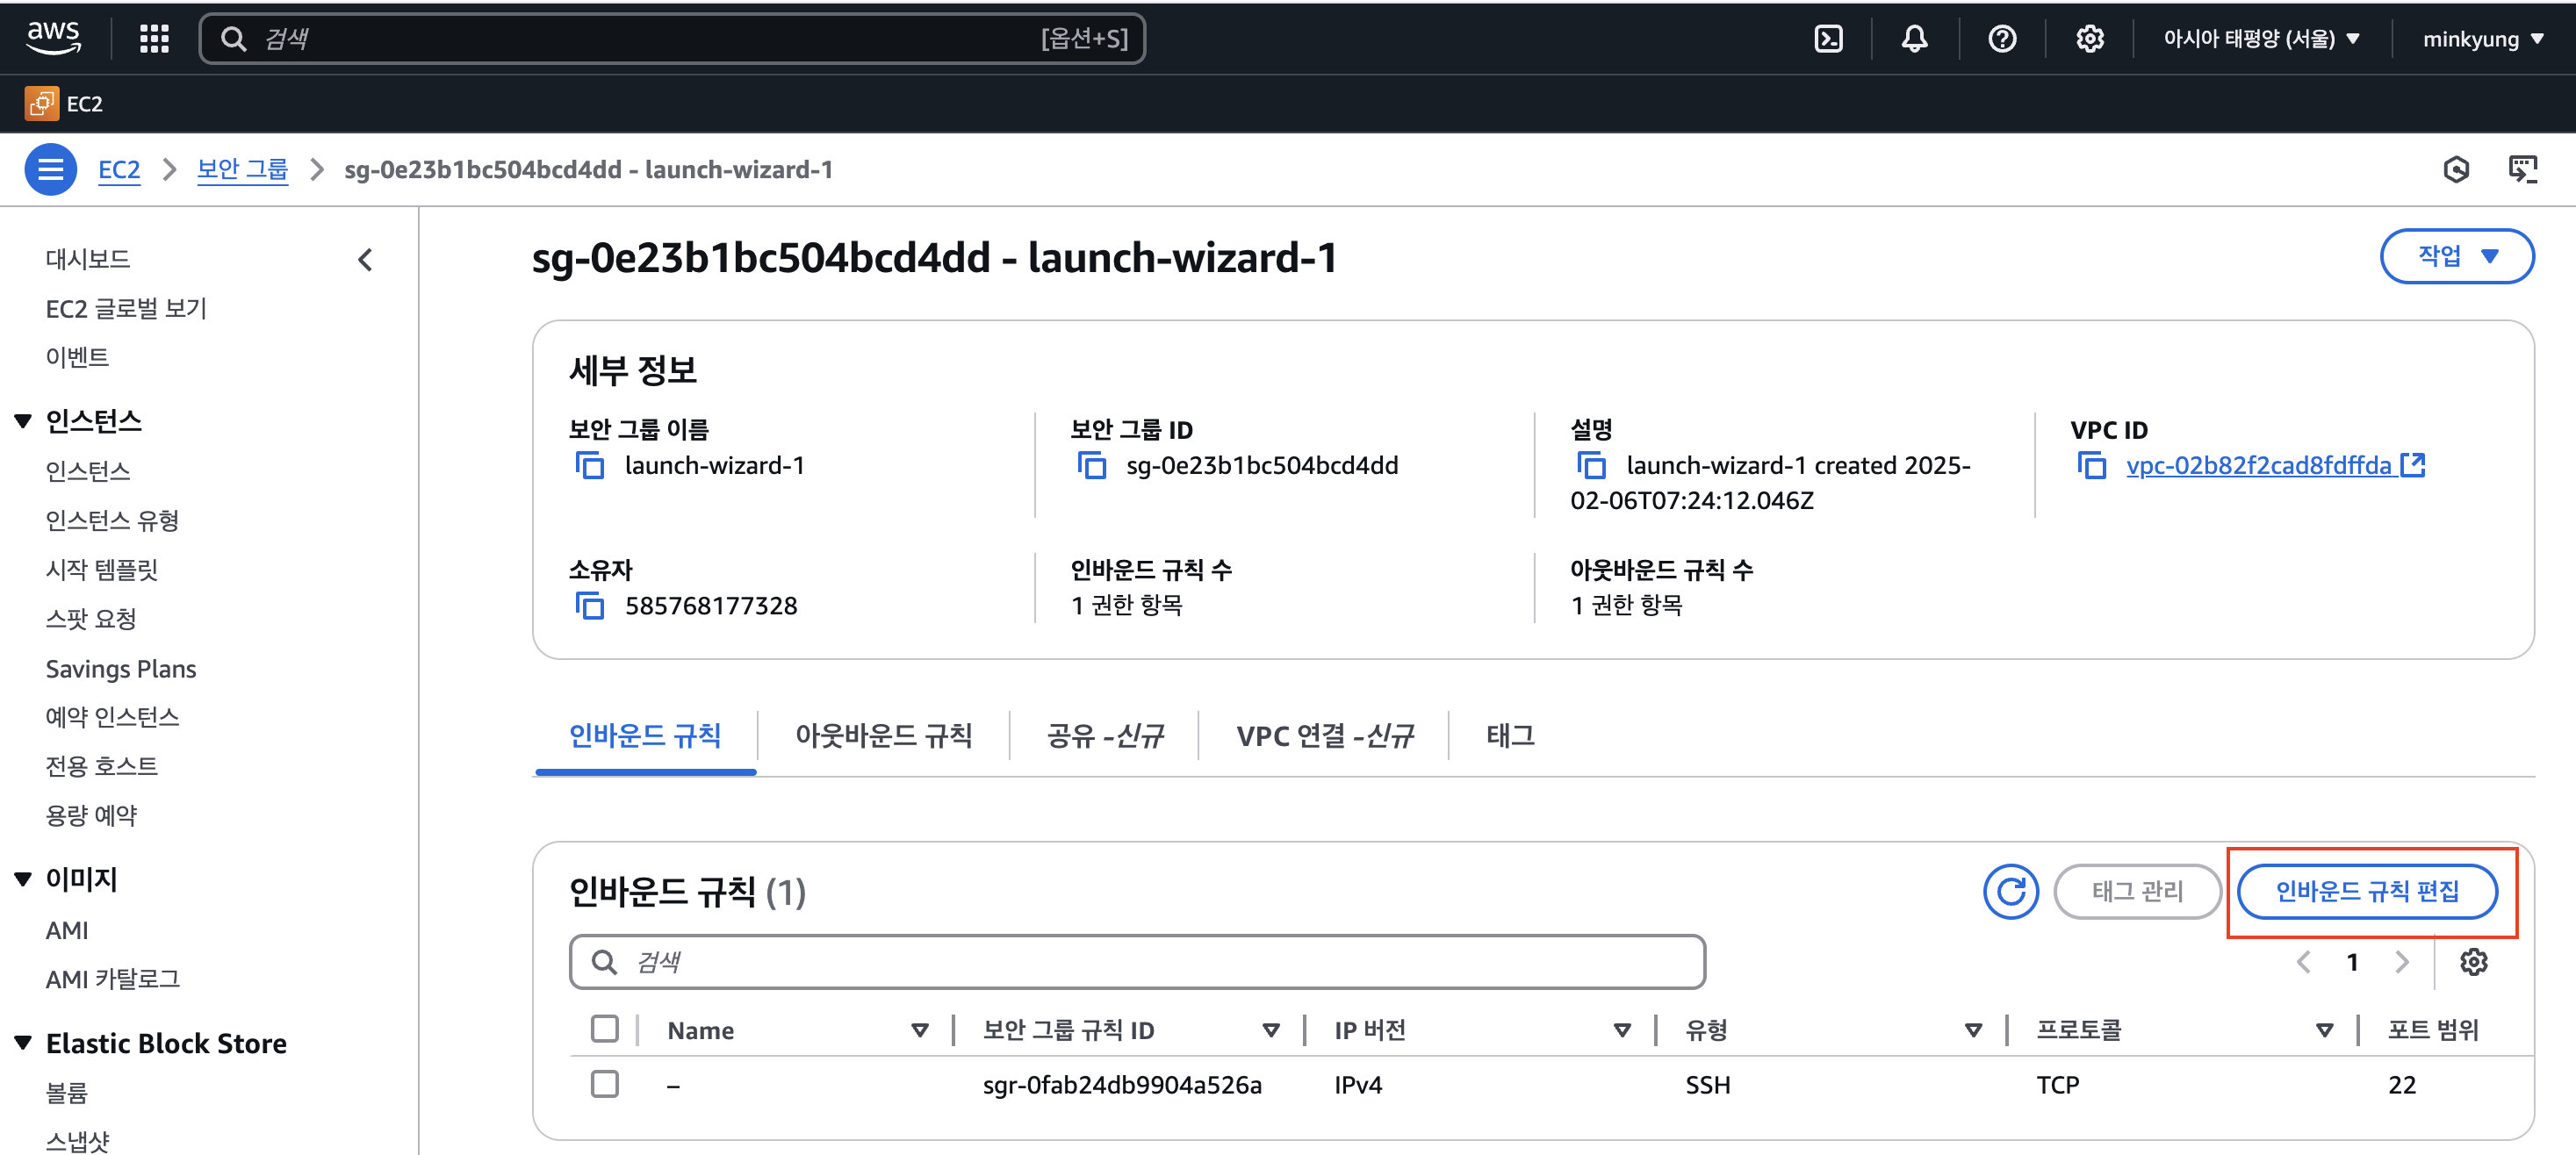
인바운드 규칙 편집 눌러주세요
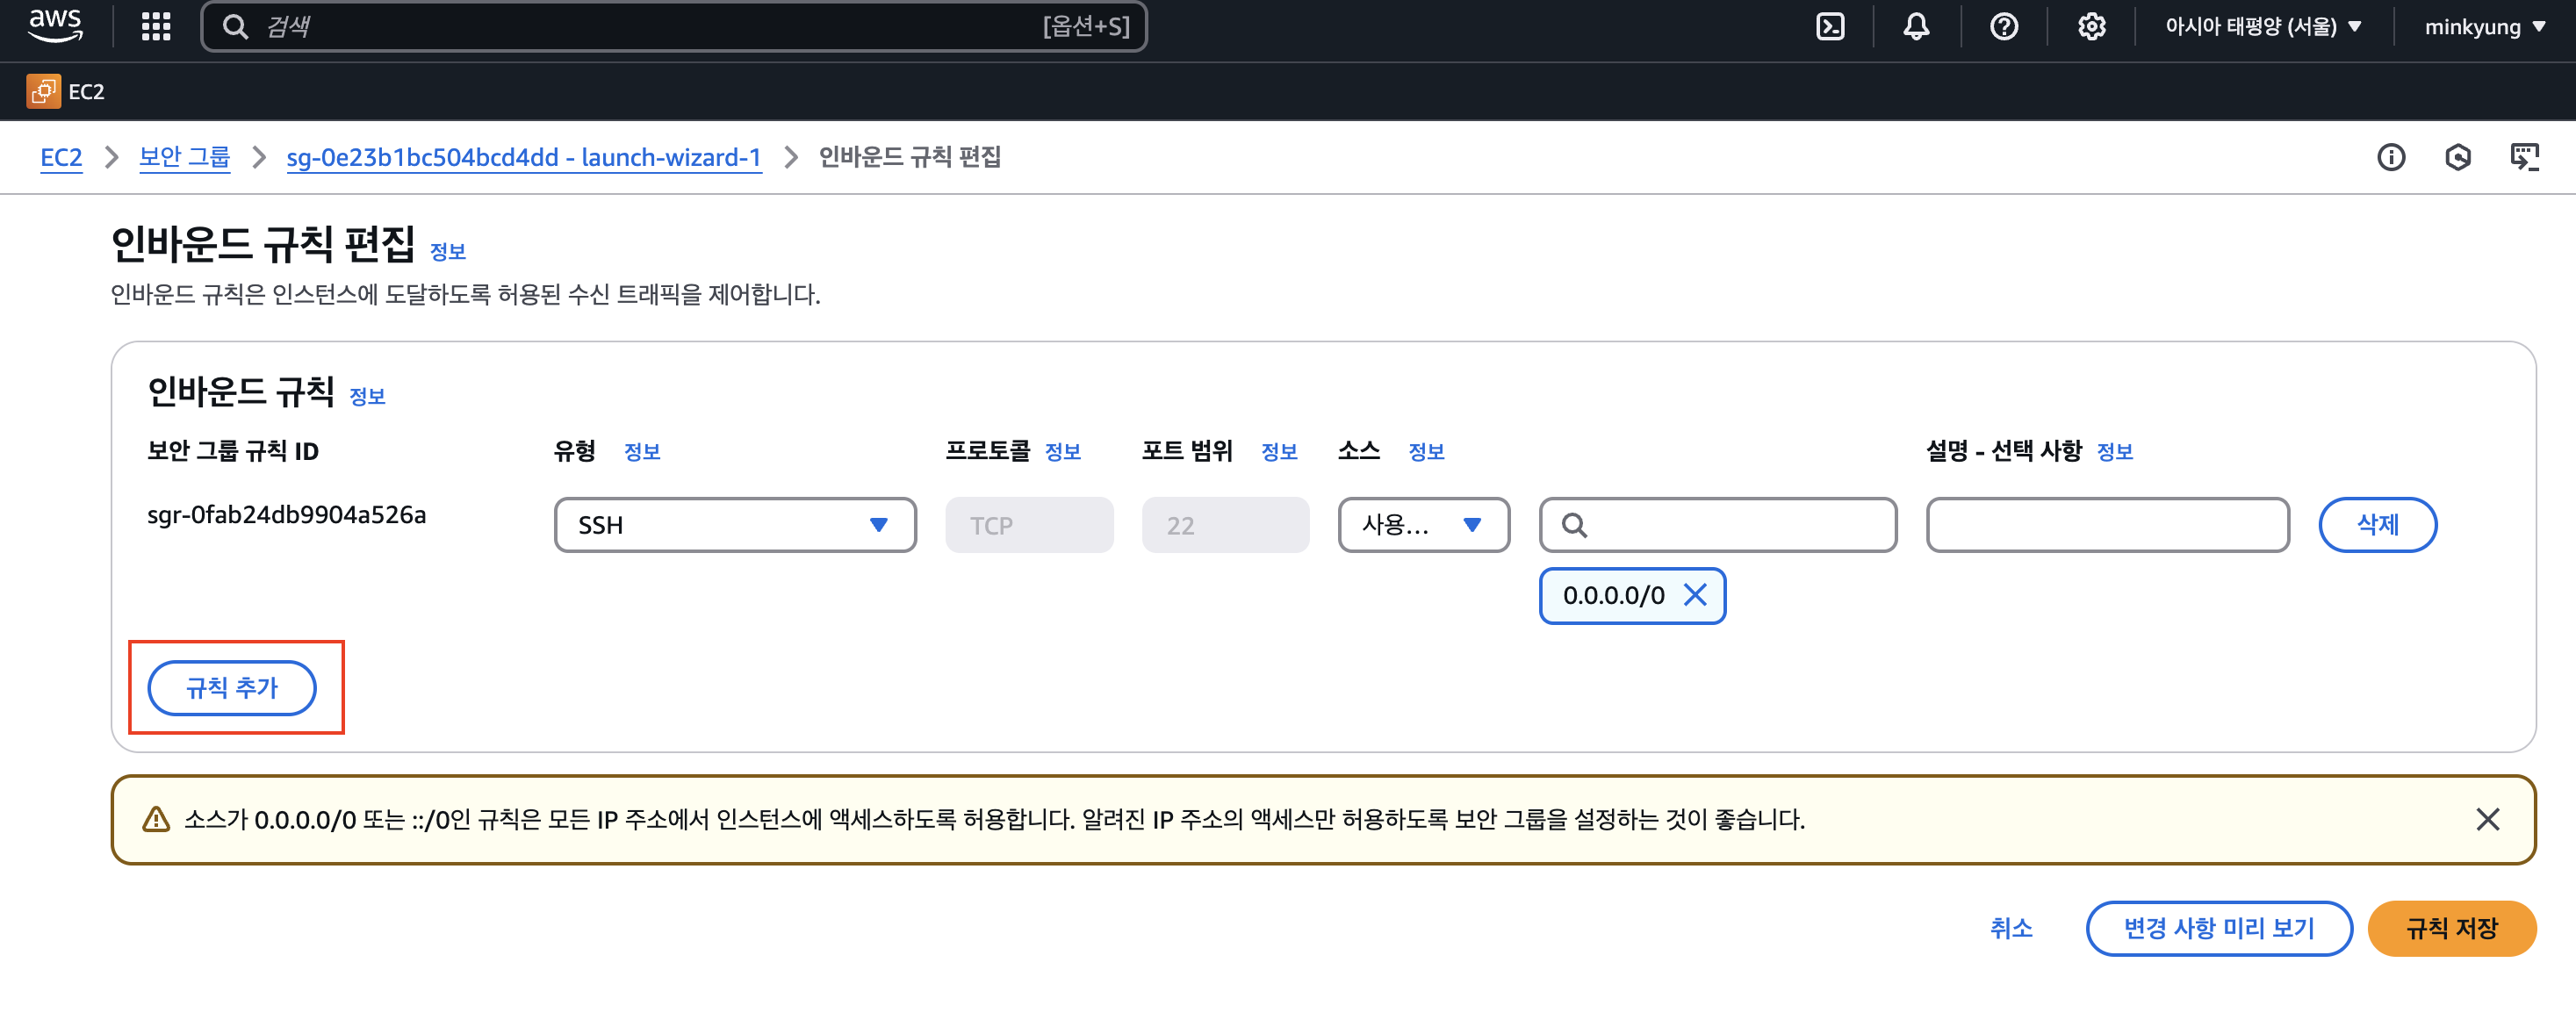
규칙 추가 해줄게요

포트 범위 : 8000
소스 : Anywhere-IPv4
해주신 뒤, 규칙 저장을 눌러주세요

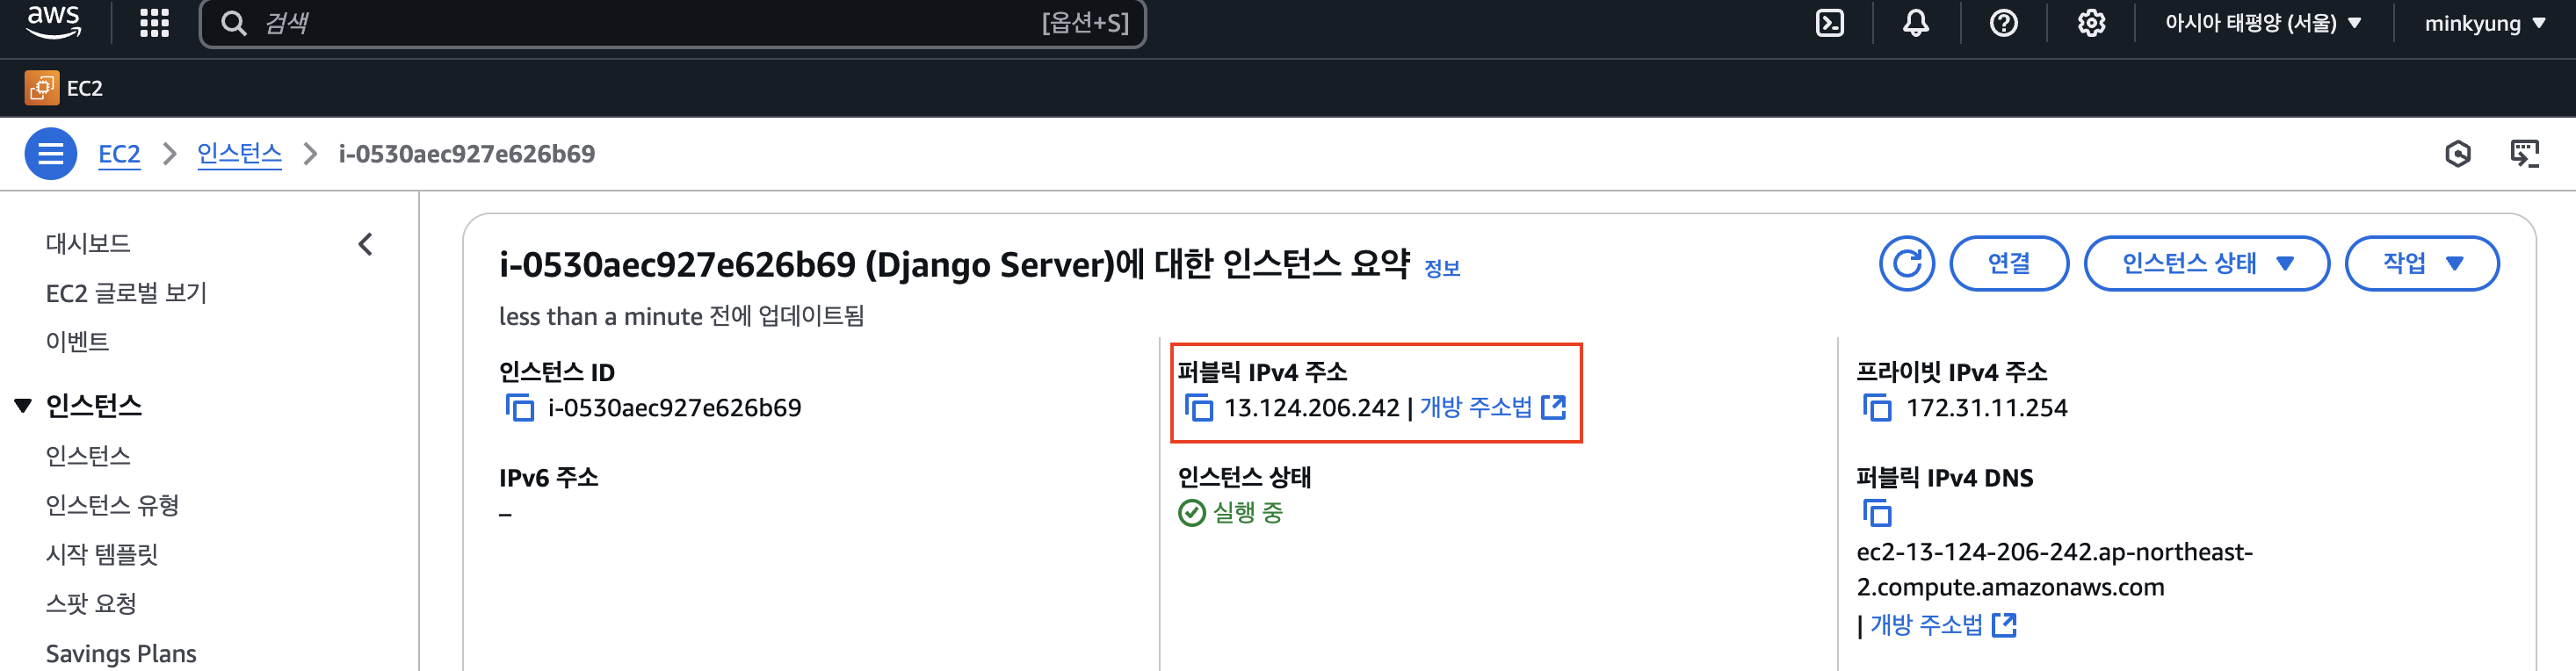
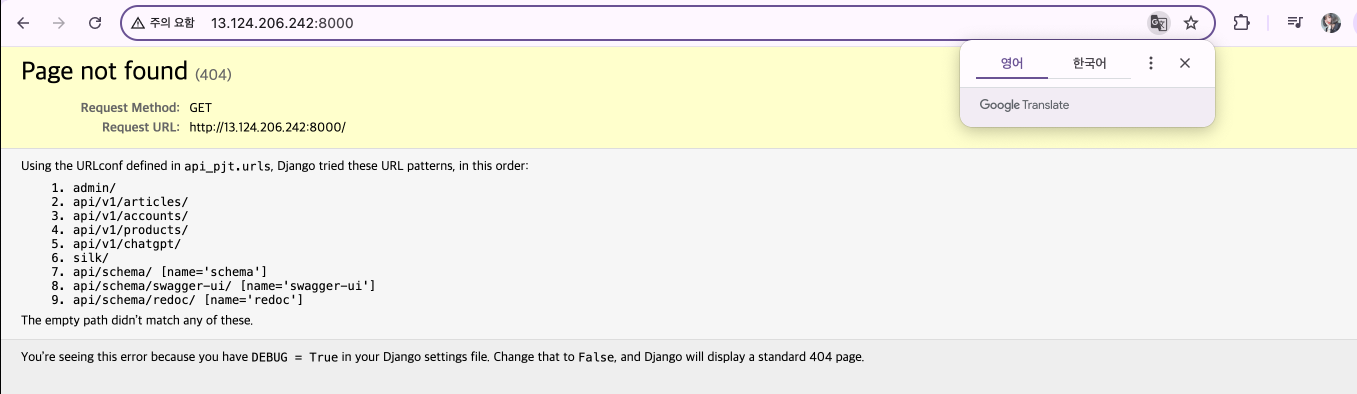
이제 퍼블릭 IPv4 주소를 검색해서 들어가 볼게요
🤔 들어가지긴 들어가지네요,,,
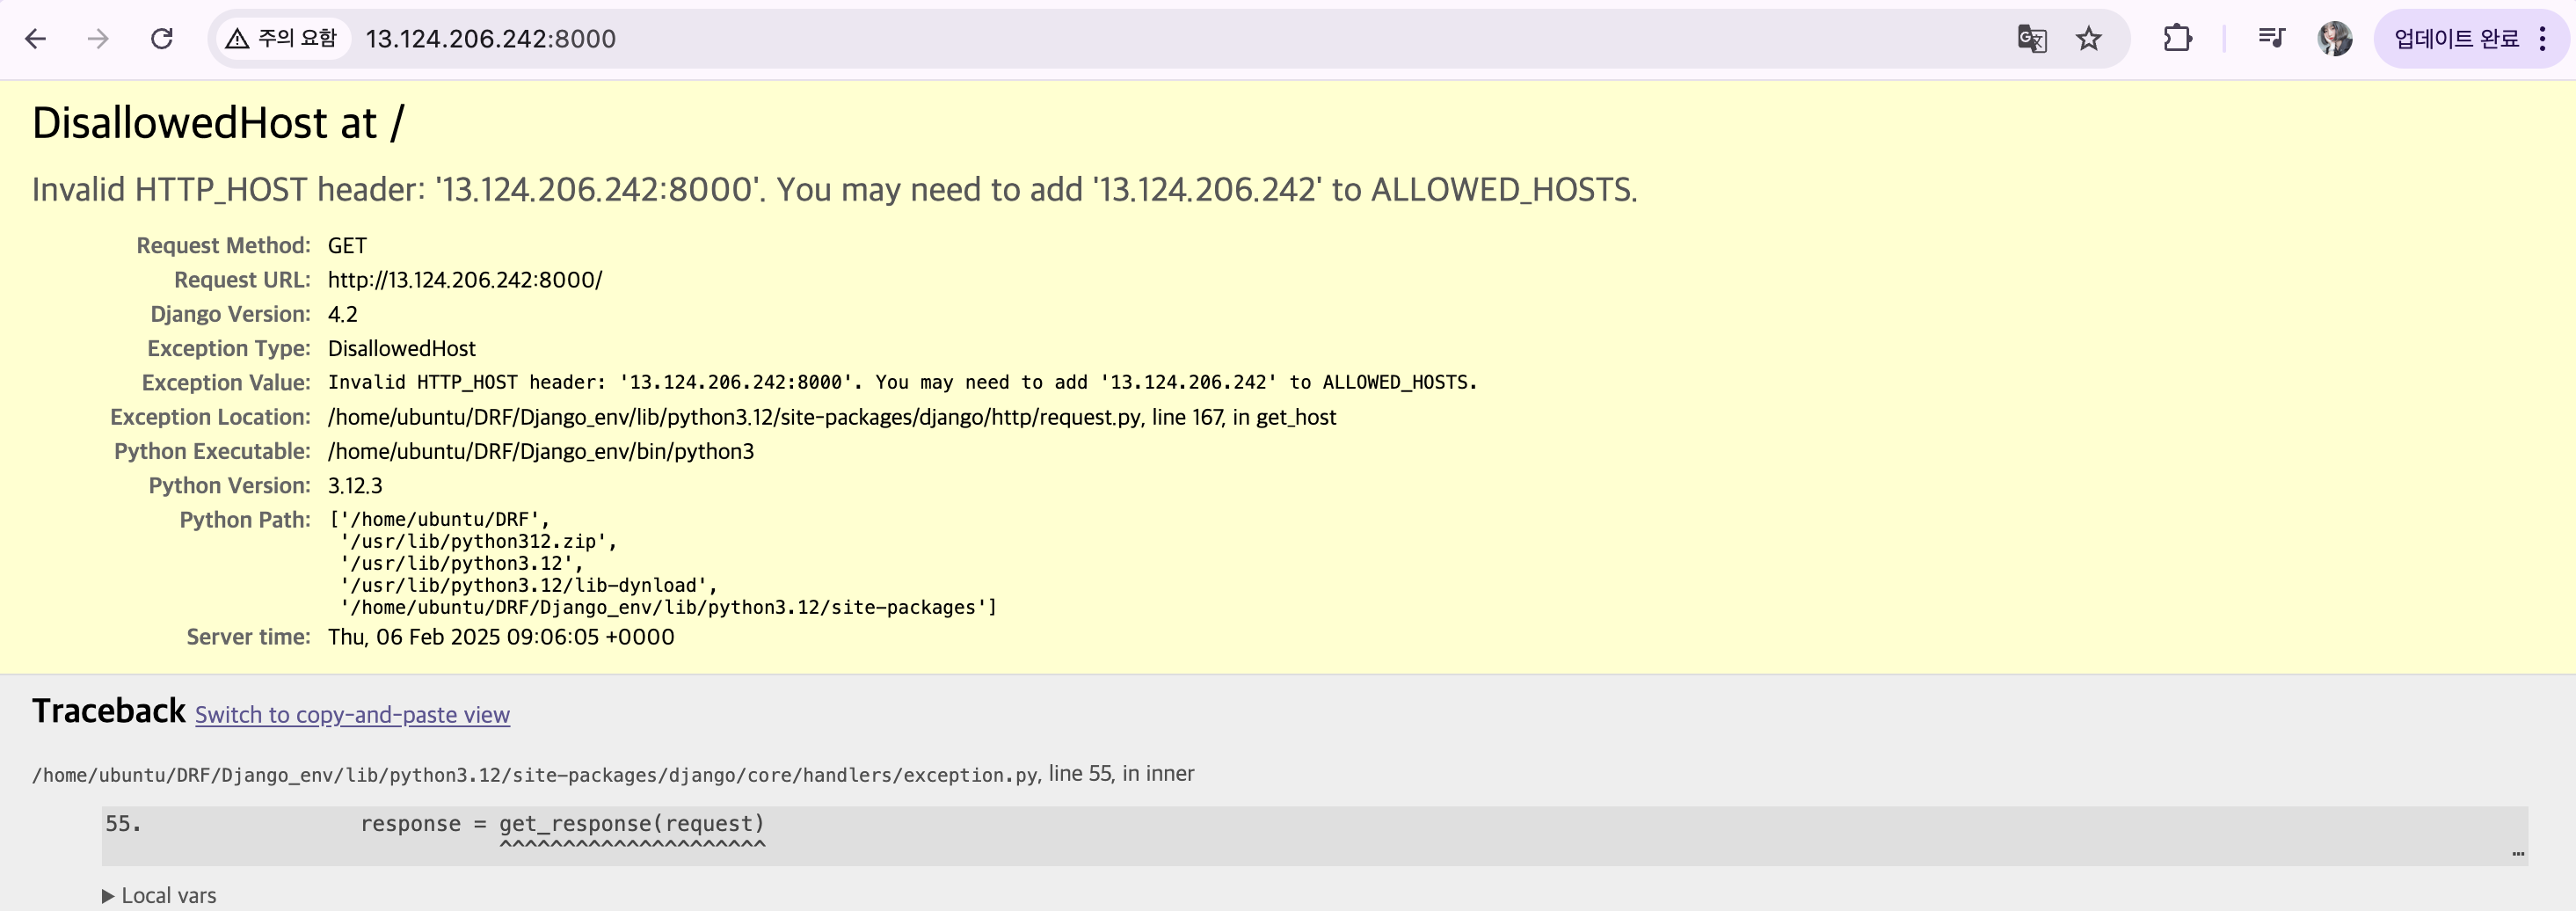
8. ALLOWED_HOSTS 설정하고 재배포하기
Django는 프로젝트가 실행되는 호스트를 등록하는 보안기능을 제공합니다.
저 주소를 복사해서 VSCode로 돌아갈게요
api_pjt/settings.py
ALLOWED_HOSTS = [
    # 이 자리에 발급 받은 IPv4 주소 기입
    'localhost',
    '127.0.0.1',
]
수정을 완료하시면, git add 해주시고 push까지 해주세요
코드를 수정했으니 다시 push를 하고, EC2로 가서 다시 pull을 받아요
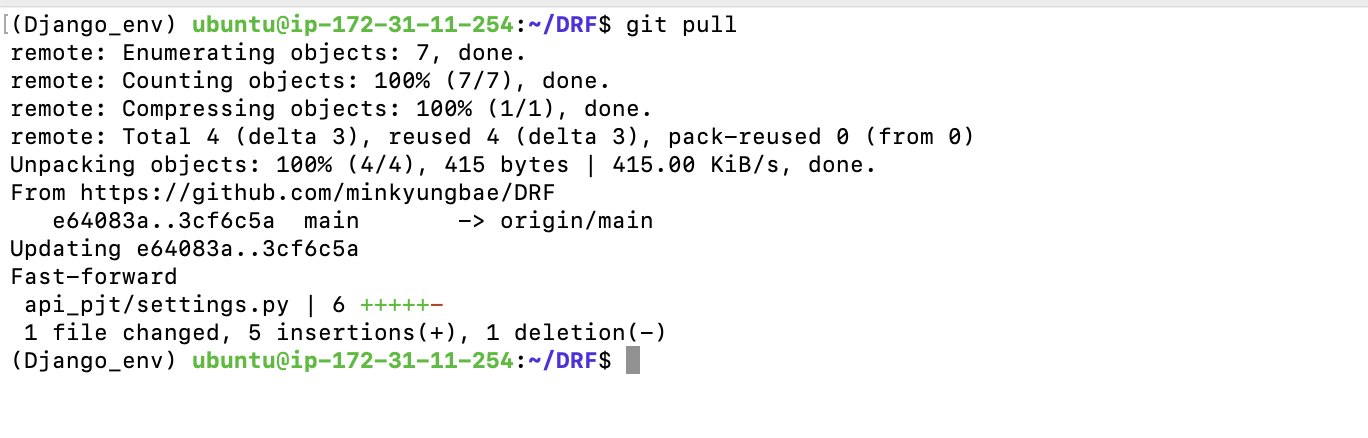
그리고 실행 후 접속해 보면?
python3 manage.py runserver 0:8000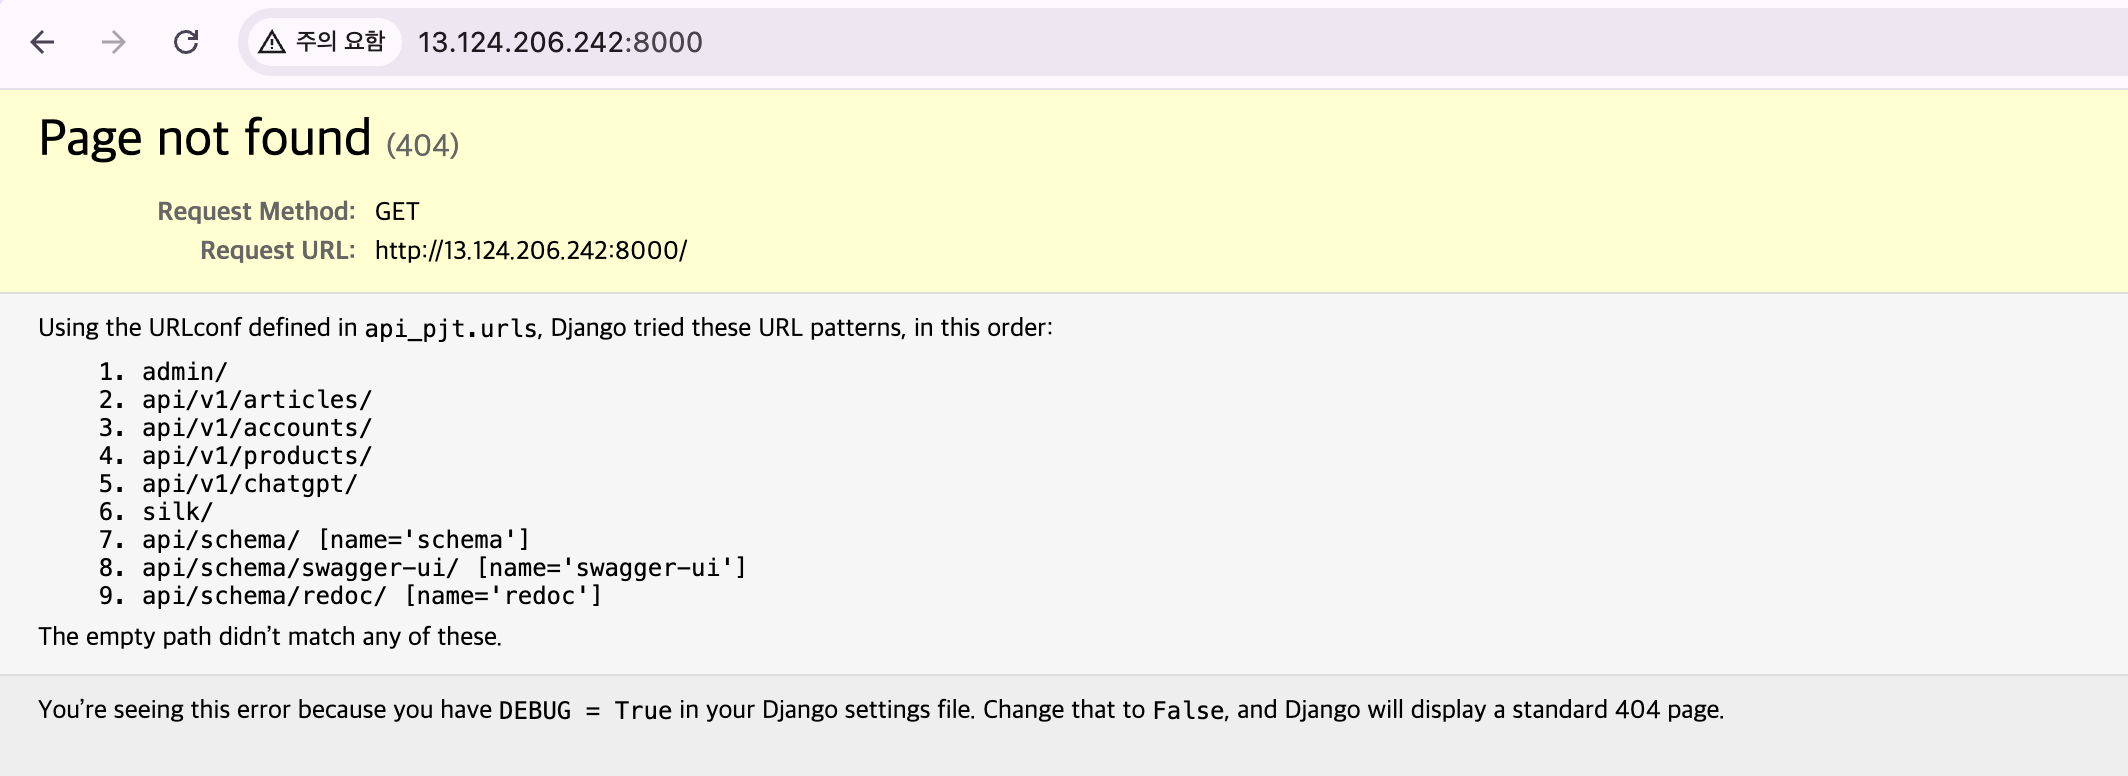
실제로 배포가 된 것을 알 수 있어요!
9. 개발 서버에서 벗어나기
- 지금까지 Django 서버를 실행할 때는 계속 Django에 내장된 개발 서버를 사용했지만, 배포 환경에서는 더 효율적인 처리를 할 수 있는 환경이 필요하다.
- 일반적으로 Django는 Gunicorn과 Nginx를 사용해서 배포 환경을 구성한다
9.1. 구조(structure)
사실 우리의 Django는 ‘웹서버’가 아니에요.
정확하게 말하면 Web Application이며 Nginx가 웹 서버이고,
이 둘 사이를 연결해 주는 매개체가 WSGI에 해당하는 Gunicorn입니다!
Web Server <-> WSGI <-> Web Application : 두 개를 연결해주는 역할이 WSGI이다.

Nginx <-> Gunicorn(WSGI에 해당) <-> Django
Web Application?
- 식당으로 따지면 요리사
- 요청에 따라서 다양한 요청을 직접 처리해서 동적인 응답을 만들어내는 주체
WSGI(Web Server Gateway Interface)
- 식당으로 따지면 서빙 직원
- HTTP와 Python으로 동작하는 Django 간의 연결을 담당하는 인터페이스
- HTTP로 들어오는 네트워크 신호를 Python Application으로 변환해서 전달해 주는 역할을 한다.
- HTTP 네트워크 신호는 Python과 아무런 연관성이 없기 때문에 이러한 중간 인터페이스가 필요한 것.
- 이전의 개발 서버는 Django에 내장되어 있는 간단한 WSGI를 사용한 것
Web Server?
- 식당으로 따지면 안내 데스크(출입구)
- 클라이언트의 HTTP 요청을 받아서 정적 파일을 바로 제공하거나 *로드밸런싱 등을 앞쪽에서 담당하여 전체적인 시스템의 가용성을 증가시키는 역할
- 로드밸런싱?
- 여러 대의 서버가 있을 경우 부하를 분산시켜 트래픽을 처리하는 기술
- 로드밸런싱?
10. Gunicorn
10.1 gunicorn 설치하기
# 업데이트 해야 할 게 있는지 먼저 확인
$ sudo apt-get update
체크가 끝났으면?
Gunicorn을 설치해 주세요
# Gunicorn 설치하기
$ sudo apt-get install gunicorn
10.1 gunicorn 실행하기

manage.py가 있는 폴더에서 실행해 주세요
# Gunicorn 실행하기
$ gunicorn --bind 0:8000 api_pjt.wsgi:application
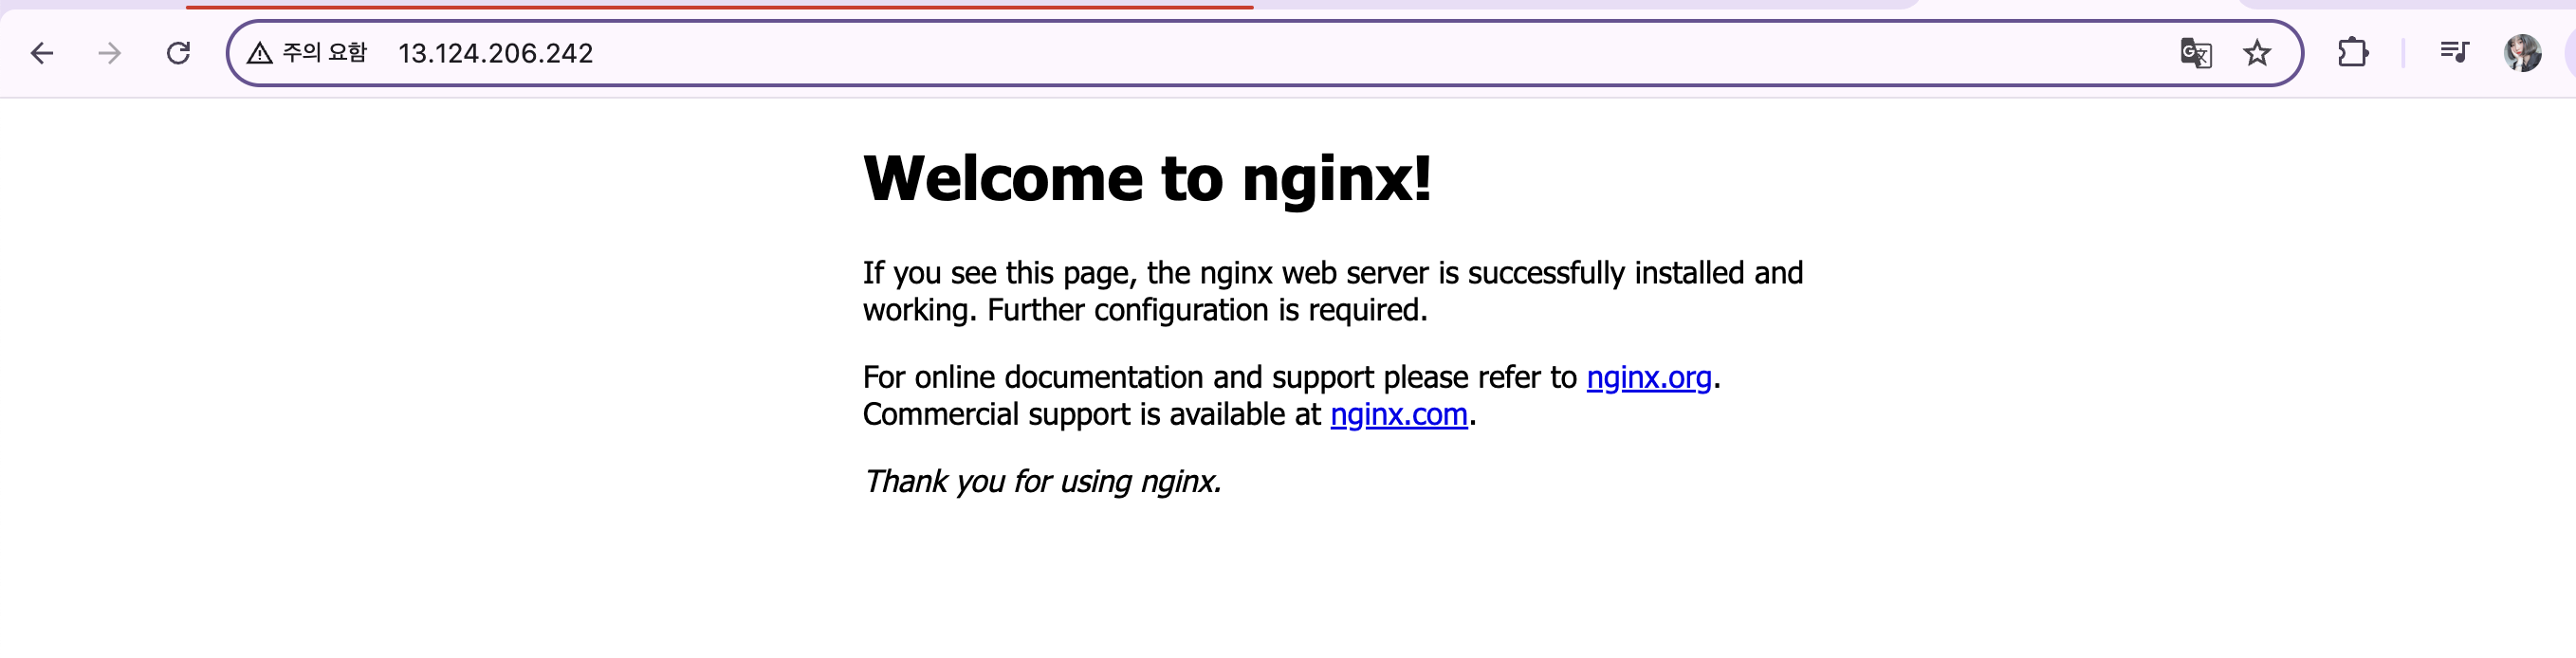
그리고
다시 웹브라우저로 들어가 봐도 잘 동작하는 것을 볼 수 있어요
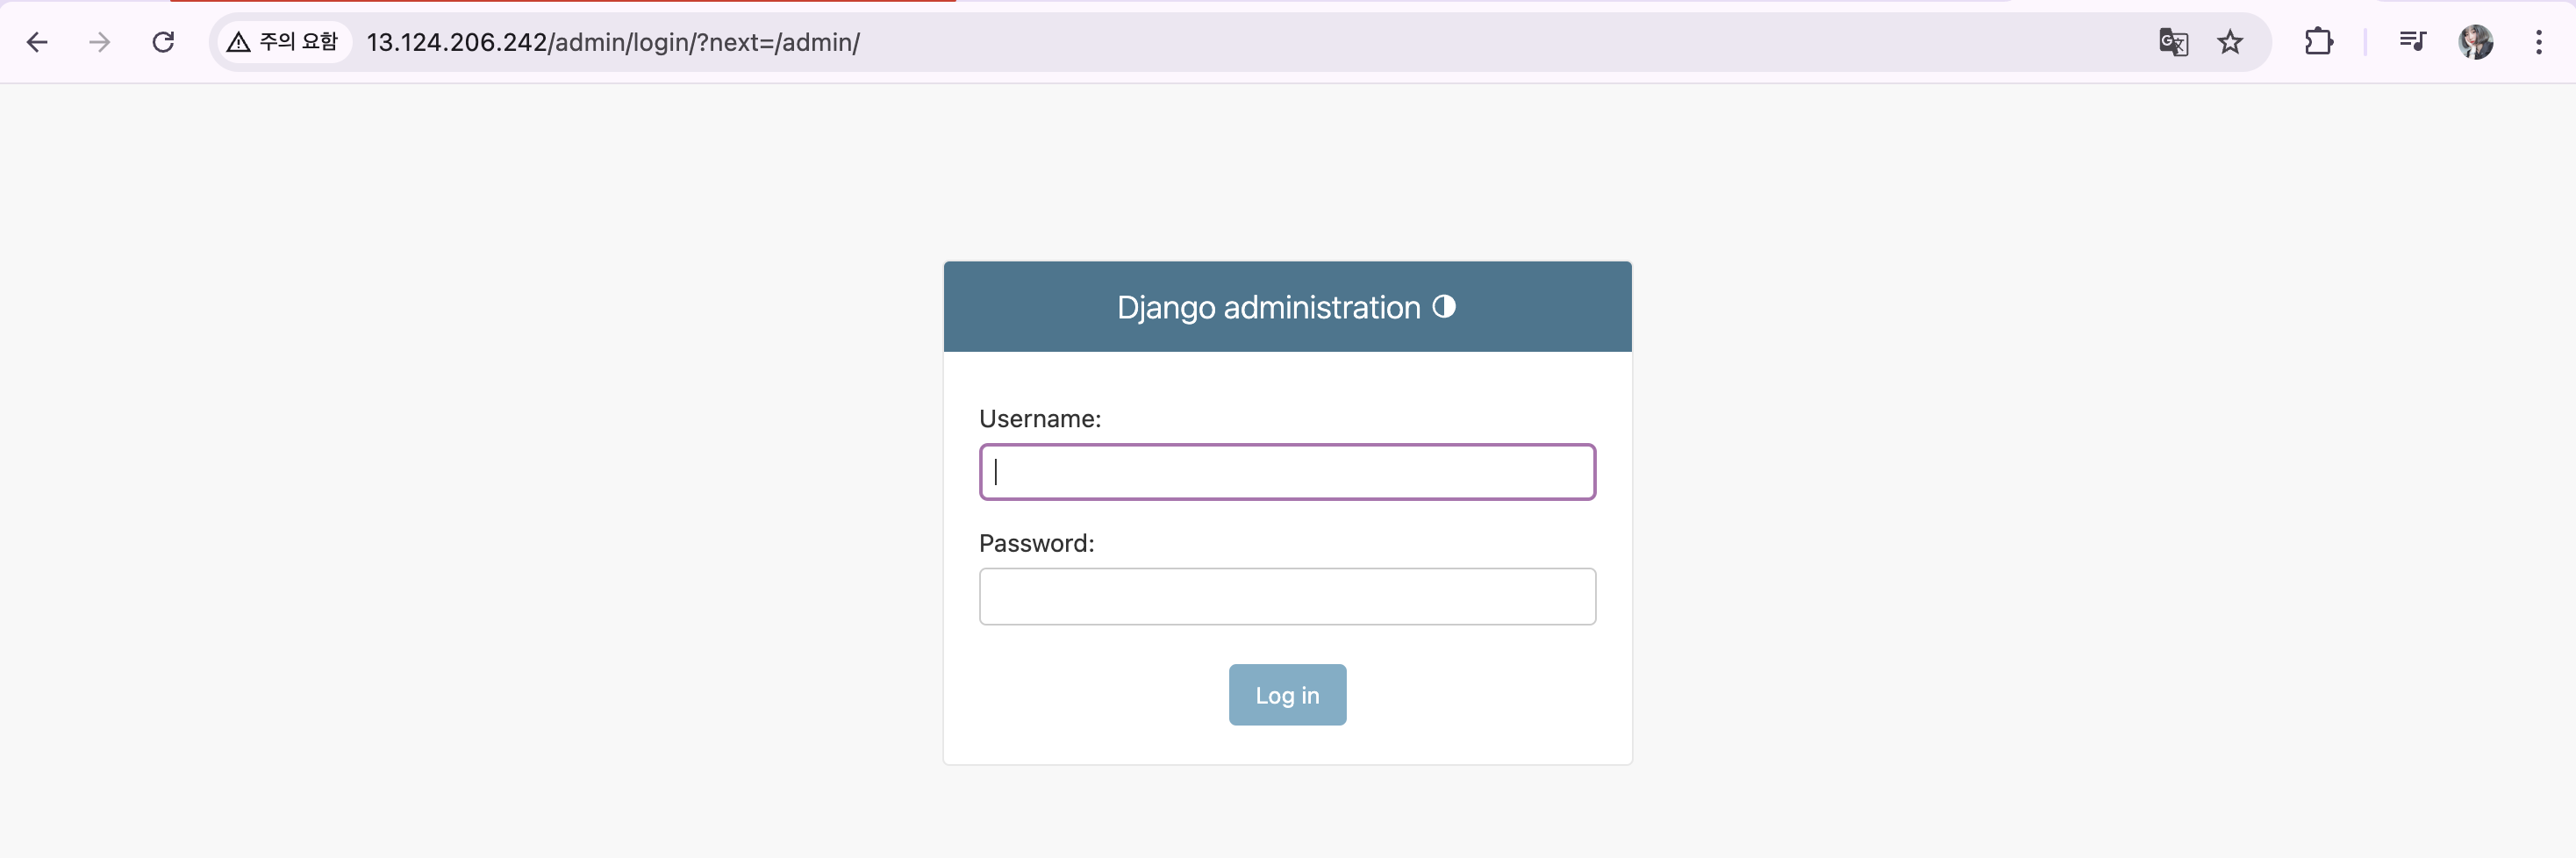
그런데 /admin/ 으로 들어가 보면?
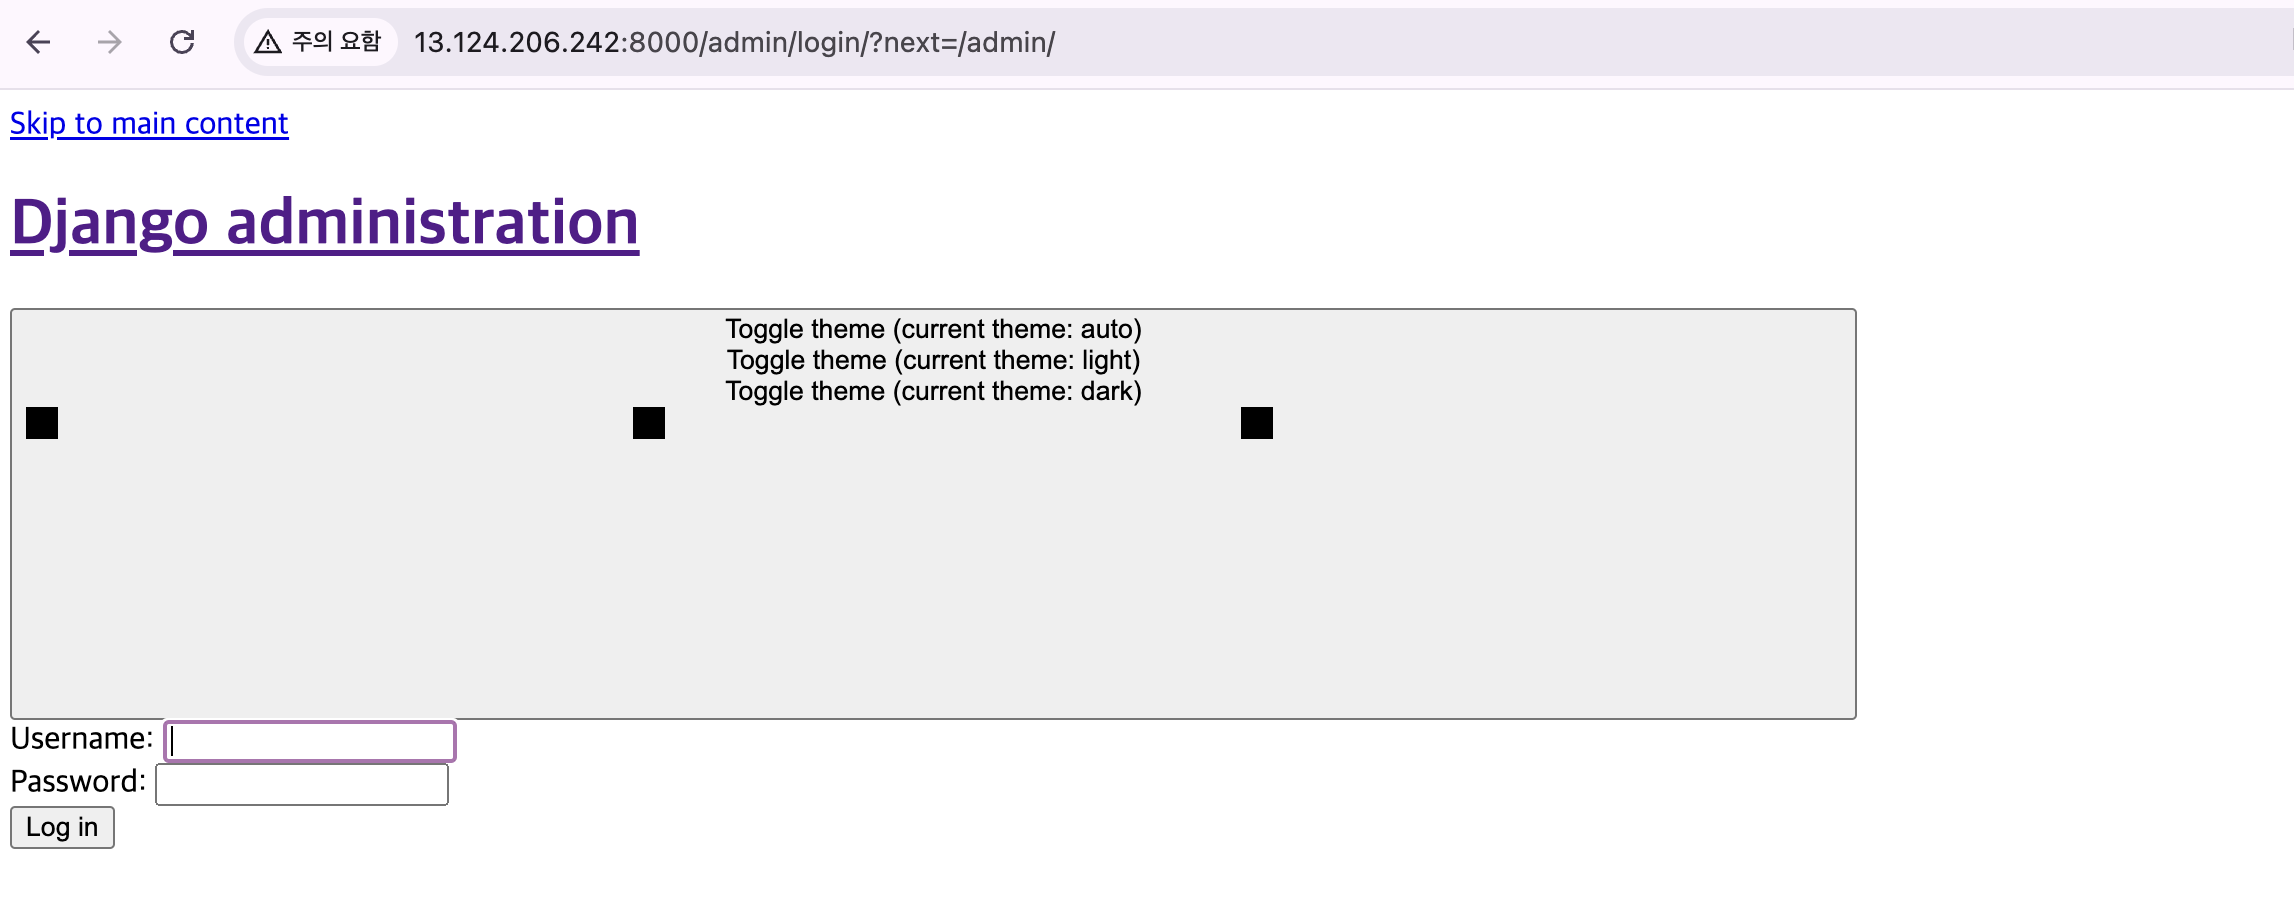
정적 파일이 제공되지 않아서 화면이 다 깨져요
→ Nginx에서 처리하면 돼요
11. 정적 파일 다루기
11.1. 정적파일 설정
settings.py에 static 파일들이 위치할 경로와 url을 지정해 준다.
settings.py

⬇️

STATIC_ROOT = BASE_DIR / "static"
코드 변경 후 git에 push까지 진행해 주세요
이제 EC2에서 pull 해줄게요
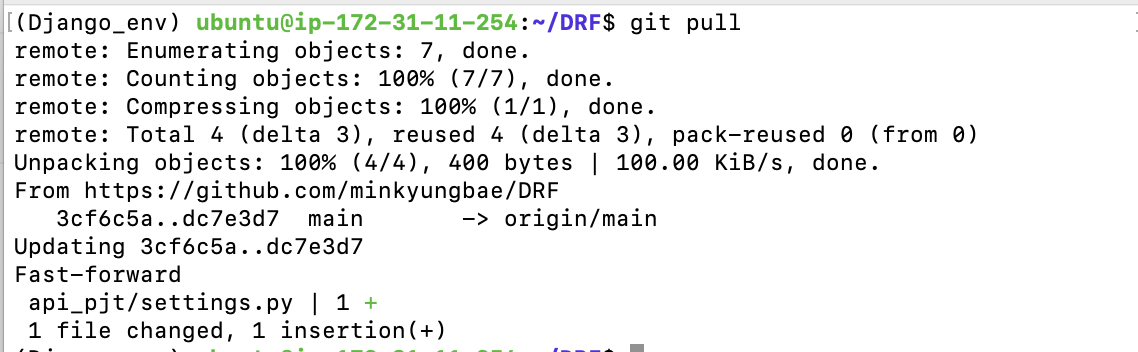
$ git pull11.2. 한 곳으로 모으기
이제 정적 파일들을 한 곳으로 모을게요

$ python3 manage.py collectstatic
266개의 스태틱 파일들이 저기 위치에 모였대요
12. Nginx 설치 및 설정하기
12.1. Nginx 설치하기
$ sudo apt install nginx -y12.2. Nginx 설정하기
$ cd /etc/nginx/stites-available
nginx에서 설정 가능한 것들을 다 정의해 주려고 이 경로로 가는 거예요
내 설정 파일 생성

# django라는 파일 명으로 만들 거예요
$ sudo vi django
📕 listen 80
◎ 80 포트로 들어오면 웹 서버를 만날 수 있음
◎ HTTP의 기본 포트는 80 포트
○ www.aidenlim.dev:80 == www.aidenlim.dev
server {
        listen 80;
        server_name *.compute.amazonaws.com;
        charset utf-8;
		    client_max_body_size 128M;

        location /static {
                alias /home/ubuntu/DRF/static;
        }

        location / {
                include proxy_params;
                proxy_pass http://unix:/tmp/gunicorn.sock;
        }
}
esc 키 누르고 :wp 입력한 후 Enter로 빠져나오세요
12.3. Nginx 설정 파일 적용하기
- 작성한 django 설정 파일을 Nginx에게 등록해 주는 과정이 필요
- sites-available에 설정 목록을 만들어두고 sites-enabled에서 실제로 적용하는 구조
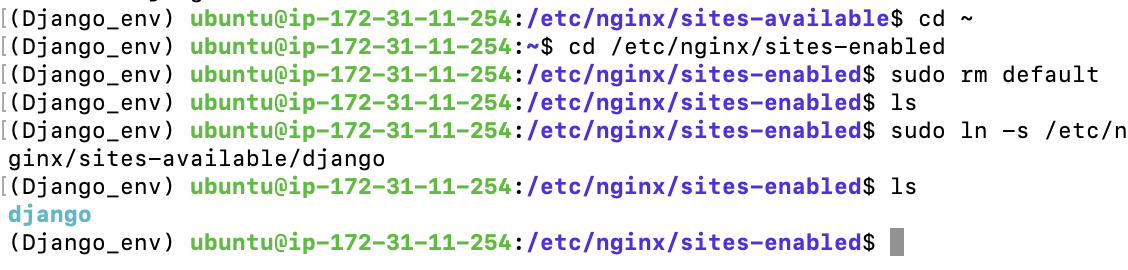
# 홈으로 가기
$ cd ~
# 여기로 이동해주세요
cd /etc/nginx/sites-enabled# 기본 설정 삭제
sudo rm default# 링크로 등록해주기
$ sudo ln -s /etc/nginx/sites-available/django
# 설정이 올바른지 테스트
sudo nginx -t
문법은 일단 successful이래요
12.4. Nginx 실행하기
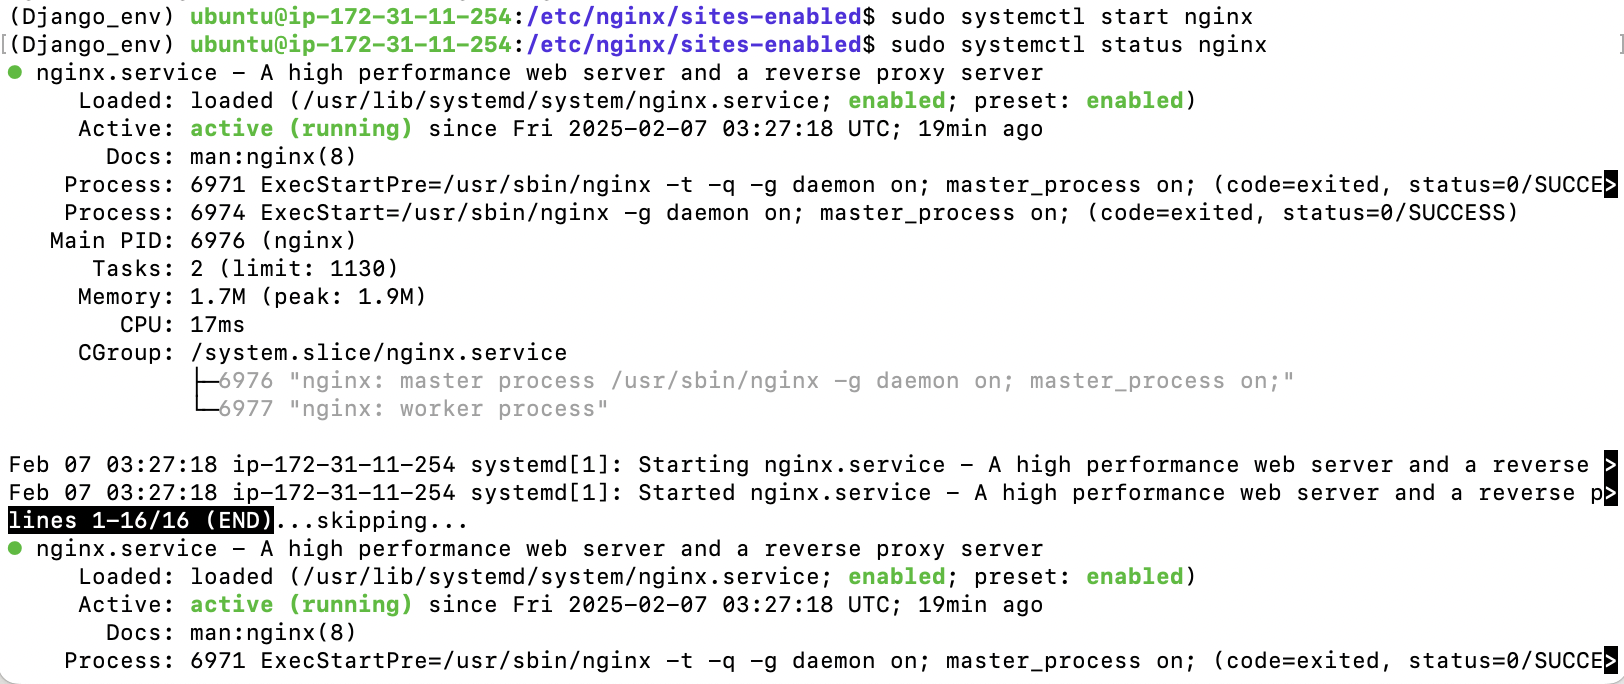
# Nginx 실행
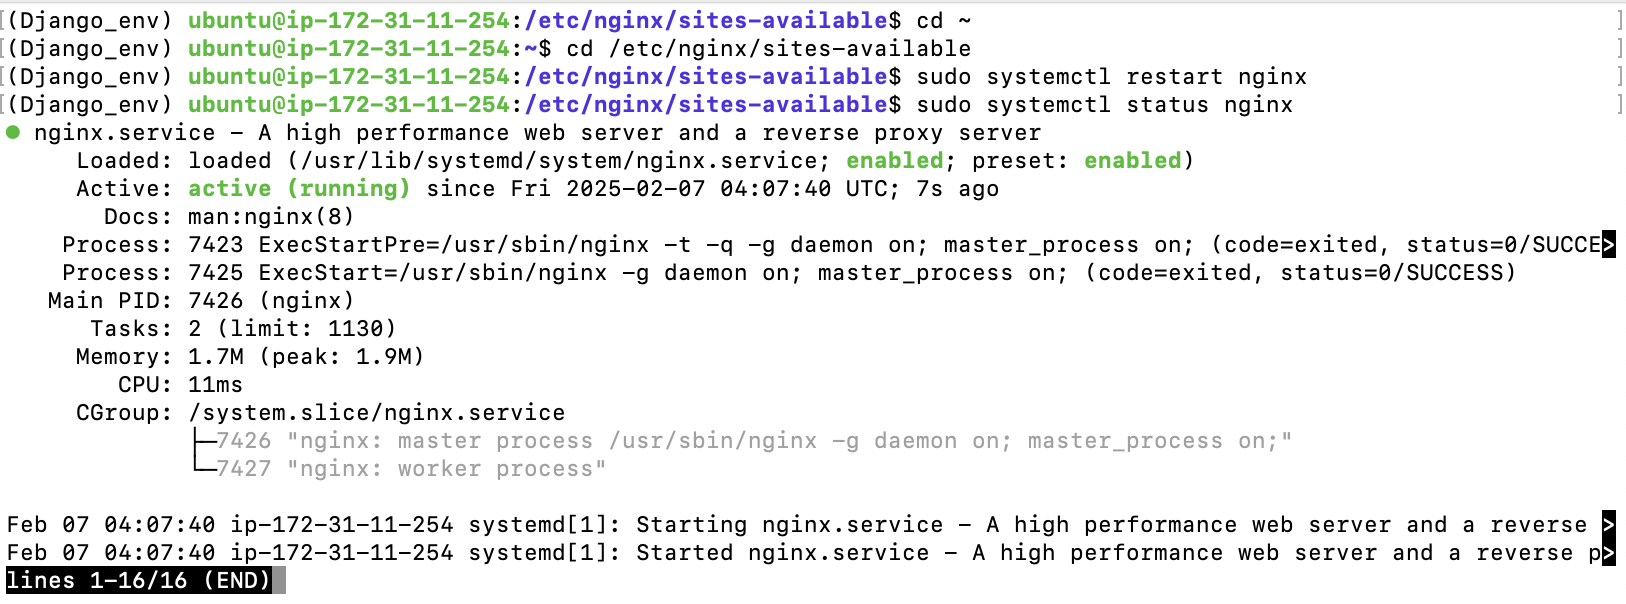
$ sudo systemctl start nginx# 실행 됐는지 확인하기
$ sudo systemctl status nginx

화면 나가고 싶으면 q 누르시면 돼요!
# Nginx 중지
$ sudo systemctl stop nginx
# Nginx 재시작
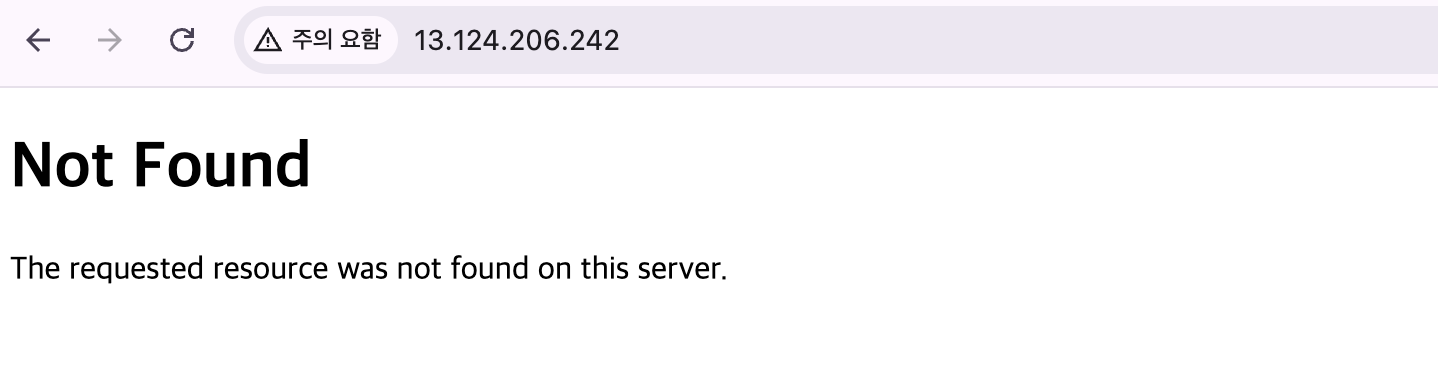
$ sudo systemctl restart nginx12.5. 80 포트 뚫어주기
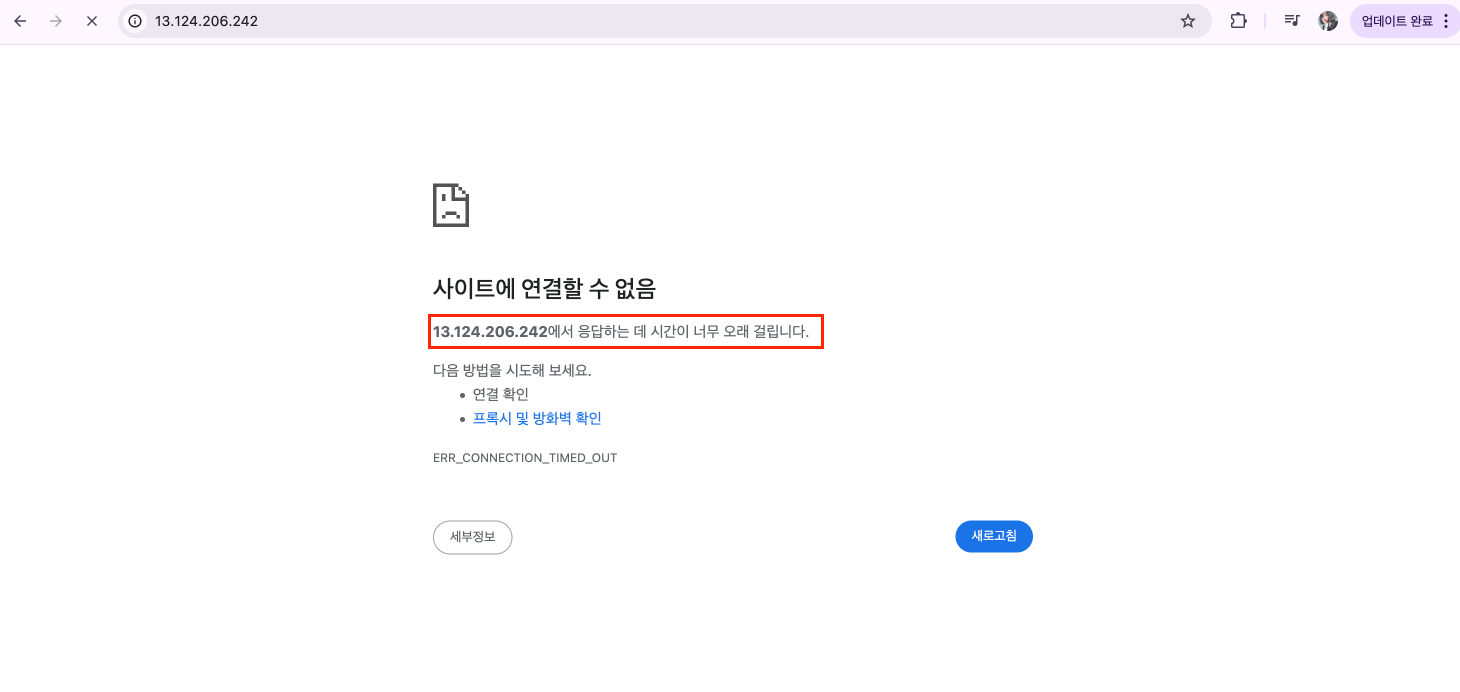
아직 80 포트를 안 뚫어줘서 Time-out으로 에러가 났어요.
뚫어주러 aws로 다시 갈게요
경로
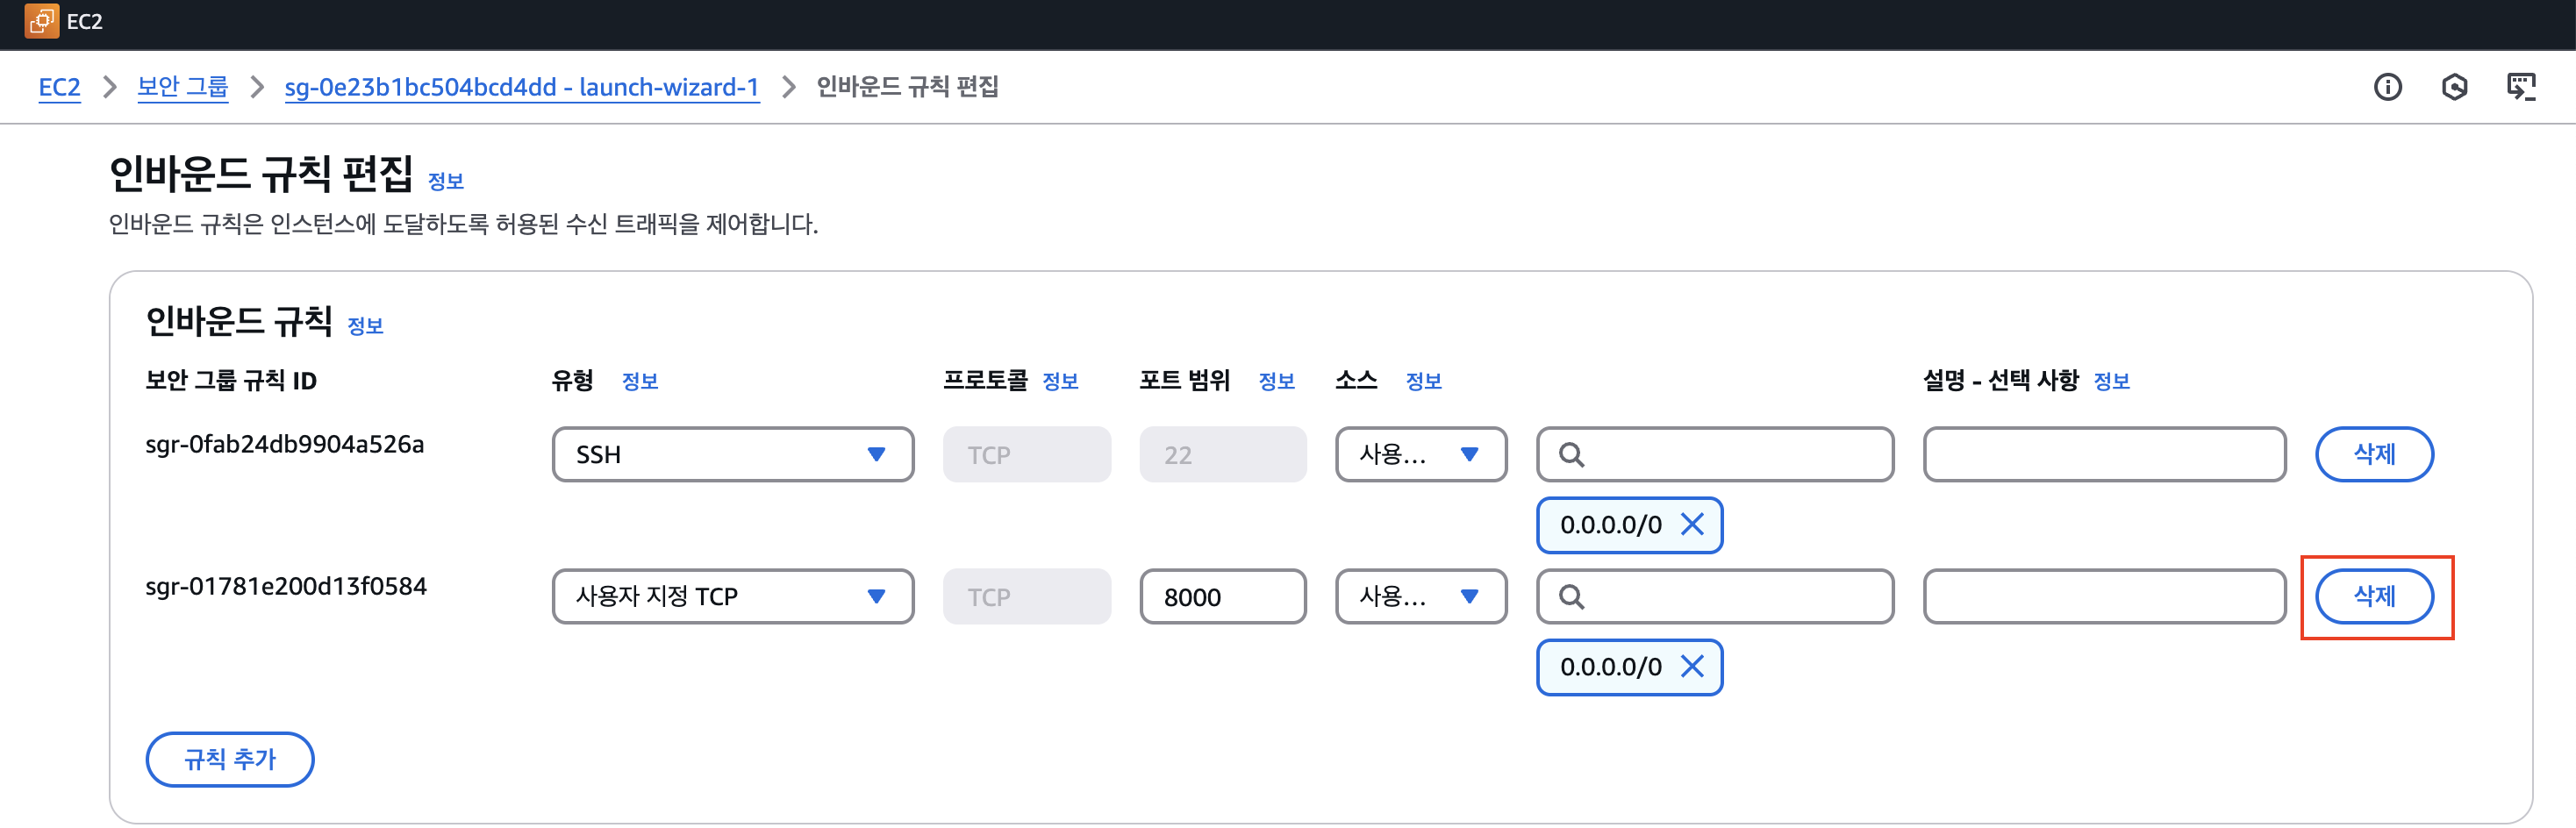
추가해 줬던 8000번은 삭제해 줄게요
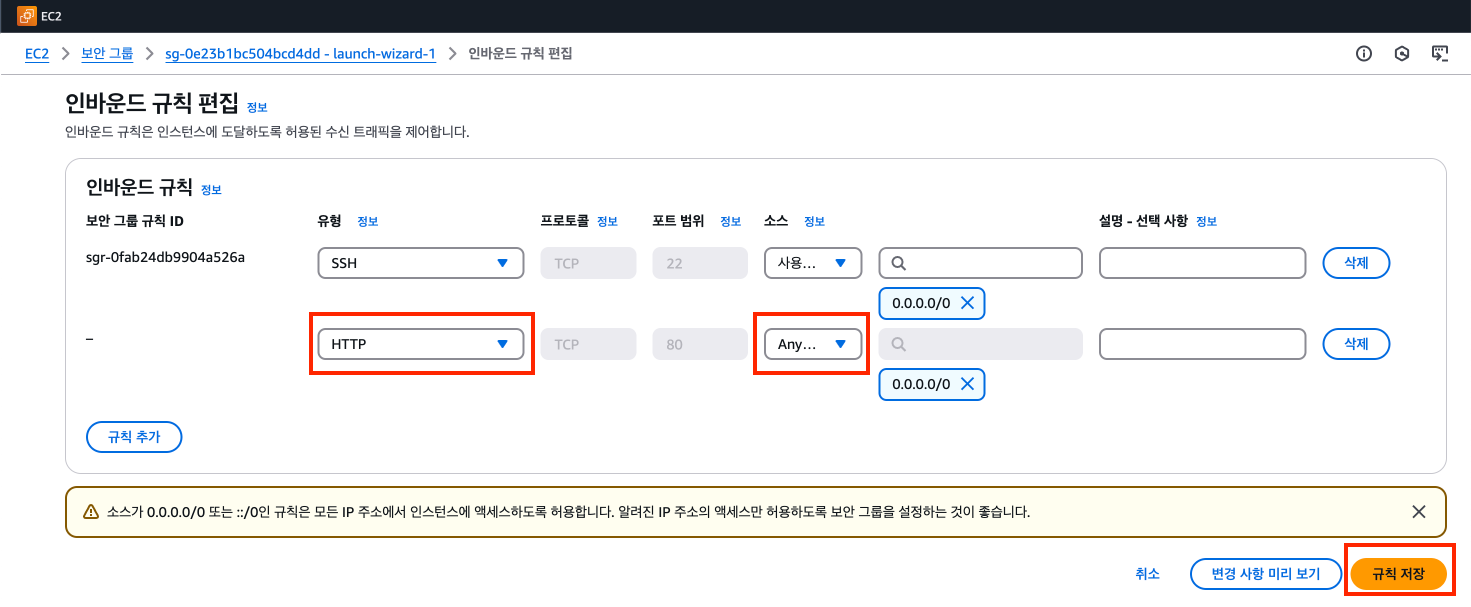
그리고 템플릿 자체에 HTTP가 있어요
그걸 눌러주면 자동으로 80 포트가 입력이 돼요
그리고 Answhere IPv4로 해주시고
규칙 저장 눌러주세요

그러고 서버를 실행해 보면?
얏~호~!
nignx 유저 정보 바꿔주기
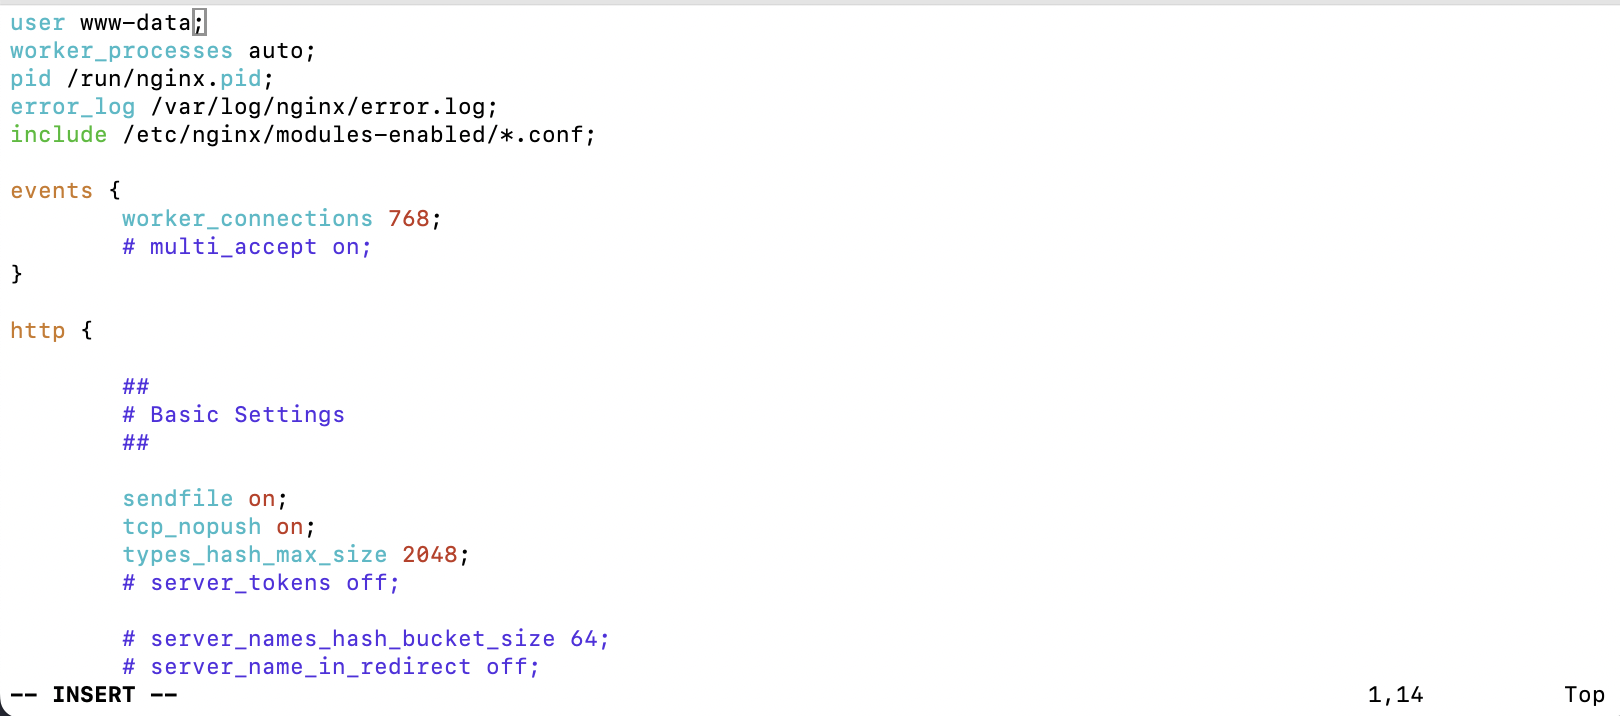
$ sudo vi /etc/nginx/nginx.conf
ubuntu; 로 바꿔주세요
그리고
변경했으니까, 재시작해줄게요!
cd /etc/nginx/sites-available# Nginx 재시작
$ sudo systemctl restart nginx13. Gunicorn 서비스로 실행하기
이전에는 아래의 명령어를 이용해서 Gunicorn을 실행했습니다.
gunicorn --bind 0:8000 api_pjt.wsgi:application- 이 방식은 포트를 이용해서 연결하는 방식이지만, 유닉스 계열 시스템에는 소켓을 이용하는 것이 효율적인 방법입니다.
- (소켓으로 연결하면 좋구나 정도로만 생각해 둡시다!)
- 더구나 지금은 Shell을 종료하면 Gunicorn도 종료되어 서비스가 되지 않음→ 서비스(service)로 등록 필요!
- → 계속해서 동작하도록 하고 AWS 서버를 재시작해도 동작해야 한다!
cd /etc/systemd/system# gunicorn 서비스 파일 생성
sudo vi gunicorn.service# 코드 설명
[Unit]
Description=gunicorn daemon
After=network.target
[Service]
User=ubuntu
Group=ubuntu
WorkingDirectory=<manage.py가 위치한 디렉토리 pwd>
ExecStart=<gunicorn이 설치된 가상환경 위치> \
--workers 2 \
--bind unix:/tmp/gunicorn.sock \
<wsgi.py가 있는 디렉토리 이름>.wsgi:application
[Install]
WantedBy=multi-user.target
gunicorn가 설치된 가상환경 위치를 모르겠으면

which gunicorn을 입력해 주시면 경로를 알 수 있어요
# 내가 쓴 코드
[Unit]
Description=gunicorn daemon
After=network.target

[Service]
User=ubuntu
Group=ubuntu
WorkingDirectory=/home/ubuntu/DRF
ExecStart=/home/ubuntu/DRF/Django_env/bin/gunicorn \
        --workers 2 \
        --bind unix:/tmp/gunicorn.sock \
        api_pjt.wsgi:application

[Install]
WantedBy=multi-user.target
다시 Ip 주소로 가볼게요
그전에 이 코드를 입력해 주세요
# gunicorn 실행하기
$ sudo systemctl start gunicorn
# 잘 실행됐는지 확인하기 status
$ sudo systemctl status gunicorn
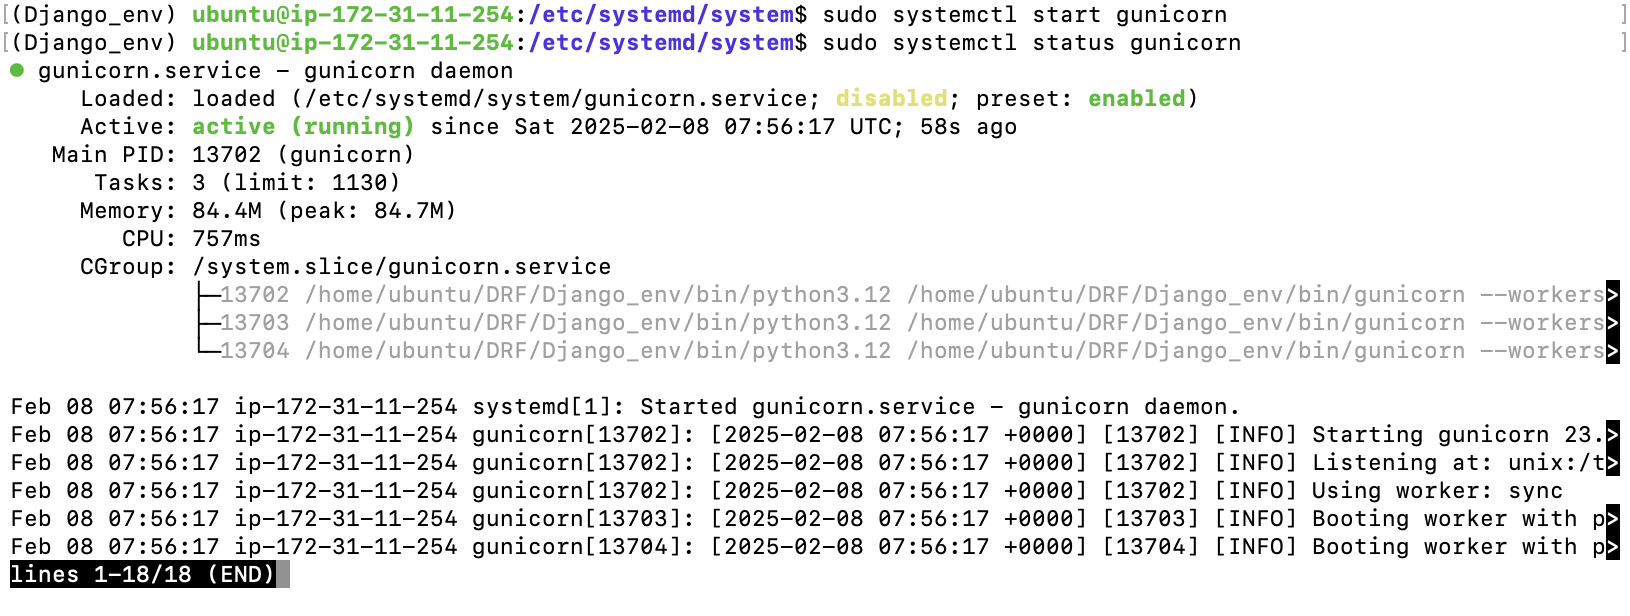
active (running)이 된 걸 보니, 잘 실행되고 있네요!

잘 되어가고 있네요~!
nginx에서 admin을 보내주고 있어요~!
14. 배포 마무리

DEBUG = True가 돼 있대요, 이걸 False로 바꾸라네요!
14.1. 개발 모드 종료하기

이거를 False로 바꿔줄게요

바꿔주었으니
git add settings.pygit commit -m "Fix DEBUG = False"git push origin main
해주세요~!
github에 push 했다면?
EC2에서 pull 받아주세요!
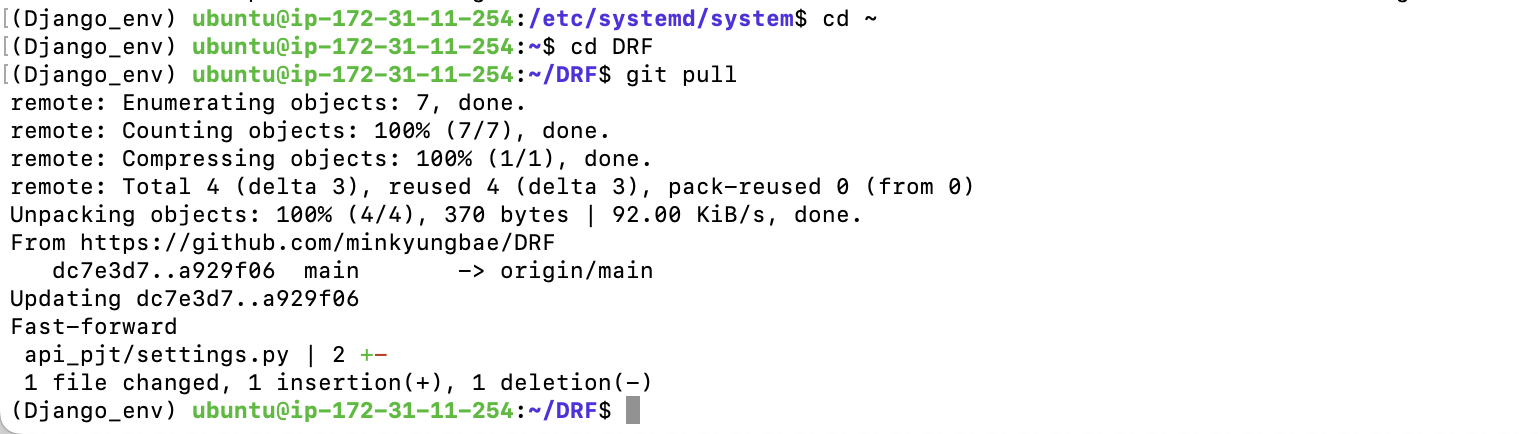
# home으로 가기
$ cd ~
$ git pullGunicorn 재시작
# gunicorn 재시작
$ sudo systemctl restart gunicorn
# 잘 실행됐는지 확인하기
$ sudo systemctl status gunicorn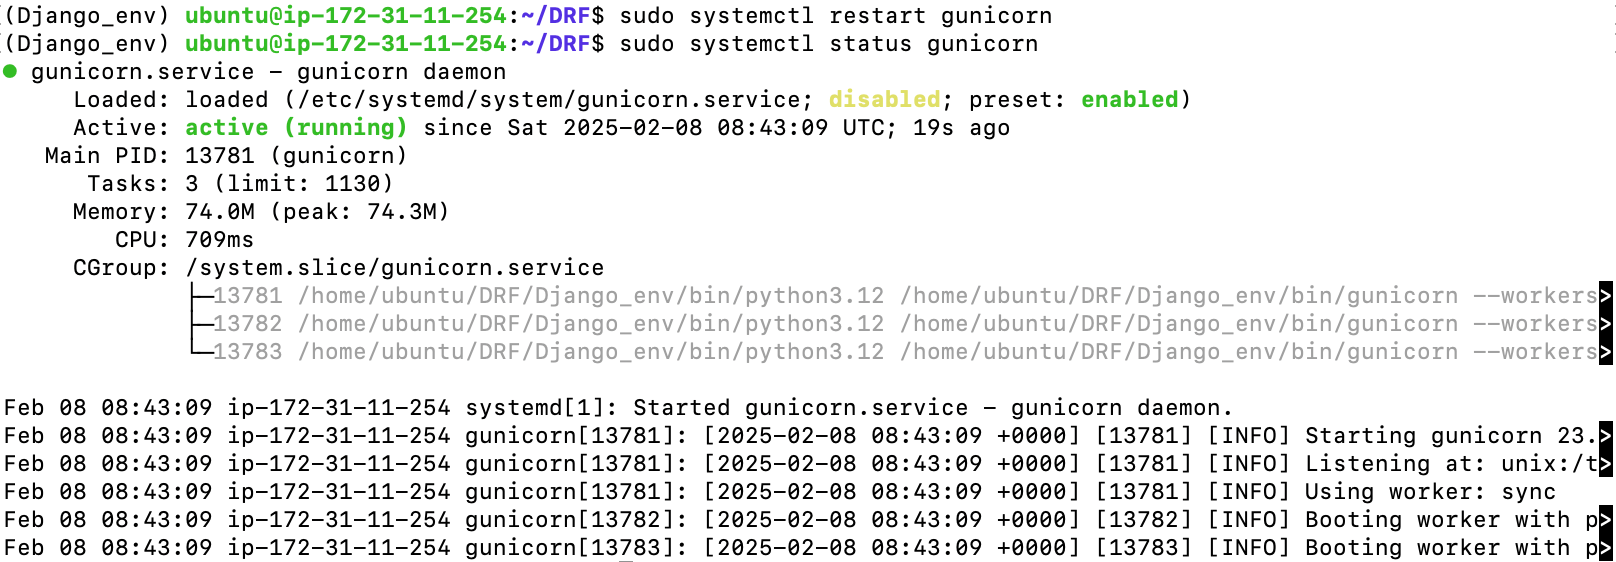
서버를 다시 새로고침 해보면??
굿굿 👍🏻
14.2. Postman 동작 확인
마지막으로 postman 동작을 확인해 볼까요?
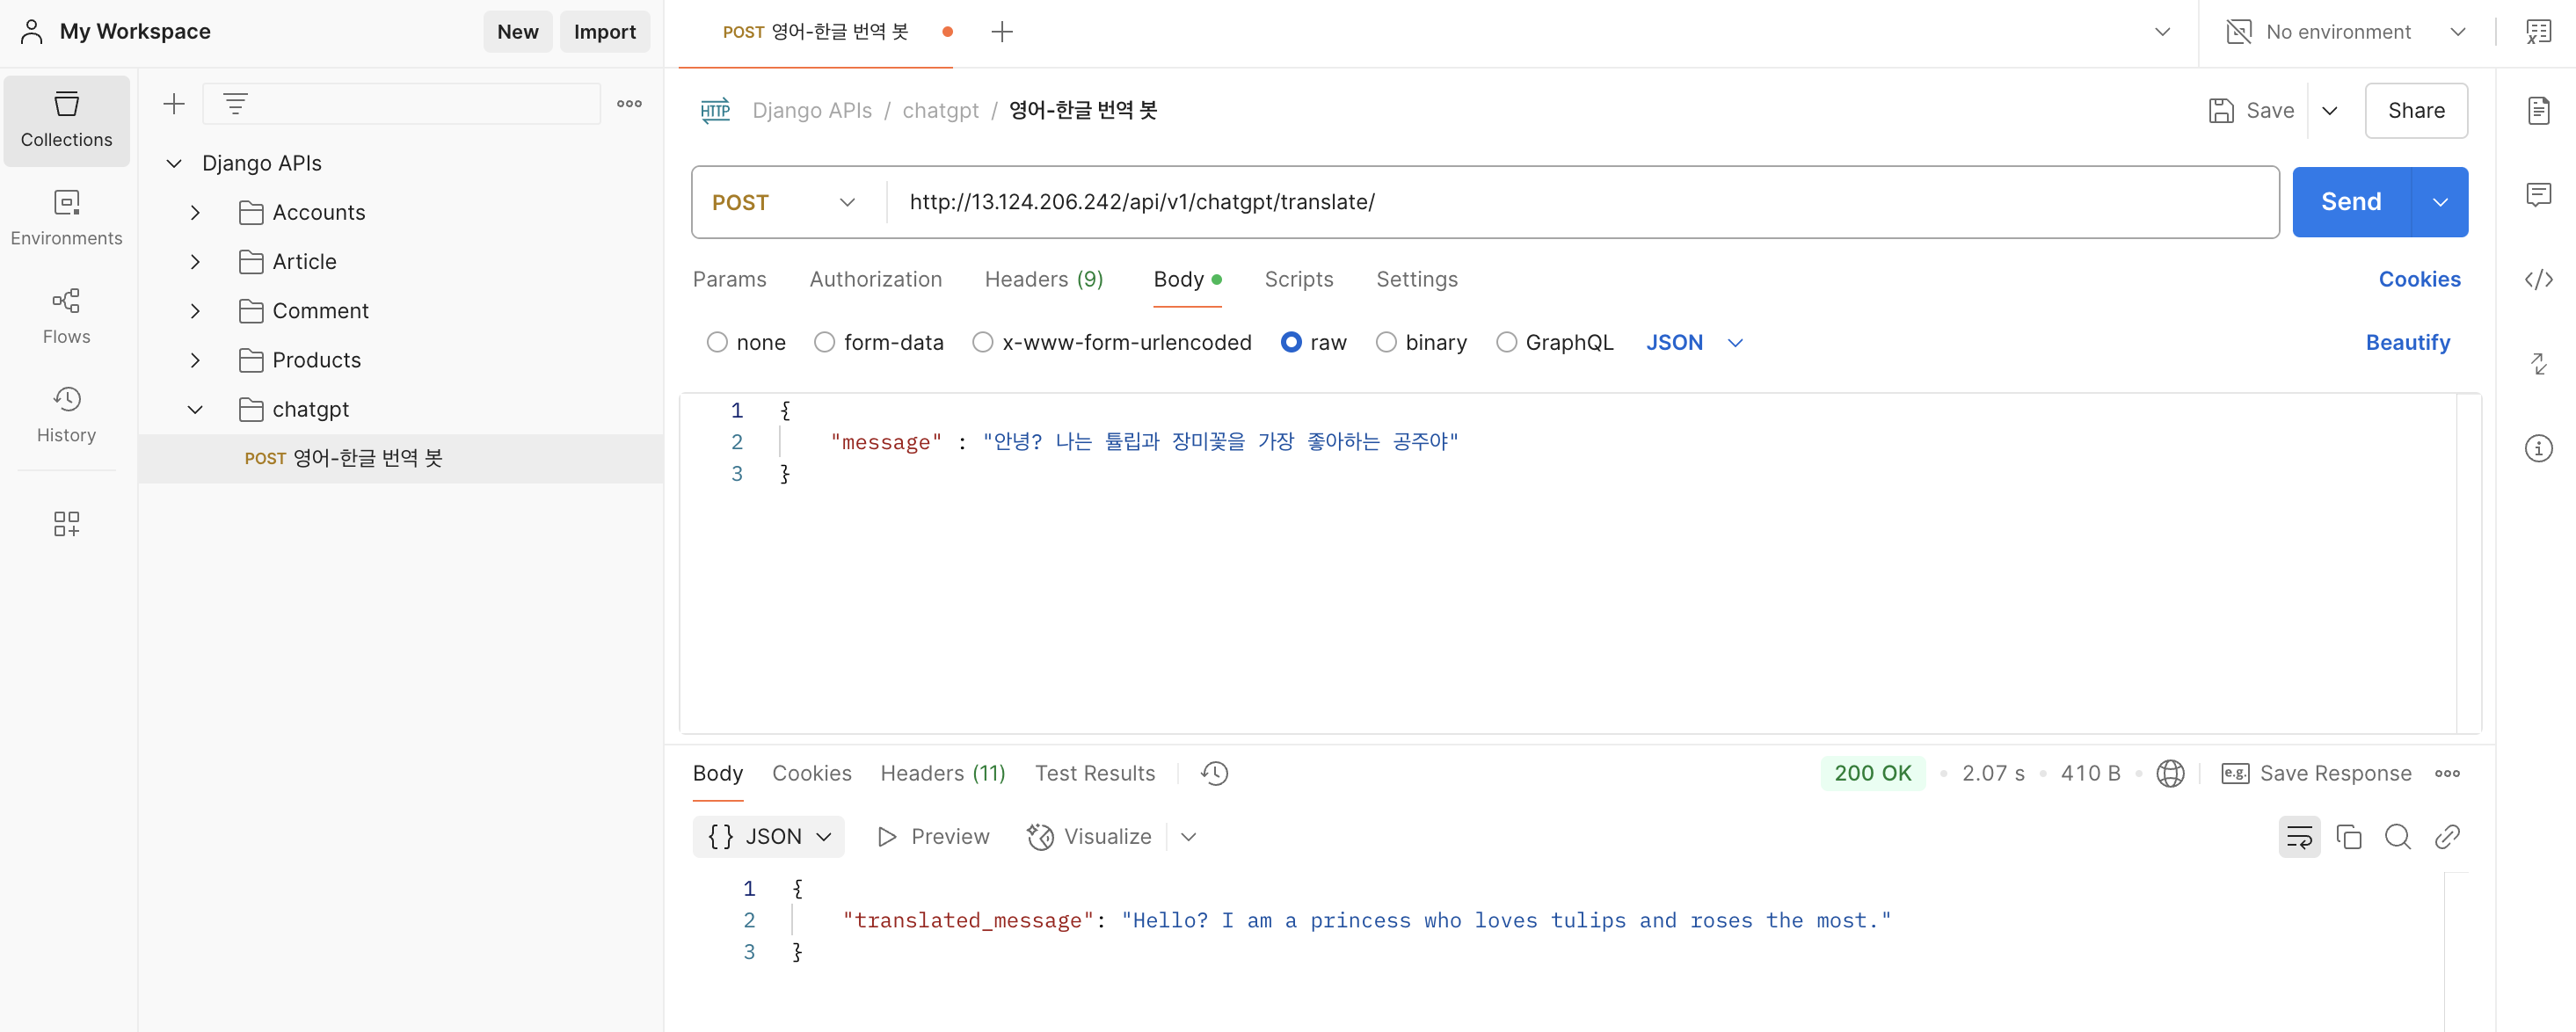
http://13.124.206.242/api/v1/chatgpt/translate/14.3. 환경 변수로 등록해서 사용해 보기
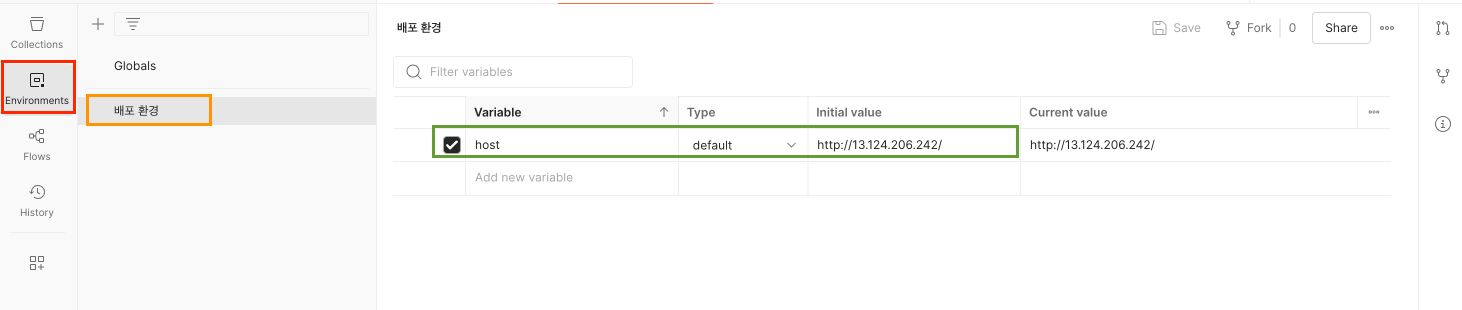
postman에서 Environments을 누르면 새로운 create new Environment가 나와요 그거 눌러주시고
IPv4 링크를 적어주세요
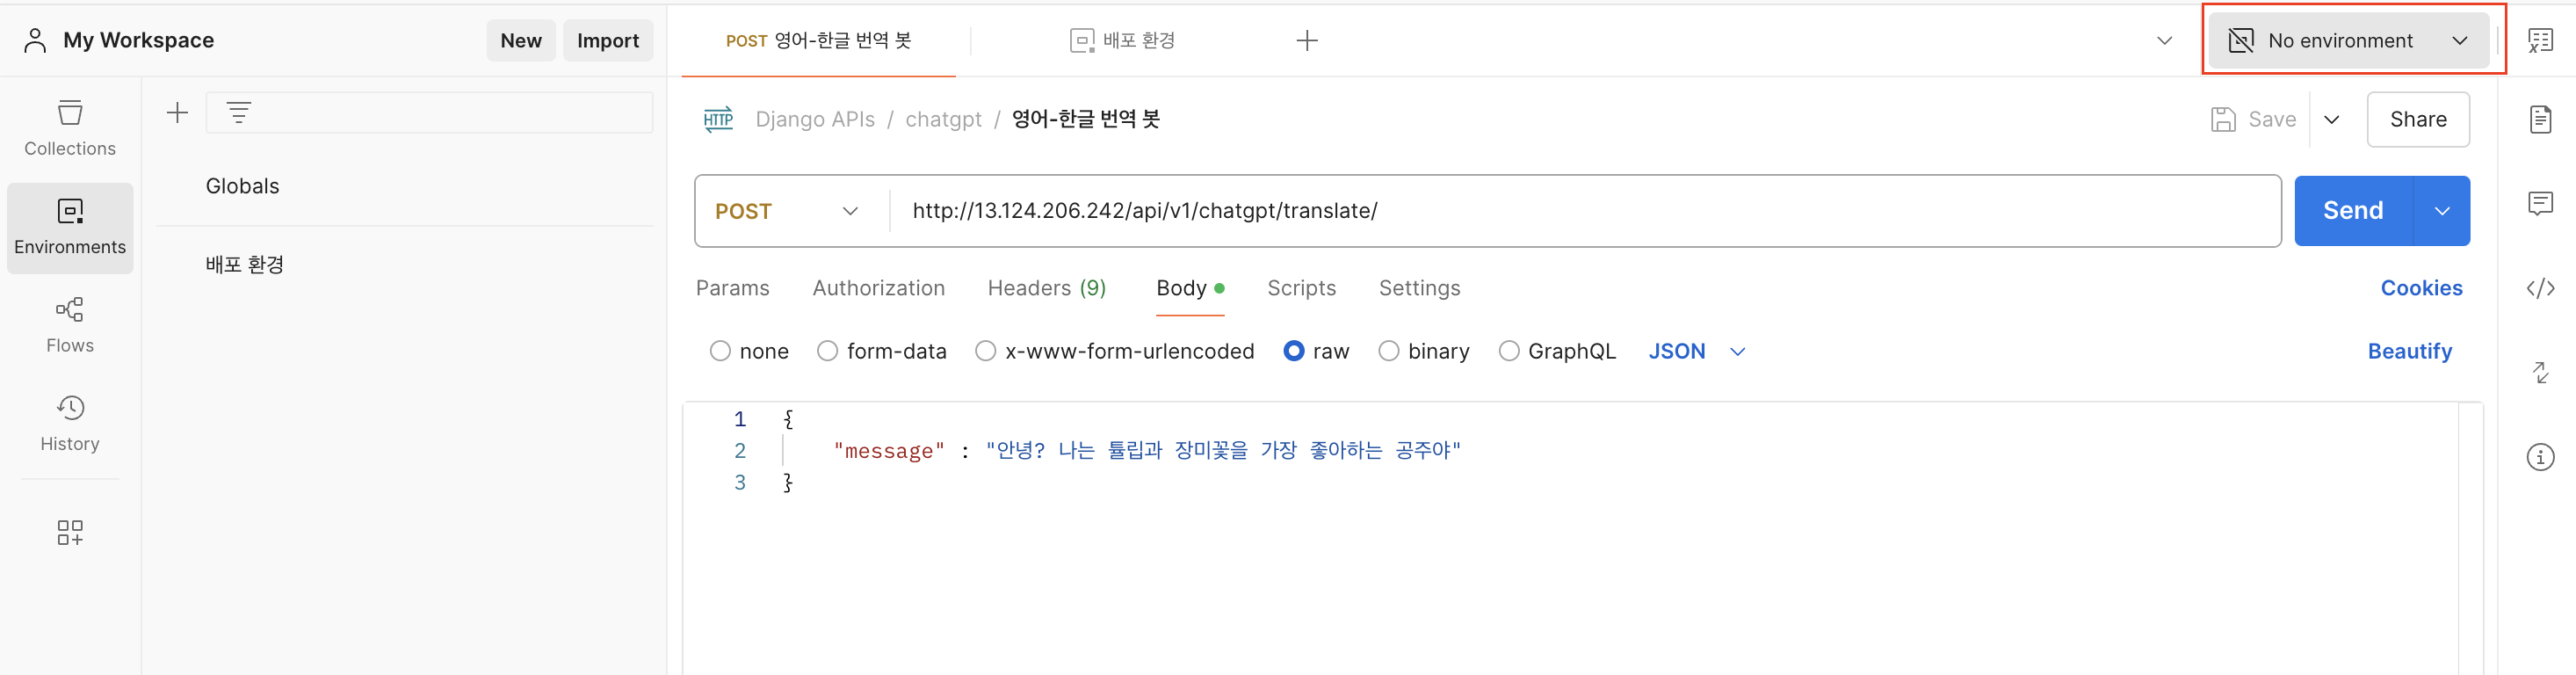
저거 누르면 생성했던 environments가 나와요
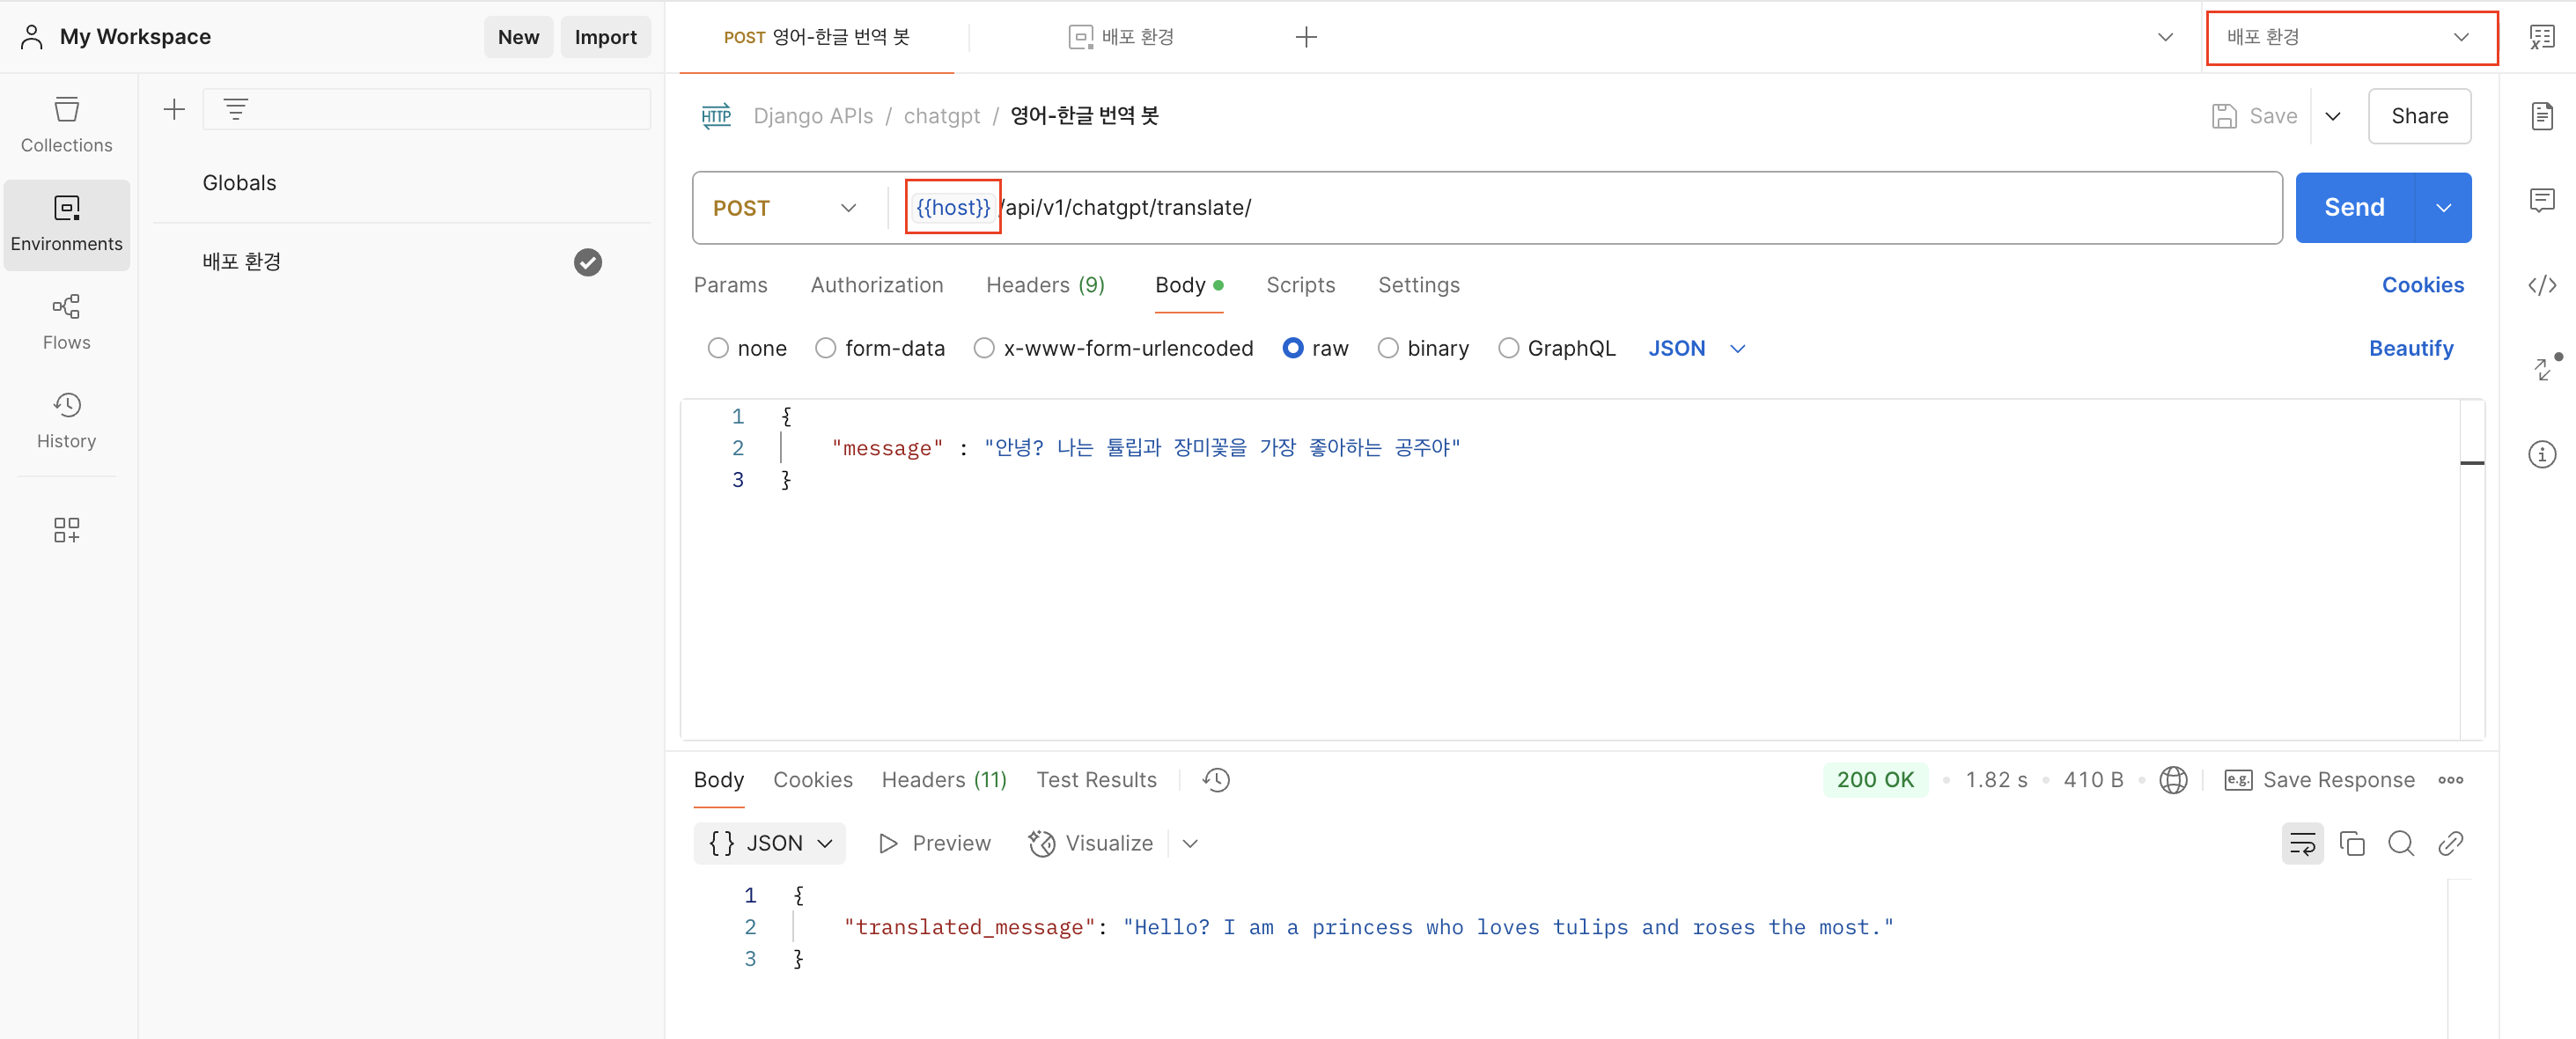
- {{host}}라고 치시면 하늘빛이 돌아야 잘 적용된 거예요!
- 200 ok 떴죠? 잘 적용된 겁니다 ㅎㅎ
'🔥 공부 > 📘 DRF 공부' 카테고리의 다른 글
| [DRF] Generics? (1) | 2025.02.17 |
|---|---|
| [DRF] Django REST framework simple JWT (1) | 2025.02.15 |
| [DRF] 외부 API 연동하기 (feat. ChatGPT) (0) | 2025.02.05 |
| [DRF] API 문서화, DRF-Spectacular (0) | 2025.02.04 |
| [DRF] 더 빠른 속도를 위해, Redis, 캐싱 (0) | 2025.02.03 |