📘 DRF
새로운 프로젝트 생성
1️⃣ api_pjt라는 이름의 프로젝트를 생성
django-admin startproject 프로젝트 이름
2️⃣ articles App을 생성하고 기본적인 url 구조 만들기
python manage.py startapp articles
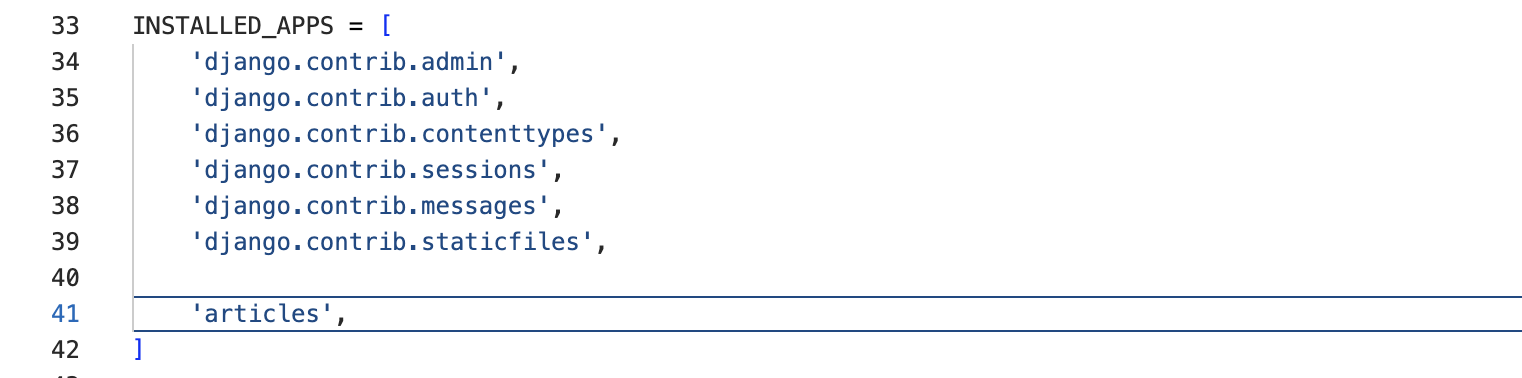
3️⃣ api_pjt/settings.py에 App 등록하기
api_pjt/settings.py
4️⃣ /api/v1/articles/로 들어오면 articles app의 urls로 연결하기
api_pjt/urls.py
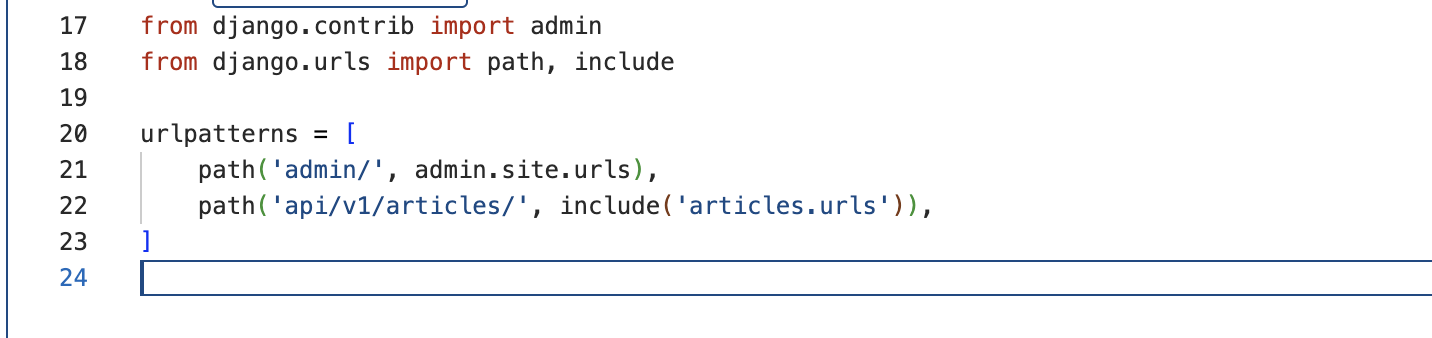
from django.contrib import admin
from django.urls import path, include

urlpatterns = [
    path('admin/', admin.site.urls),
    path('api/v1/articles/', include('articles.urls')),
]
추가 사항
from django.urls import include

path('api/v1/articles/', include('articles.urls')),
5️⃣ articles앱의 models.py를 작성
- title
- content
- created_at
- updated_at
articles/models.py
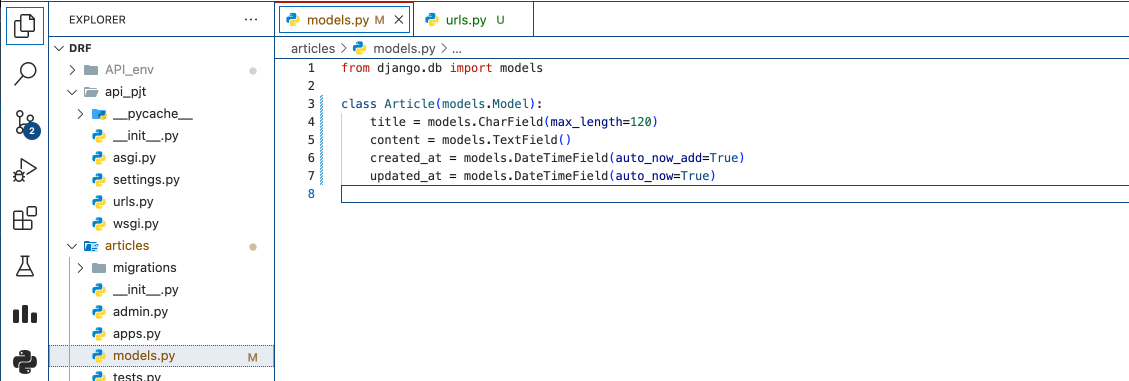
from django.db import models

class Article(models.Model):
    title = models.CharField(max_length=120)
    content = models.TextField()
    created_at = models.DateTimeField(auto_now_add=True)
    updated_at = models.DateTimeField(auto_now=True)
6️⃣ migration, migrate
migration, migrate 해주기
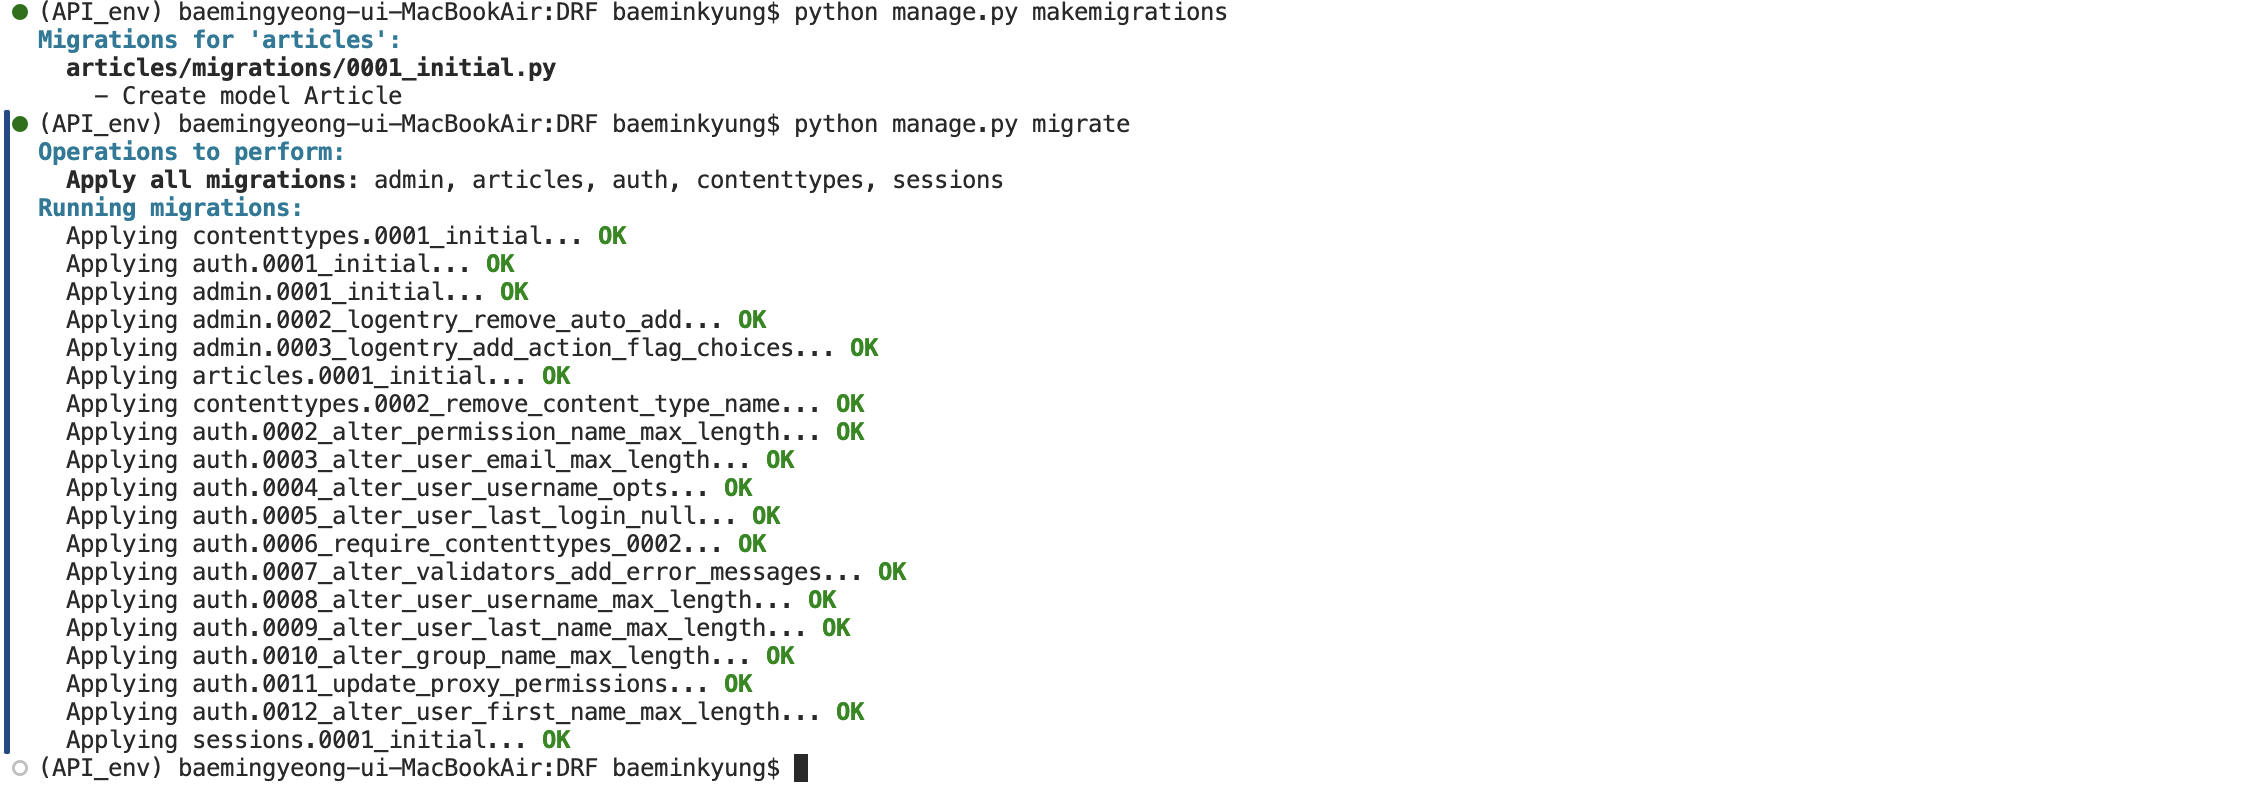
python manage.py makemigrationspython manage.py migrateJSON Response와 Serialization
데이터 생성하기 🌱
1. pip install django-seed
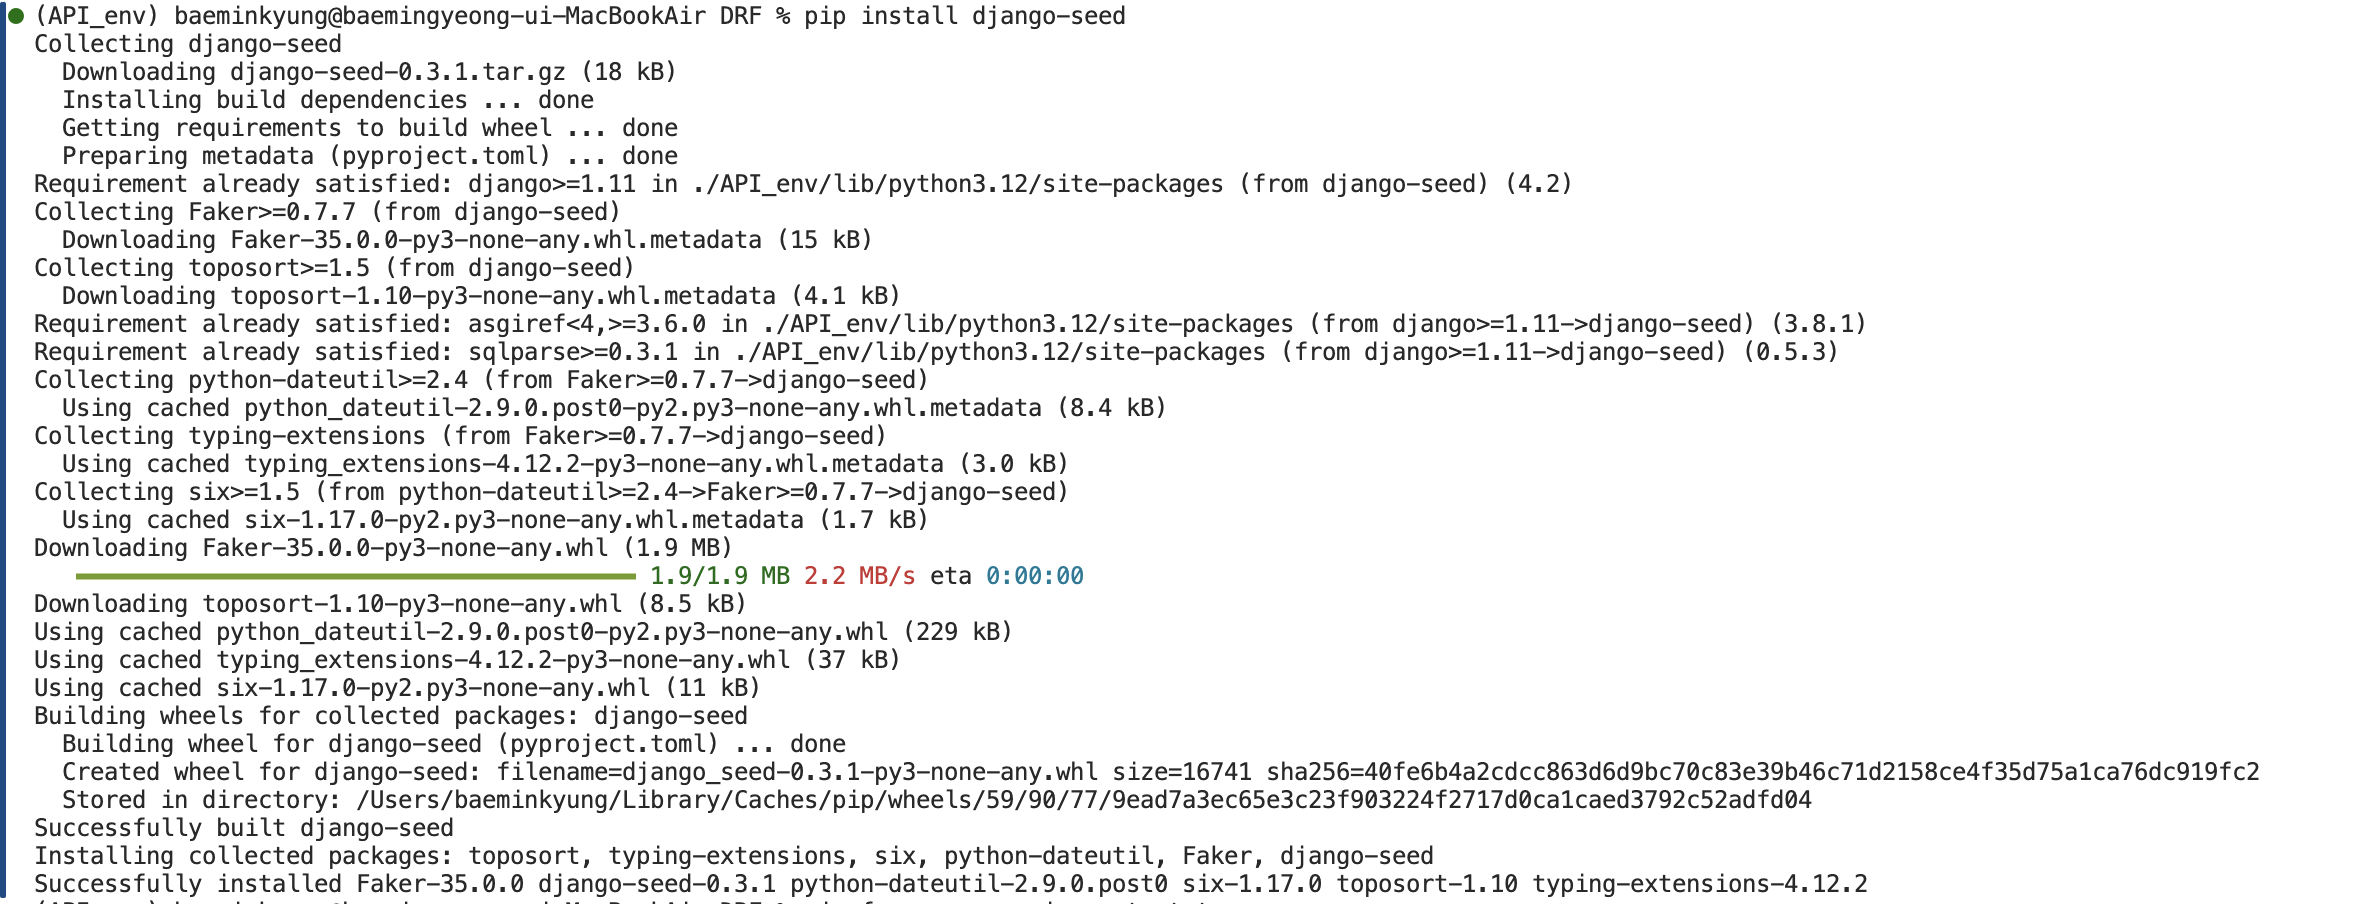
pip install django-seed
2. api_pjt/settings.py
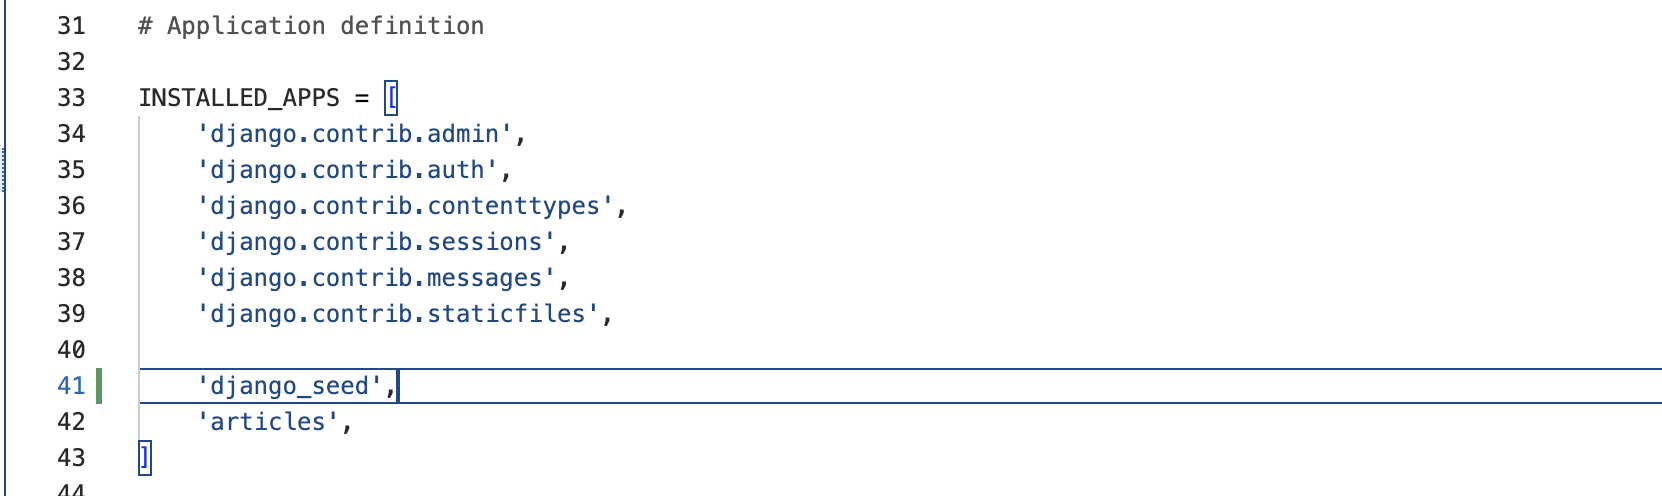
'django_seed',
3. seeding
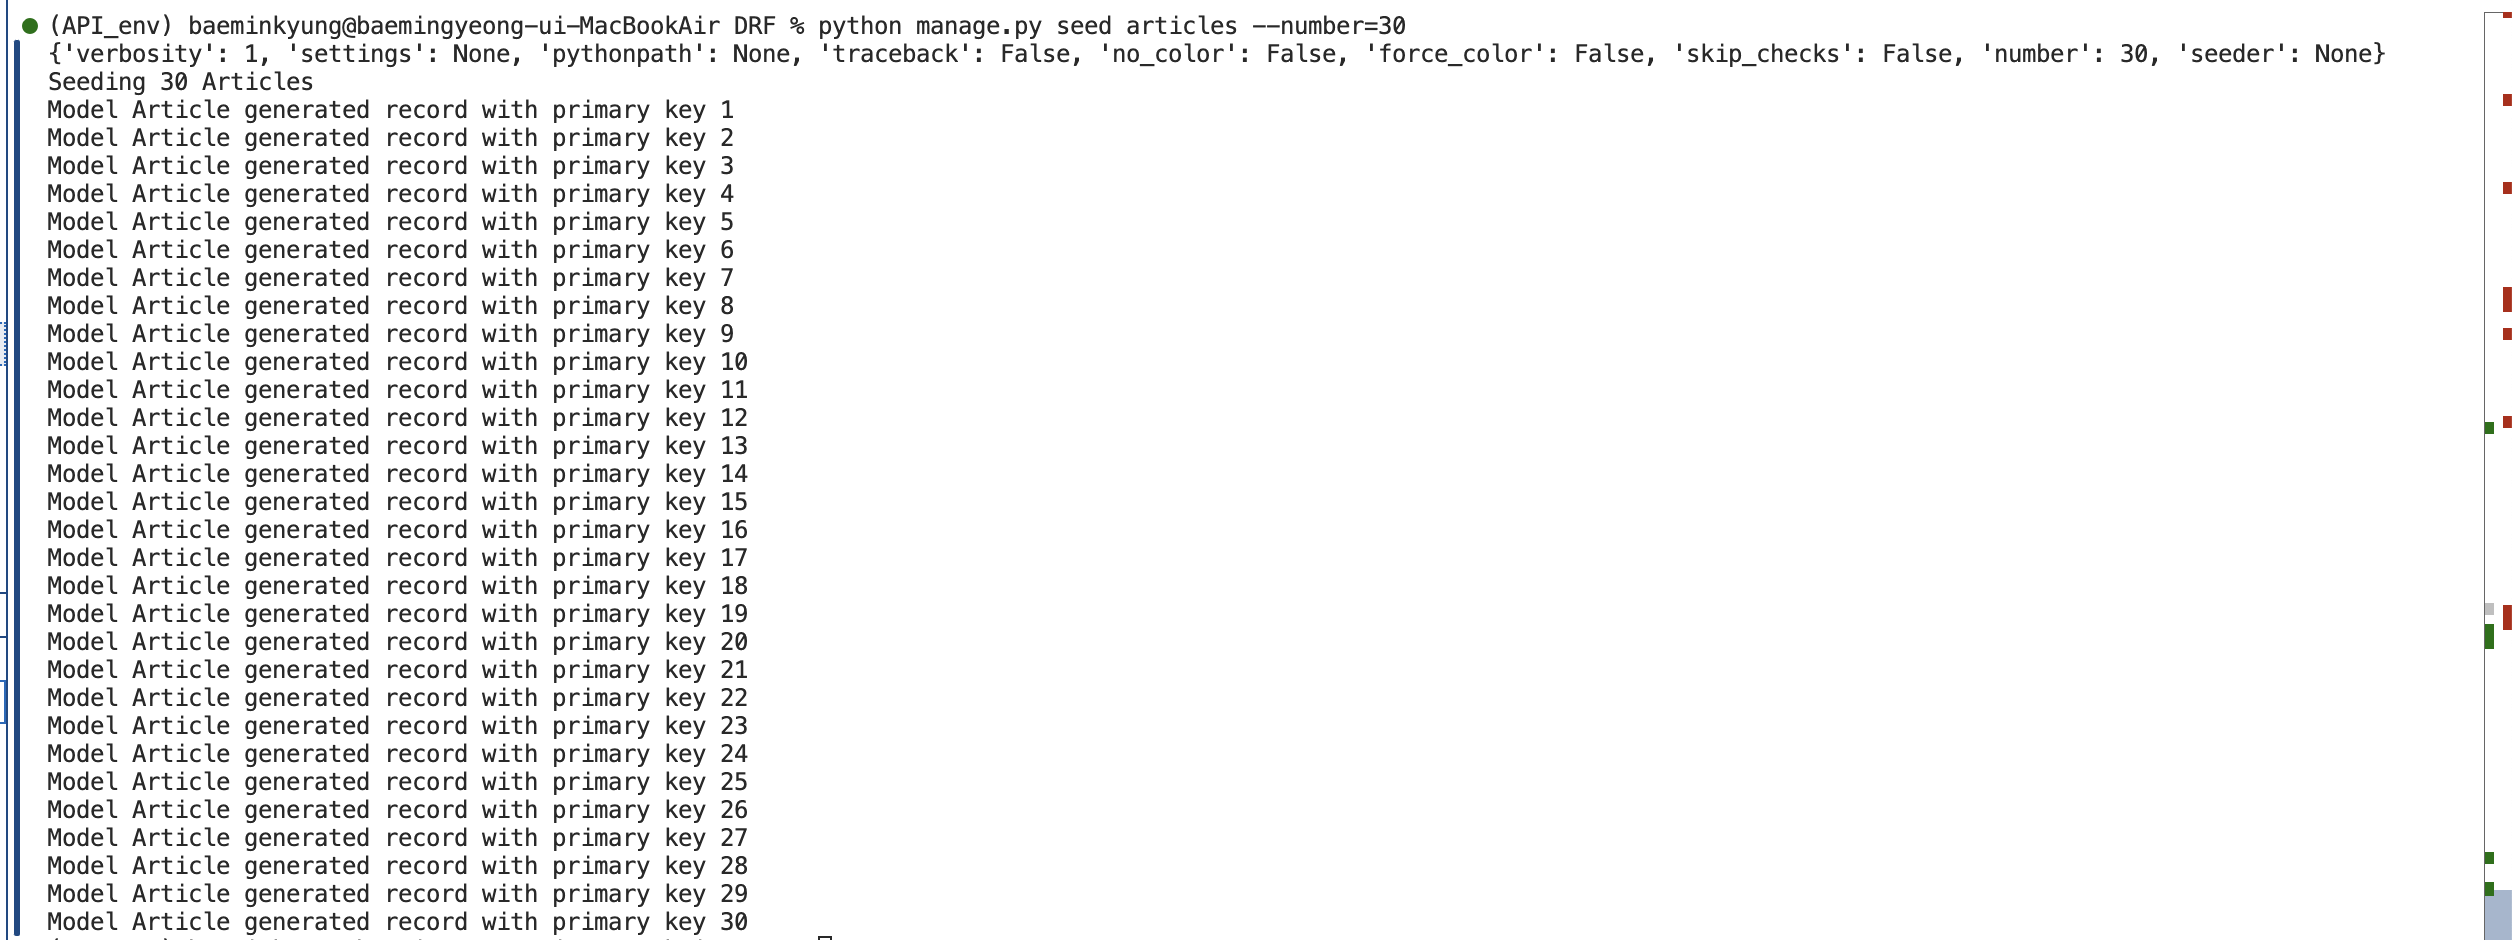
python manage.py seed articles --number=30
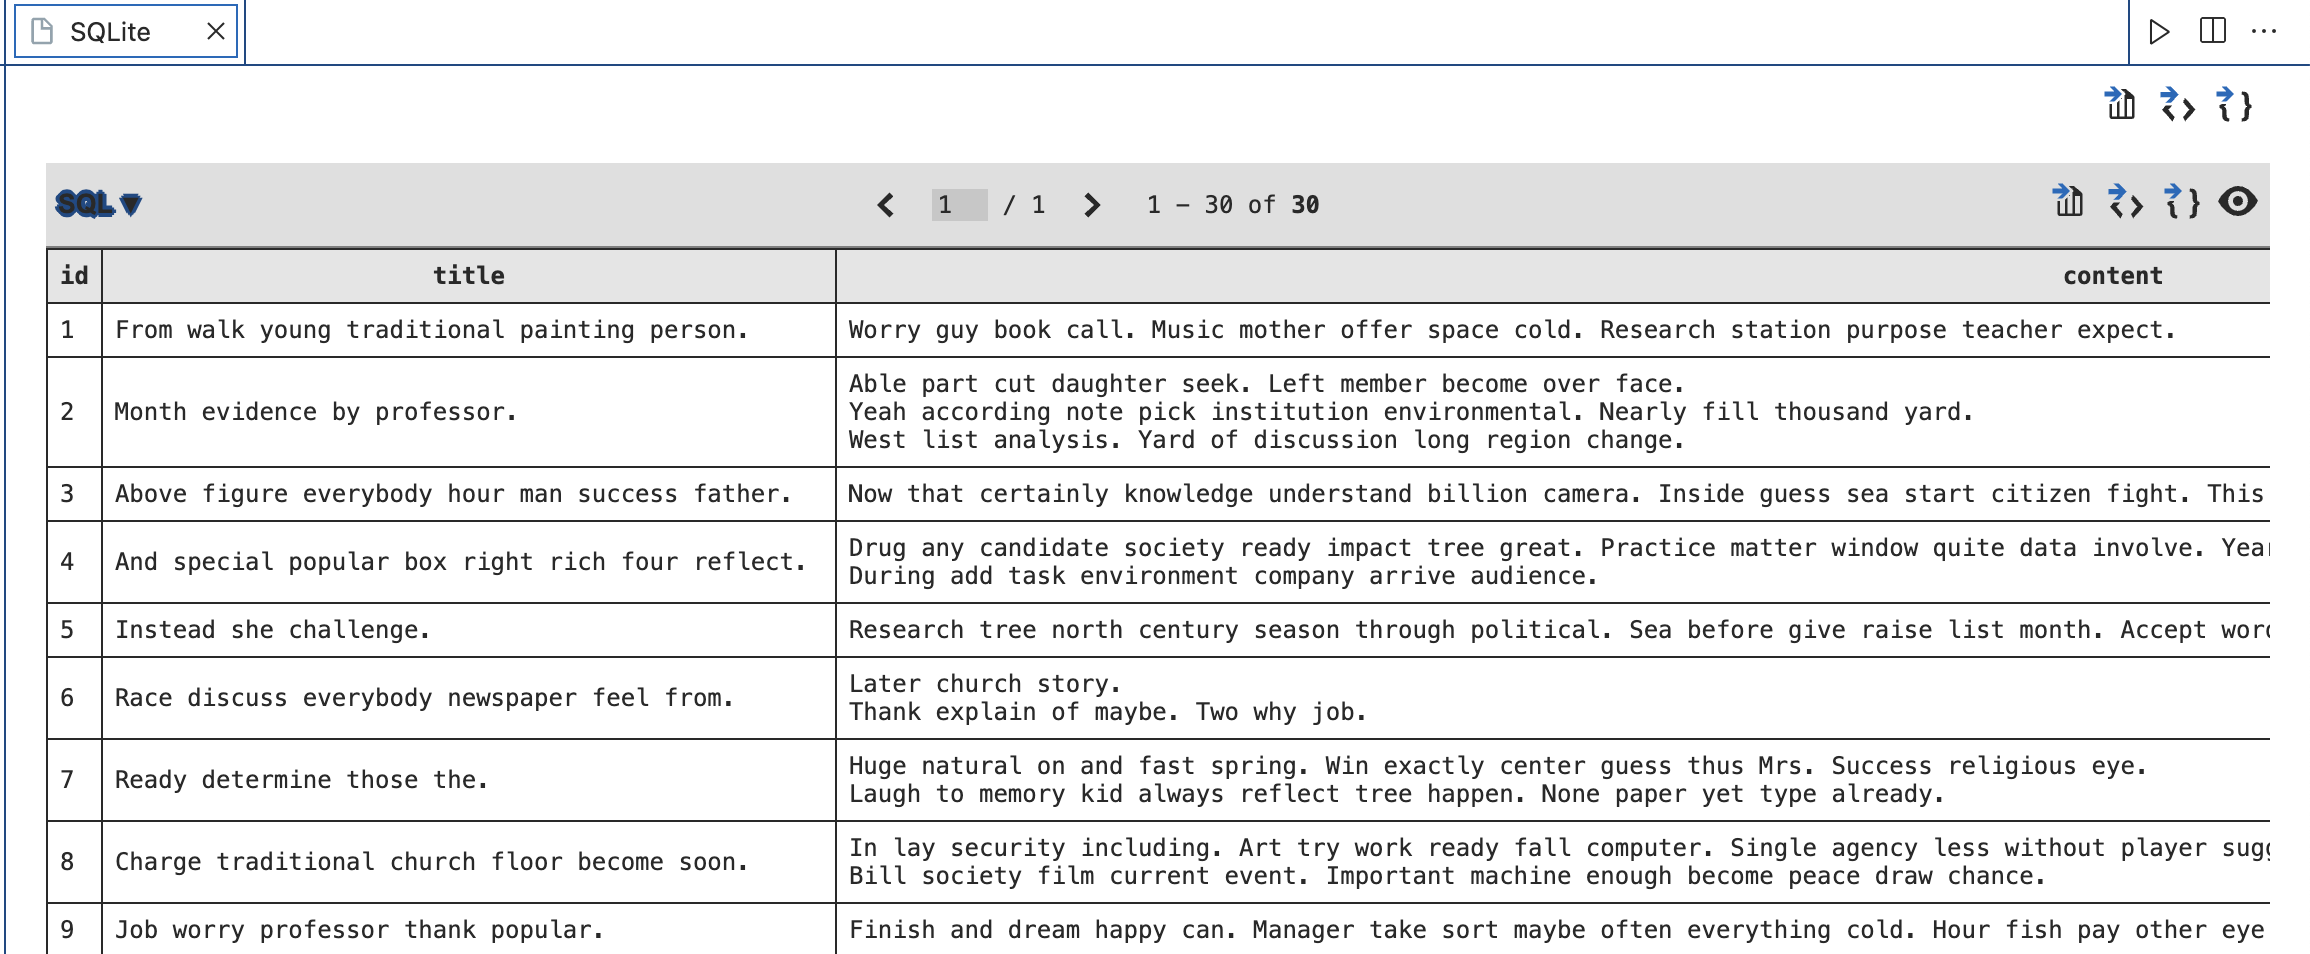
데이터가 생긴 거 볼 수 있어요
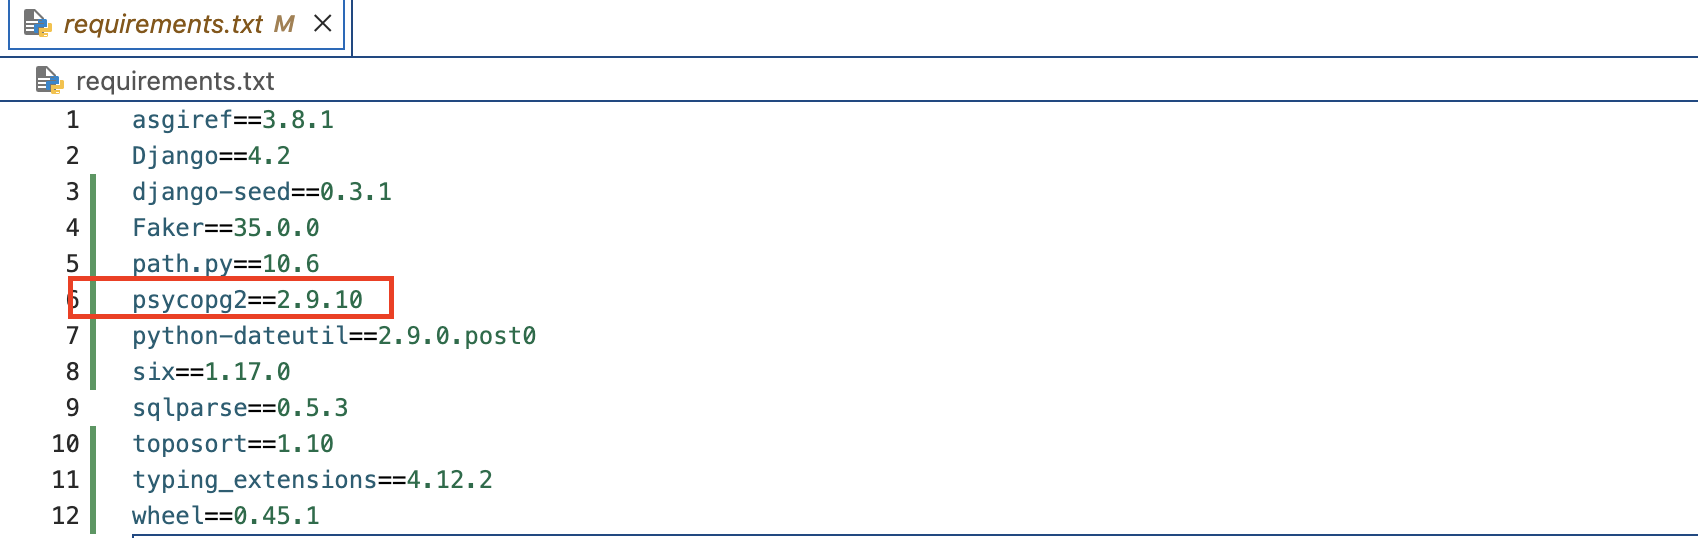
⚠️ 이런 에러가 난다면,
ModuleNotFoundError: No module named 'psycopg2'
⚠️ 설치하세요
pip install psycopg2
⚠️ psycopg2가 설치되지 않는다면
/bin/bash -c "$(curl -fsSL https://raw.githubusercontent.com/Homebrew/install/HEAD/install.sh)"
그 뒤 Next steps가 보인다면 밑에서 3번째 줄을 입력해 주시면 설치 완료예요

설치가 됐습니다!
Response 만들기
HTML Response
1. articles/urls.py
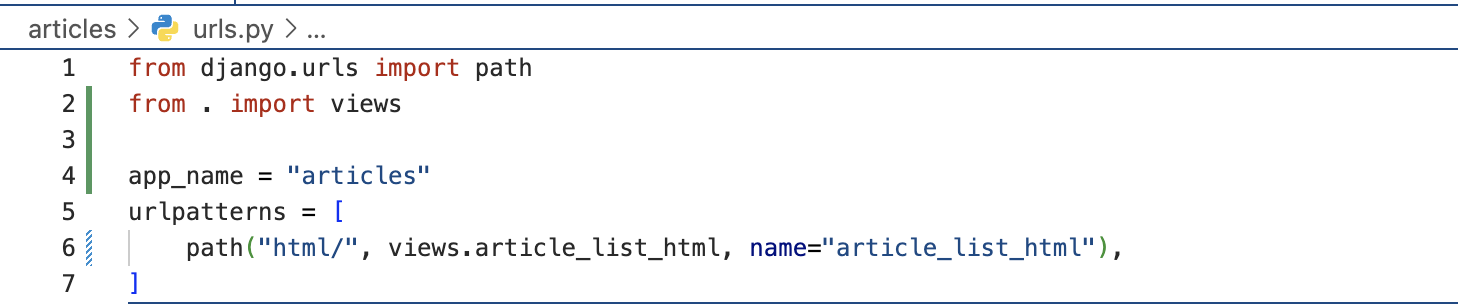
from django.urls import path
from . import views

app_name = "articles"
urlpatterns = [
    path("html/", views.article_list_html, name="article_list_html"),
]
2. articles/views.py

from django.shortcuts import render
from .models import Article

def article_list_html(request):
    articles = Article.objects.all()
    context = {"articles":articles}
    return render(request, "articles/article_list.html", context)
3. articles/templates/articles/article_list.html
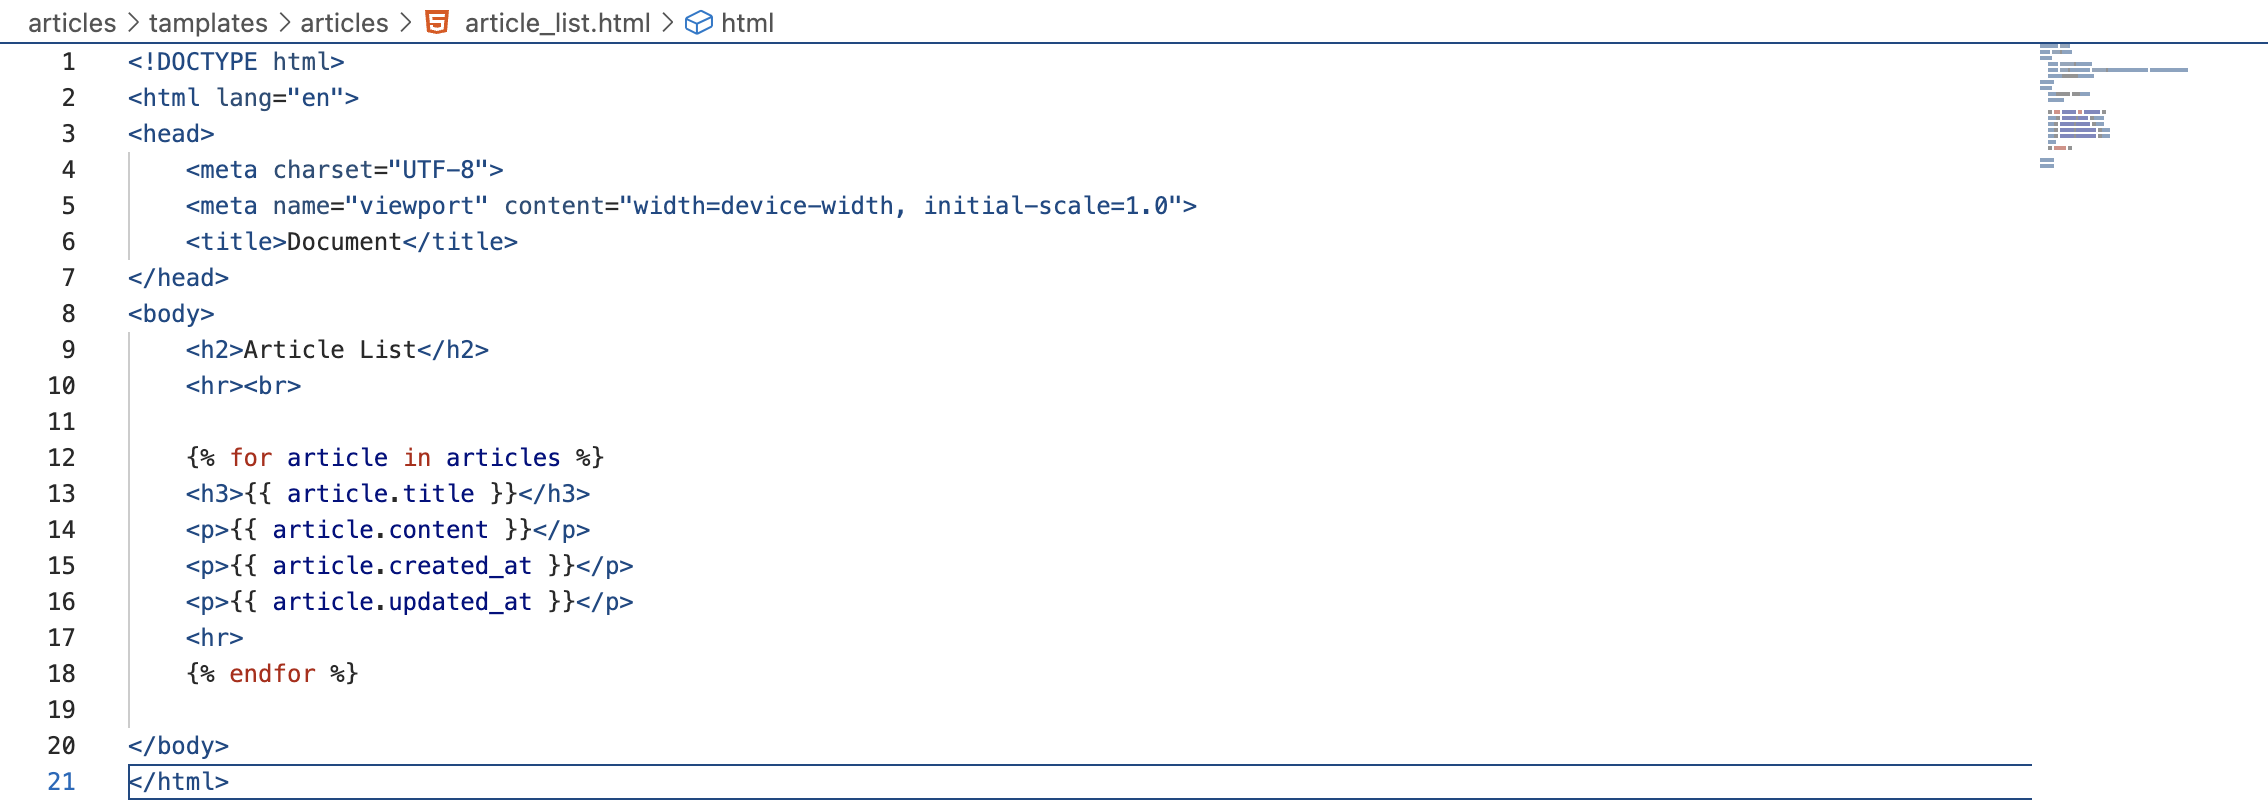
<!DOCTYPE html>
<html lang="en">
<head>
    <meta charset="UTF-8">
    <meta name="viewport" content="width=device-width, initial-scale=1.0">
    <title>Document</title>
</head>
<body>
    <h2>Article List</h2>
    <hr><br>

    {% for article in articles %}
    <h3>{{ article.title }}</h3>
    <p>{{ article.content }}</p>
    <p>{{ article.created_at }}</p>
    <p>{{ article.updated_at }}</p>
    <hr>
    {% endfor %}

</body>
</html>
4. python manage.py runserver

Response 만들기
Json Response
- JsonResponse
- JSON으로 인코딩된 response를 만드는 HttpResponse의 서브 클래스이다.
- safe
- → dict 타입이 아닌 객체를 직렬화(Serialization) 하기 위해서는 False로 설정해야 한다.
1. articles/urls.py
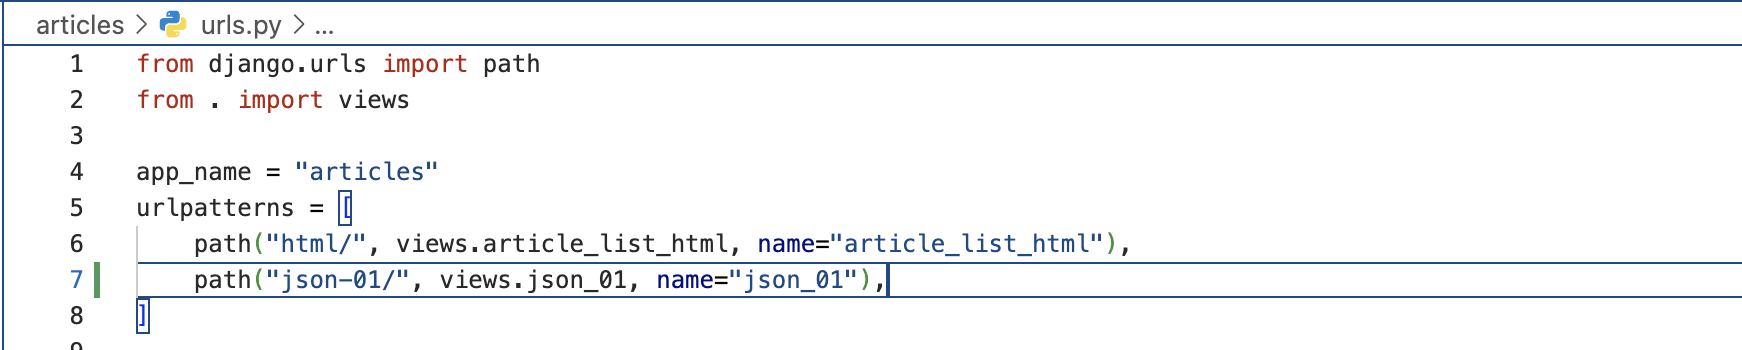
path("json-01/", views.json_01, name="json_01"),
2. articles/views.py

from django.http import JsonResponse

def json_01(request):
    articles = Article.objects.all()
    json_articles = []

    # Json 형식으로 만들어줌
    for article in articles:
        json_articles.append(
            {
                "title": article.title,
                "content": article.content,
                "created_at": article.created_at,
                "updated_at": article.updated_at,
            }
        )

    return JsonResponse(json_articles, safe=False)  # dict일 때는 safe를 안 적어도 되지만, 리스트여서 적어줌
3. python manage.py runserver


문자열로 나열되어 보여짐
Serialization
직렬화(Serialization)
- 객체 또는 데이터 구조를 저장, 전송을 위해 다른 포맷으로 변경하는 것이다.
- → 데이터의 구조는 유지하면서 추후 재구성이 가능한 포맷으로 변환하는 것
- 현재 Python 객체 형태인 Queryset 혹은 Model의 Instance를 전송 가능한 형태로 직렬화를 통해 JSON, XML, YAML 등의 형태로 변환하는 것이다.
- Django도 내부적으로 다른 데이터 포맷으로 쉽게 직렬화할 수 있는 기능을 제공한다.
↓ 해보자
1. articles/urls.py
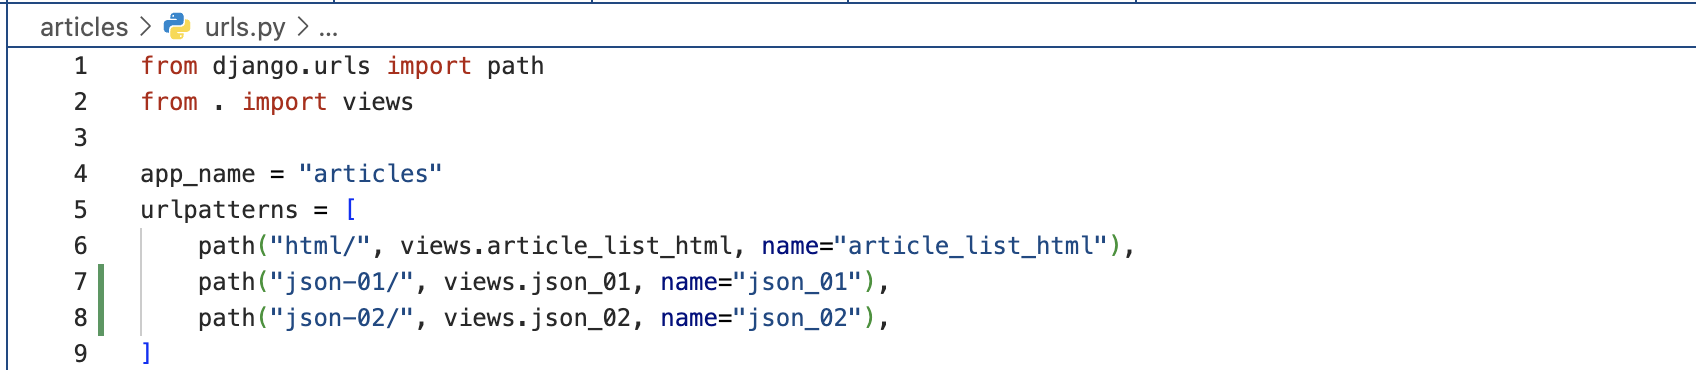
path("json-02/", views.json_02, name="json_02"),
2. articles/views.py

from django.http import HttpResponse
from django.core import serializers

def json_02(request):
    articles = Article.objects.all()
    res_data = serializers.serialize("json", articles)  # res =  response
    return HttpResponse(res_data, content_type="application/json")
3. python manage.py runserver

✅ Django는 위와 같이 내부적으로 serializer를 제공하지만 모델 구조에 한정된 구조
- 직렬화된 데이터의 구조를 변경하거나 새로운 필드를 구성하는 것에 많은 추가 작업이 필요하다.
- 유연한 API를 위한 기능이라기보다 모델 구조로 저장되어 있는 데이터를 export 하는 용도에 가깝다.
⇒ 모델에 종속적이지 않고 유연하지만 사용하기 편한 Serializer가 필요하다.
'🔥 공부 > 📘 DRF 공부' 카테고리의 다른 글
| [DRF] DRF Single Model CRUD (0) | 2025.01.30 |
|---|---|
| [DRF] Django REST Framework 시작하기, Postman (0) | 2025.01.28 |
| [DRF] RESTful API와 JSON (0) | 2025.01.23 |
| [DRF] HTTP와 URL 구조 (0) | 2025.01.23 |
| [DRF] DRF INTRO (0) | 2025.01.23 |